How to (Instantly) Send Webflow Form Submissions to the CMS
Step-by-step guide to send Webflow form submissions to the CMS - without Zapier or Integromat.

At Whalesync, we love Webflow. We built this site with Webflow, collect email addresses with Webflow forms, and host blog posts in the Webflow CMS. One of our few gripes with Webflow is that form submissions are not sent to their CMS. Despite being a highly requested feature since 2017, the most common workaround still involves Zapier - and with Zapier, the best you can do is a 1 minute lag from form submission to CMS update.

To scratch our own itch, we built a workaround using Airtable and Whalesync. With these two tools, you can send your Webflow form submissions into your Webflow CMS in a matter of seconds.
This guide walks step-by-step through the process. There are two main sections:
- Send Webflow form data to Airtable
- Sync Airtable data to Webflow CMS
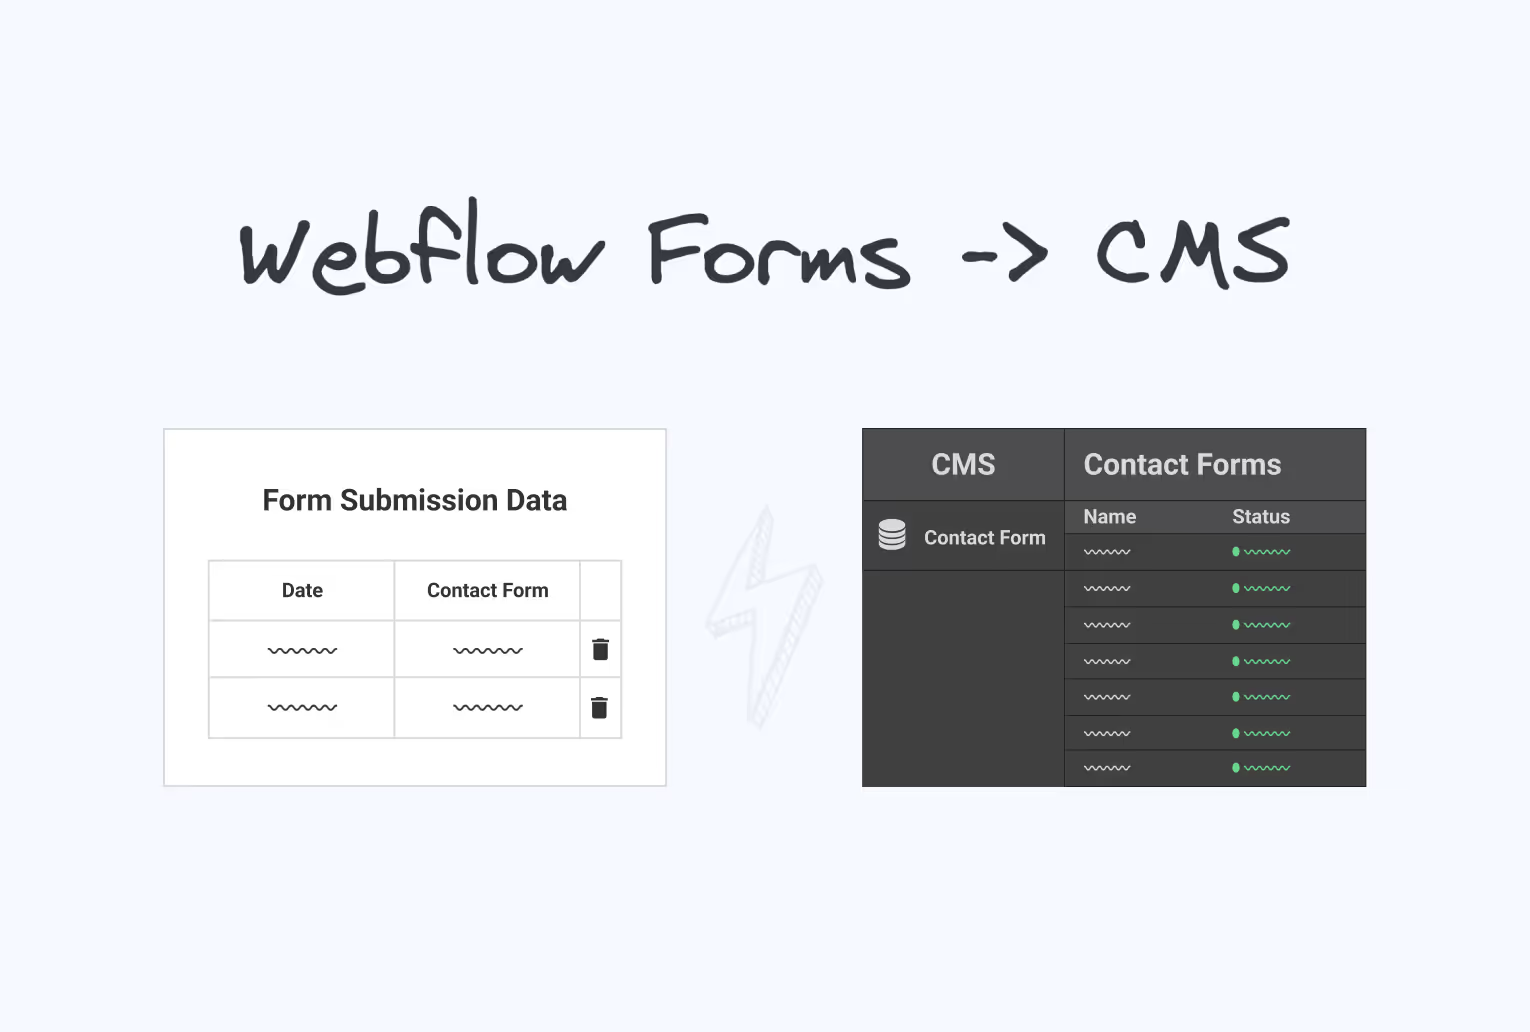
Here’s a teaser of it all working in action 👇:
Send Webflow Form Data to Airtable
First, we will send our Webflow form responses to Airtable. Instead of using Zapier or Integromat, we take advantage of Webflow webhooks. If you’re not familiar with webhooks, don’t worry! I promise it’s super easy.
This section was inspired by Conor Finlayson’s amazing Webflow Forms to Airtable (without Zapier or Integromat)! 🙏
1. Set up Webflow form
Create your form in Webflow
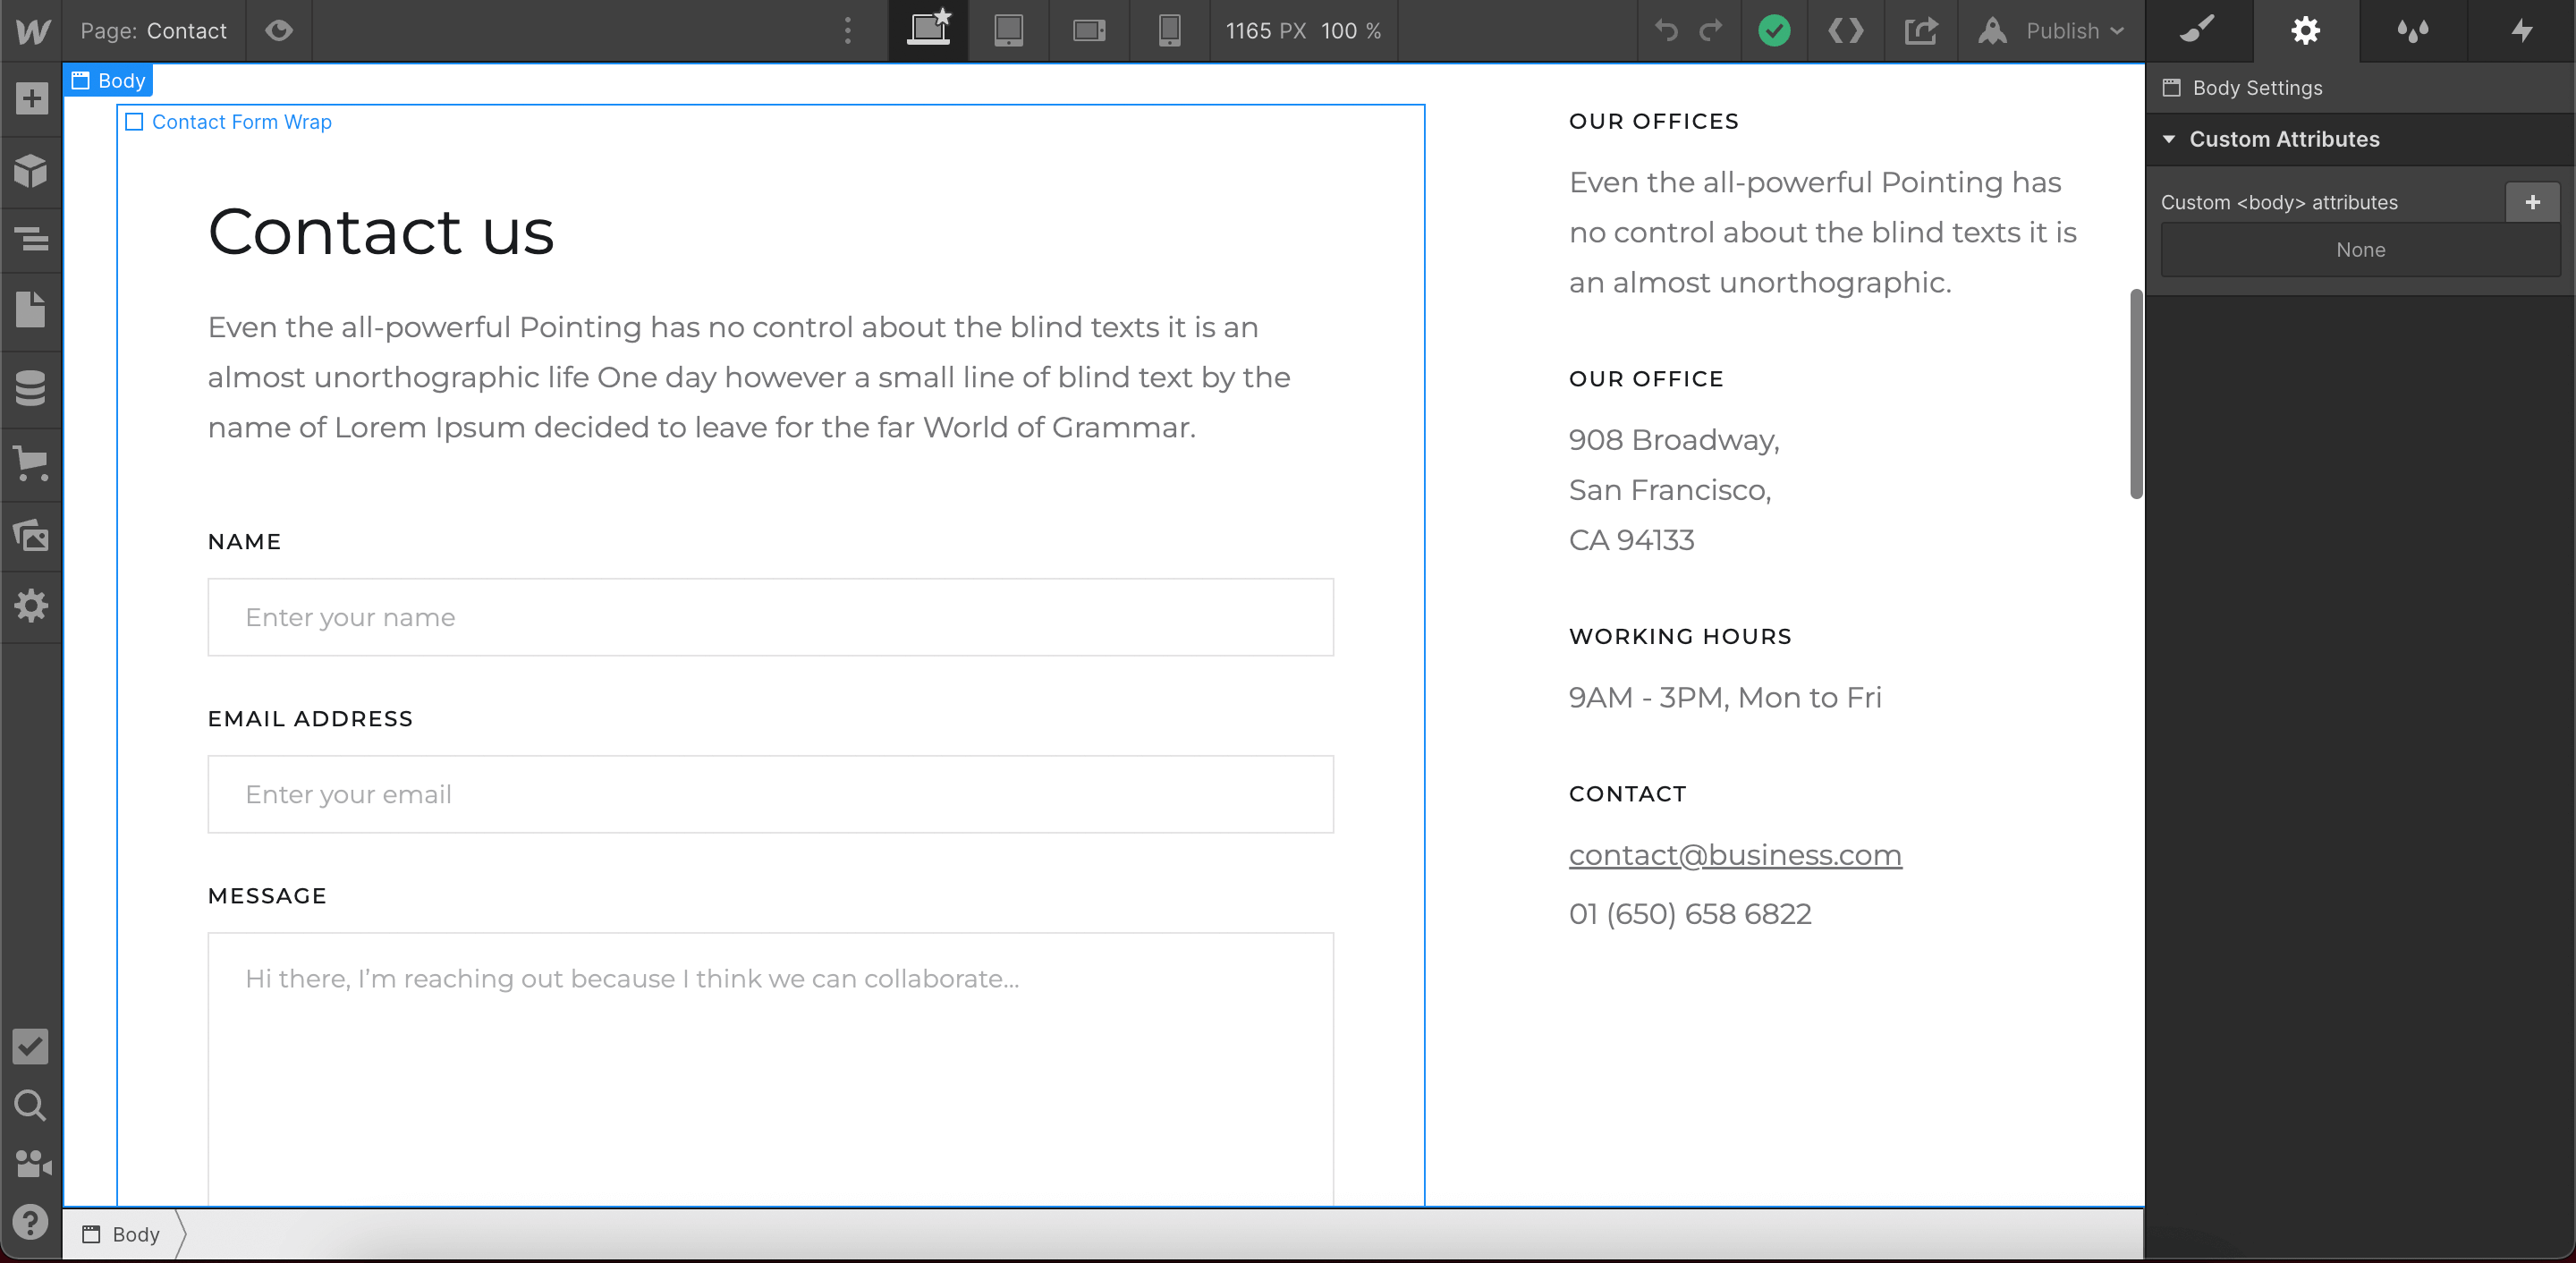
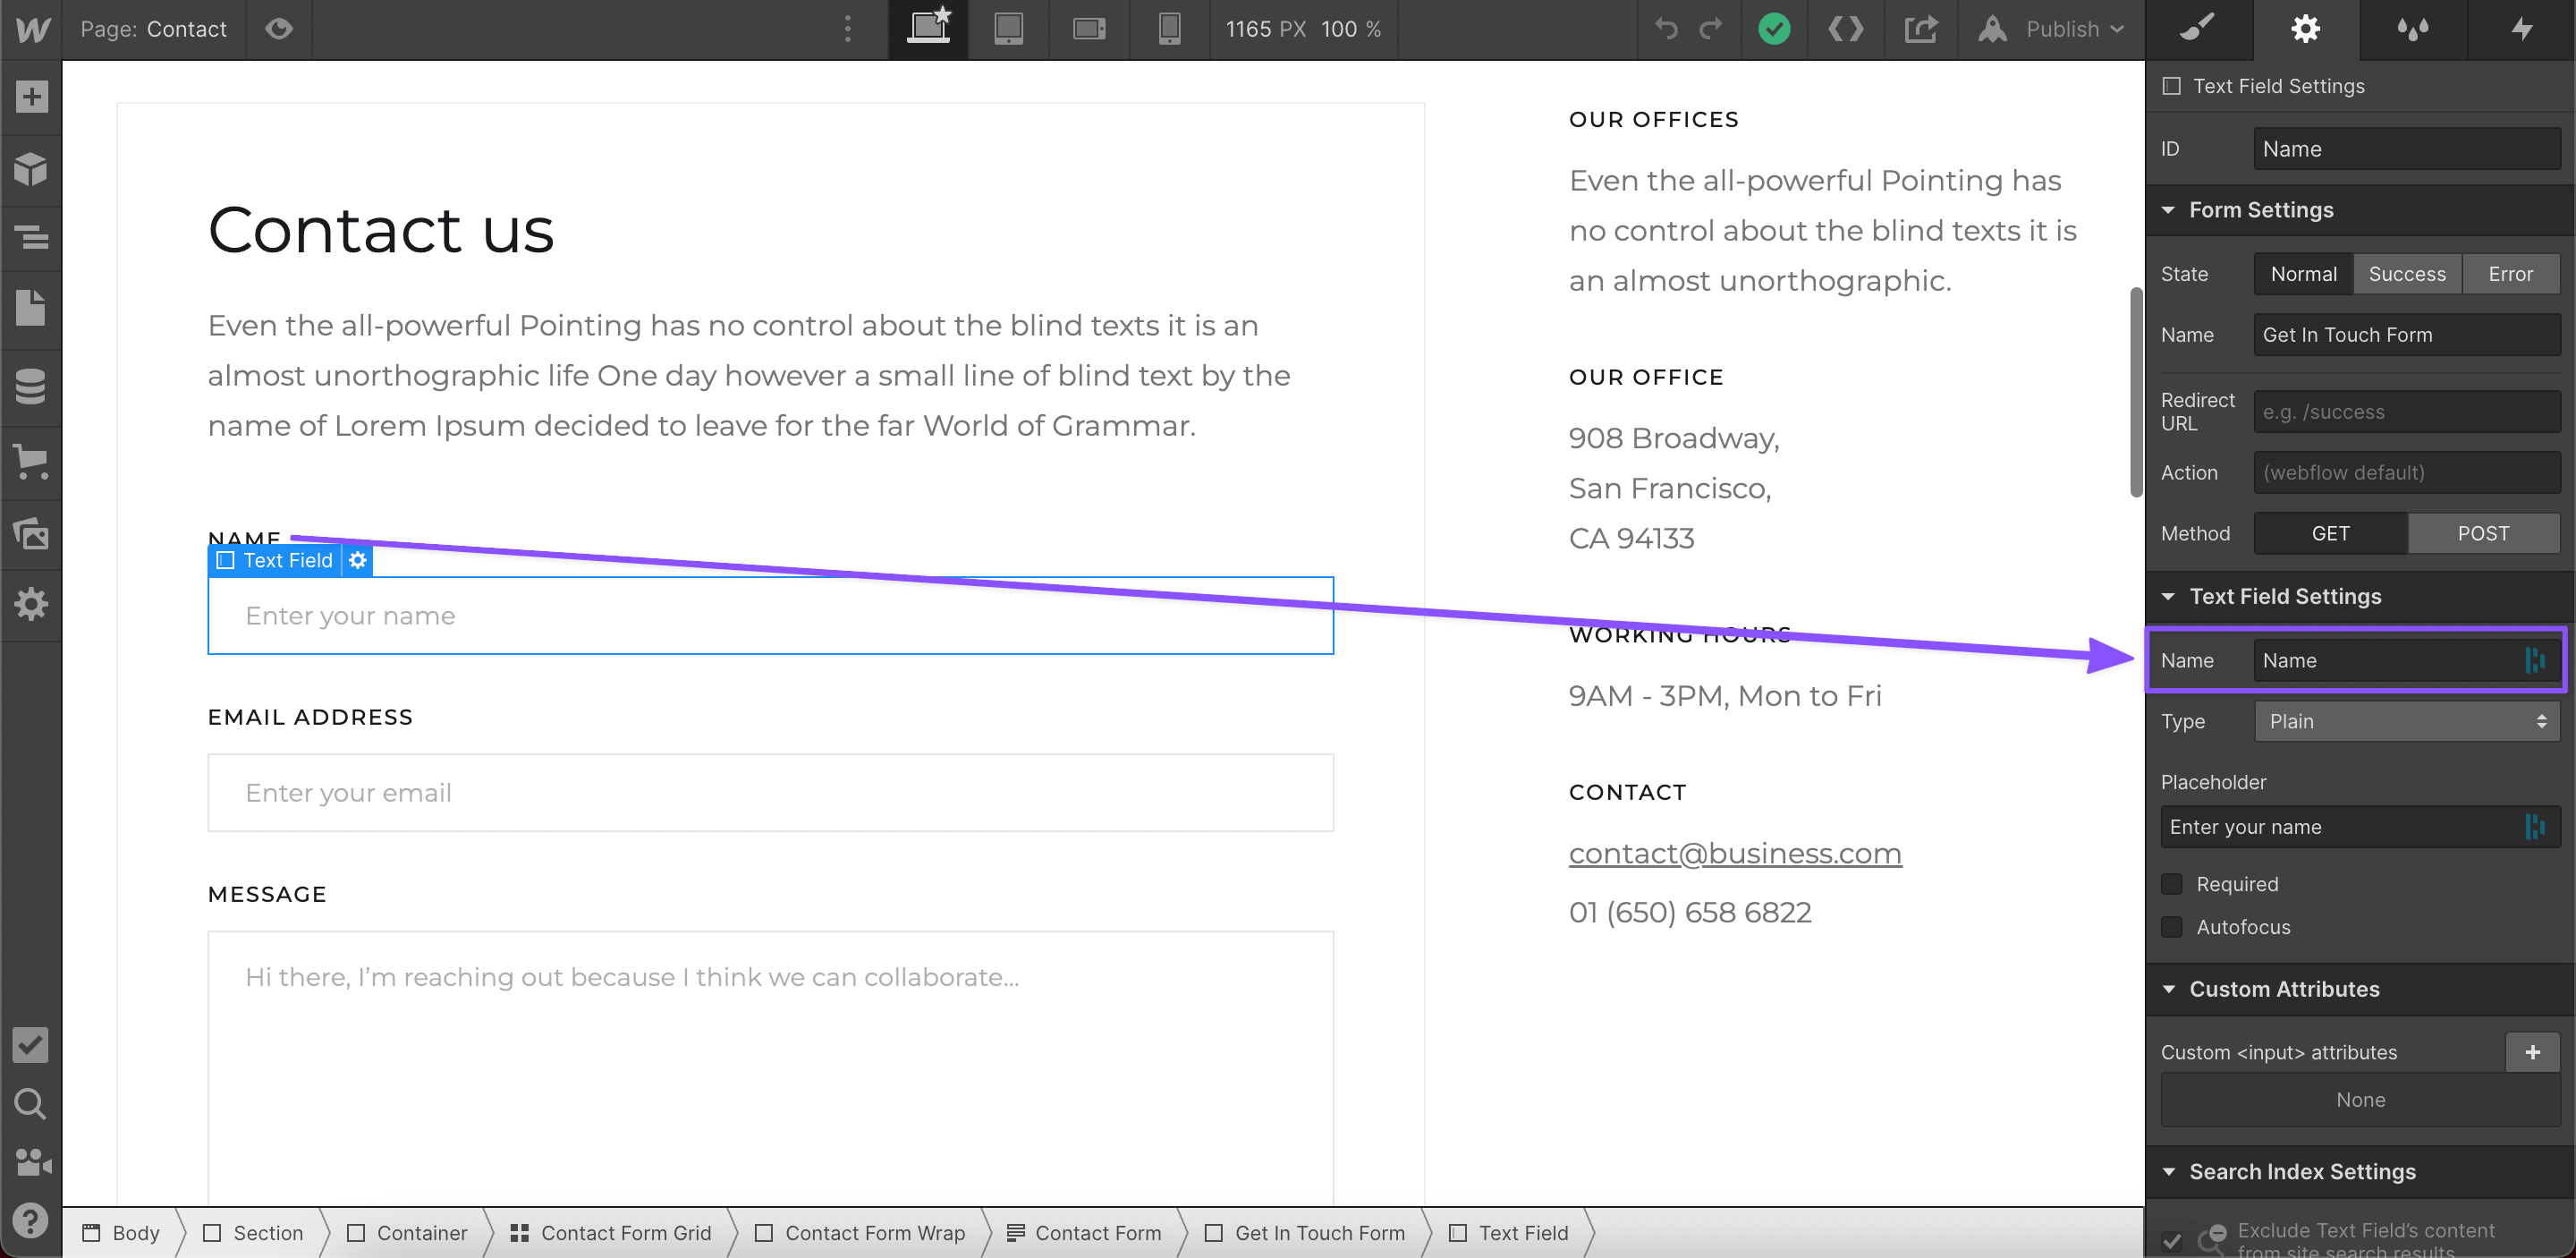
Give each form’s field a descriptive name in the form settings
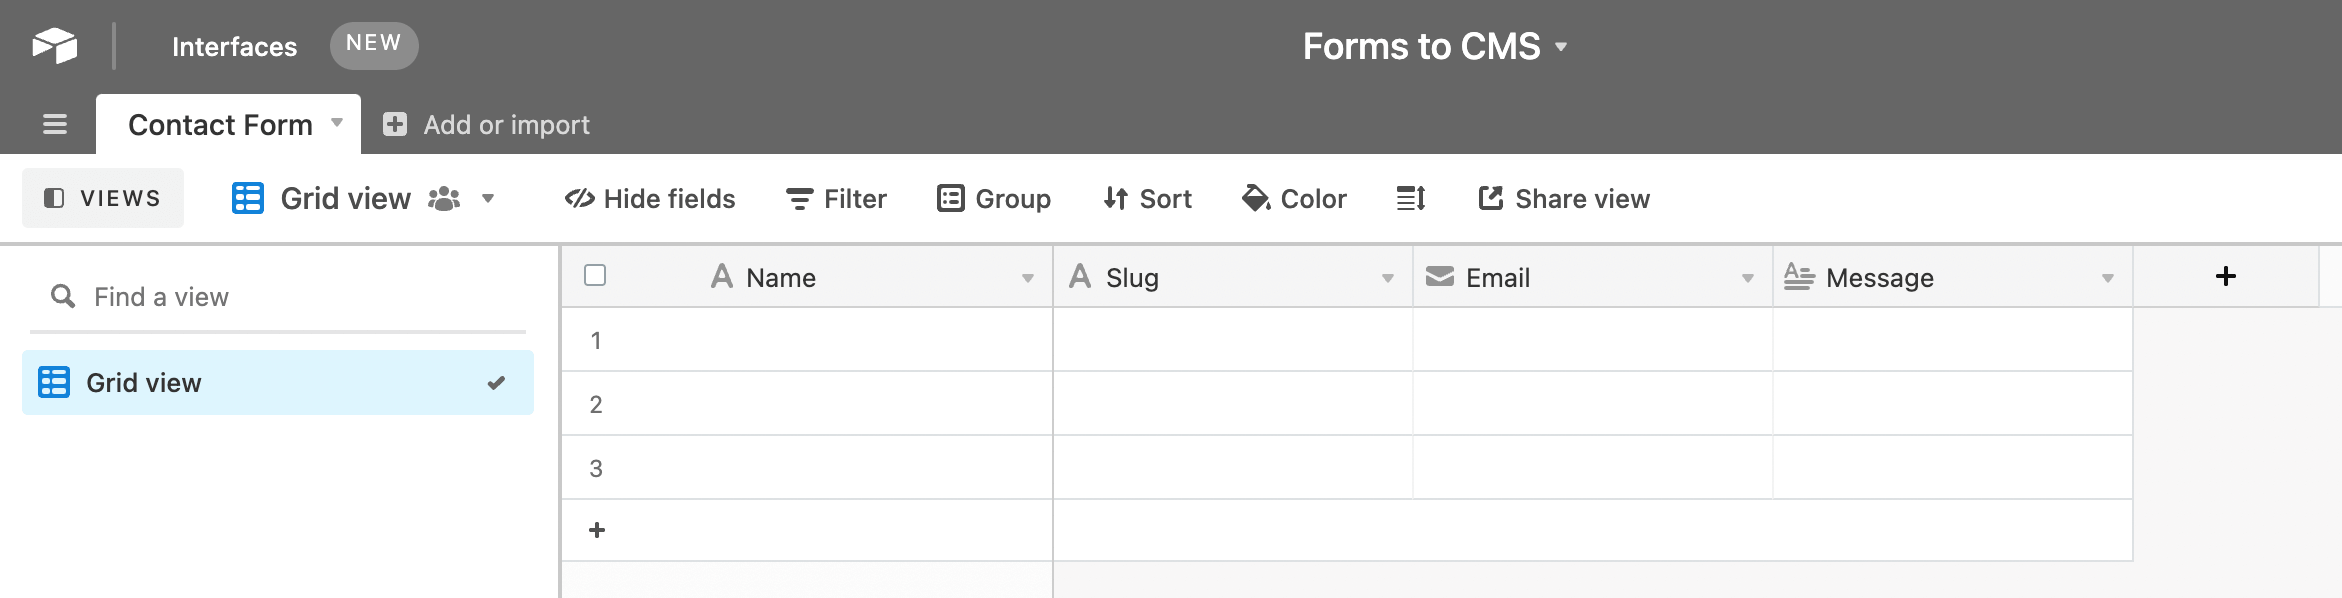
2. Set up Airtable table
Create an Airtable table with fields for each of your form’s fields
- Use the same names as you did in Webflow
- *Note - you will need an Airtable Plus plan ($12/mo)
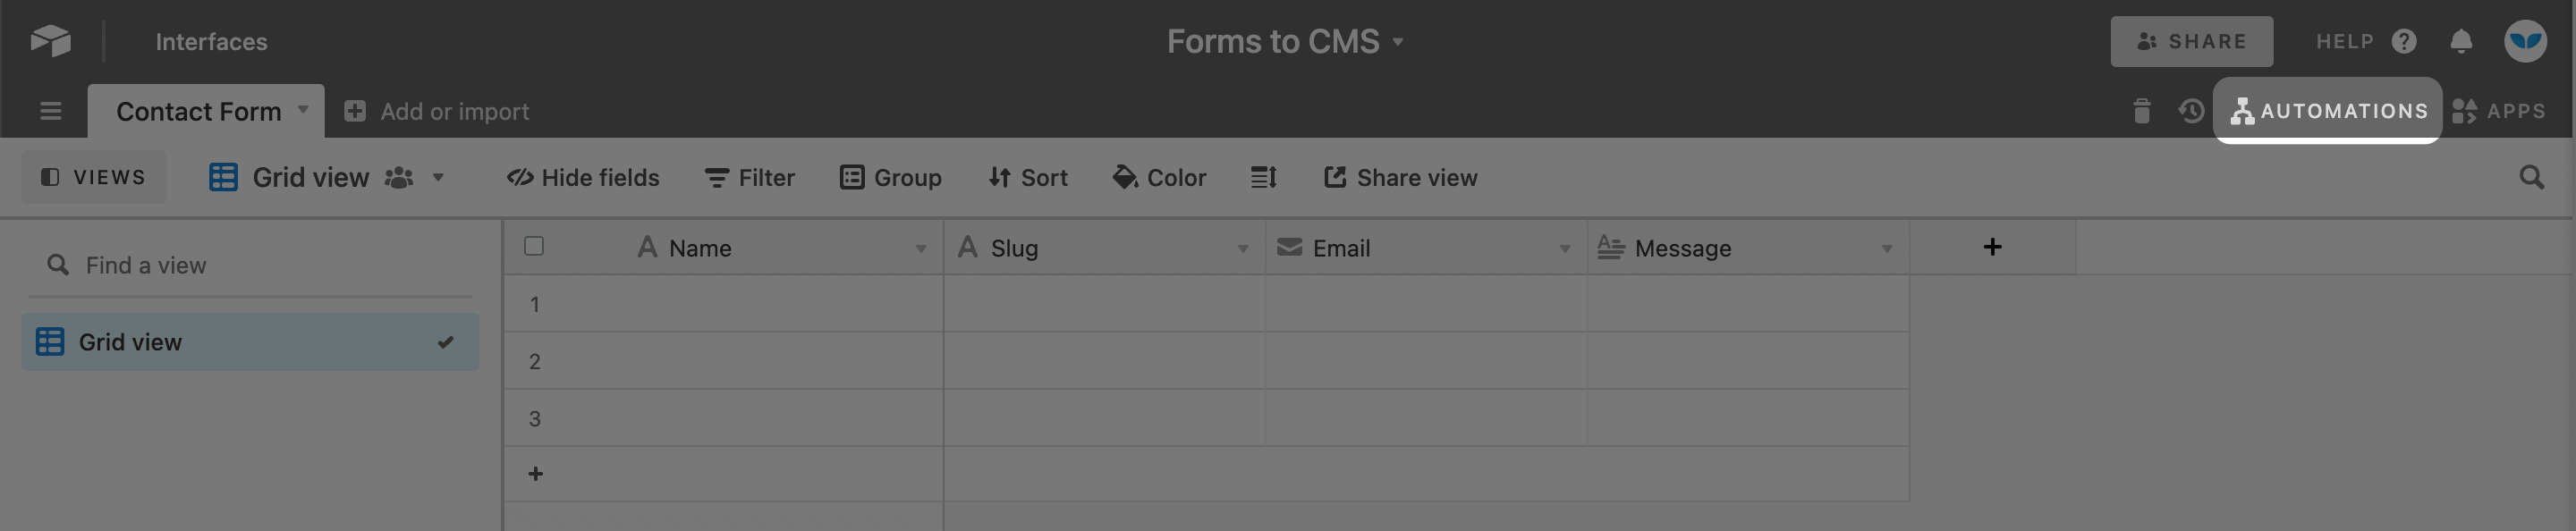
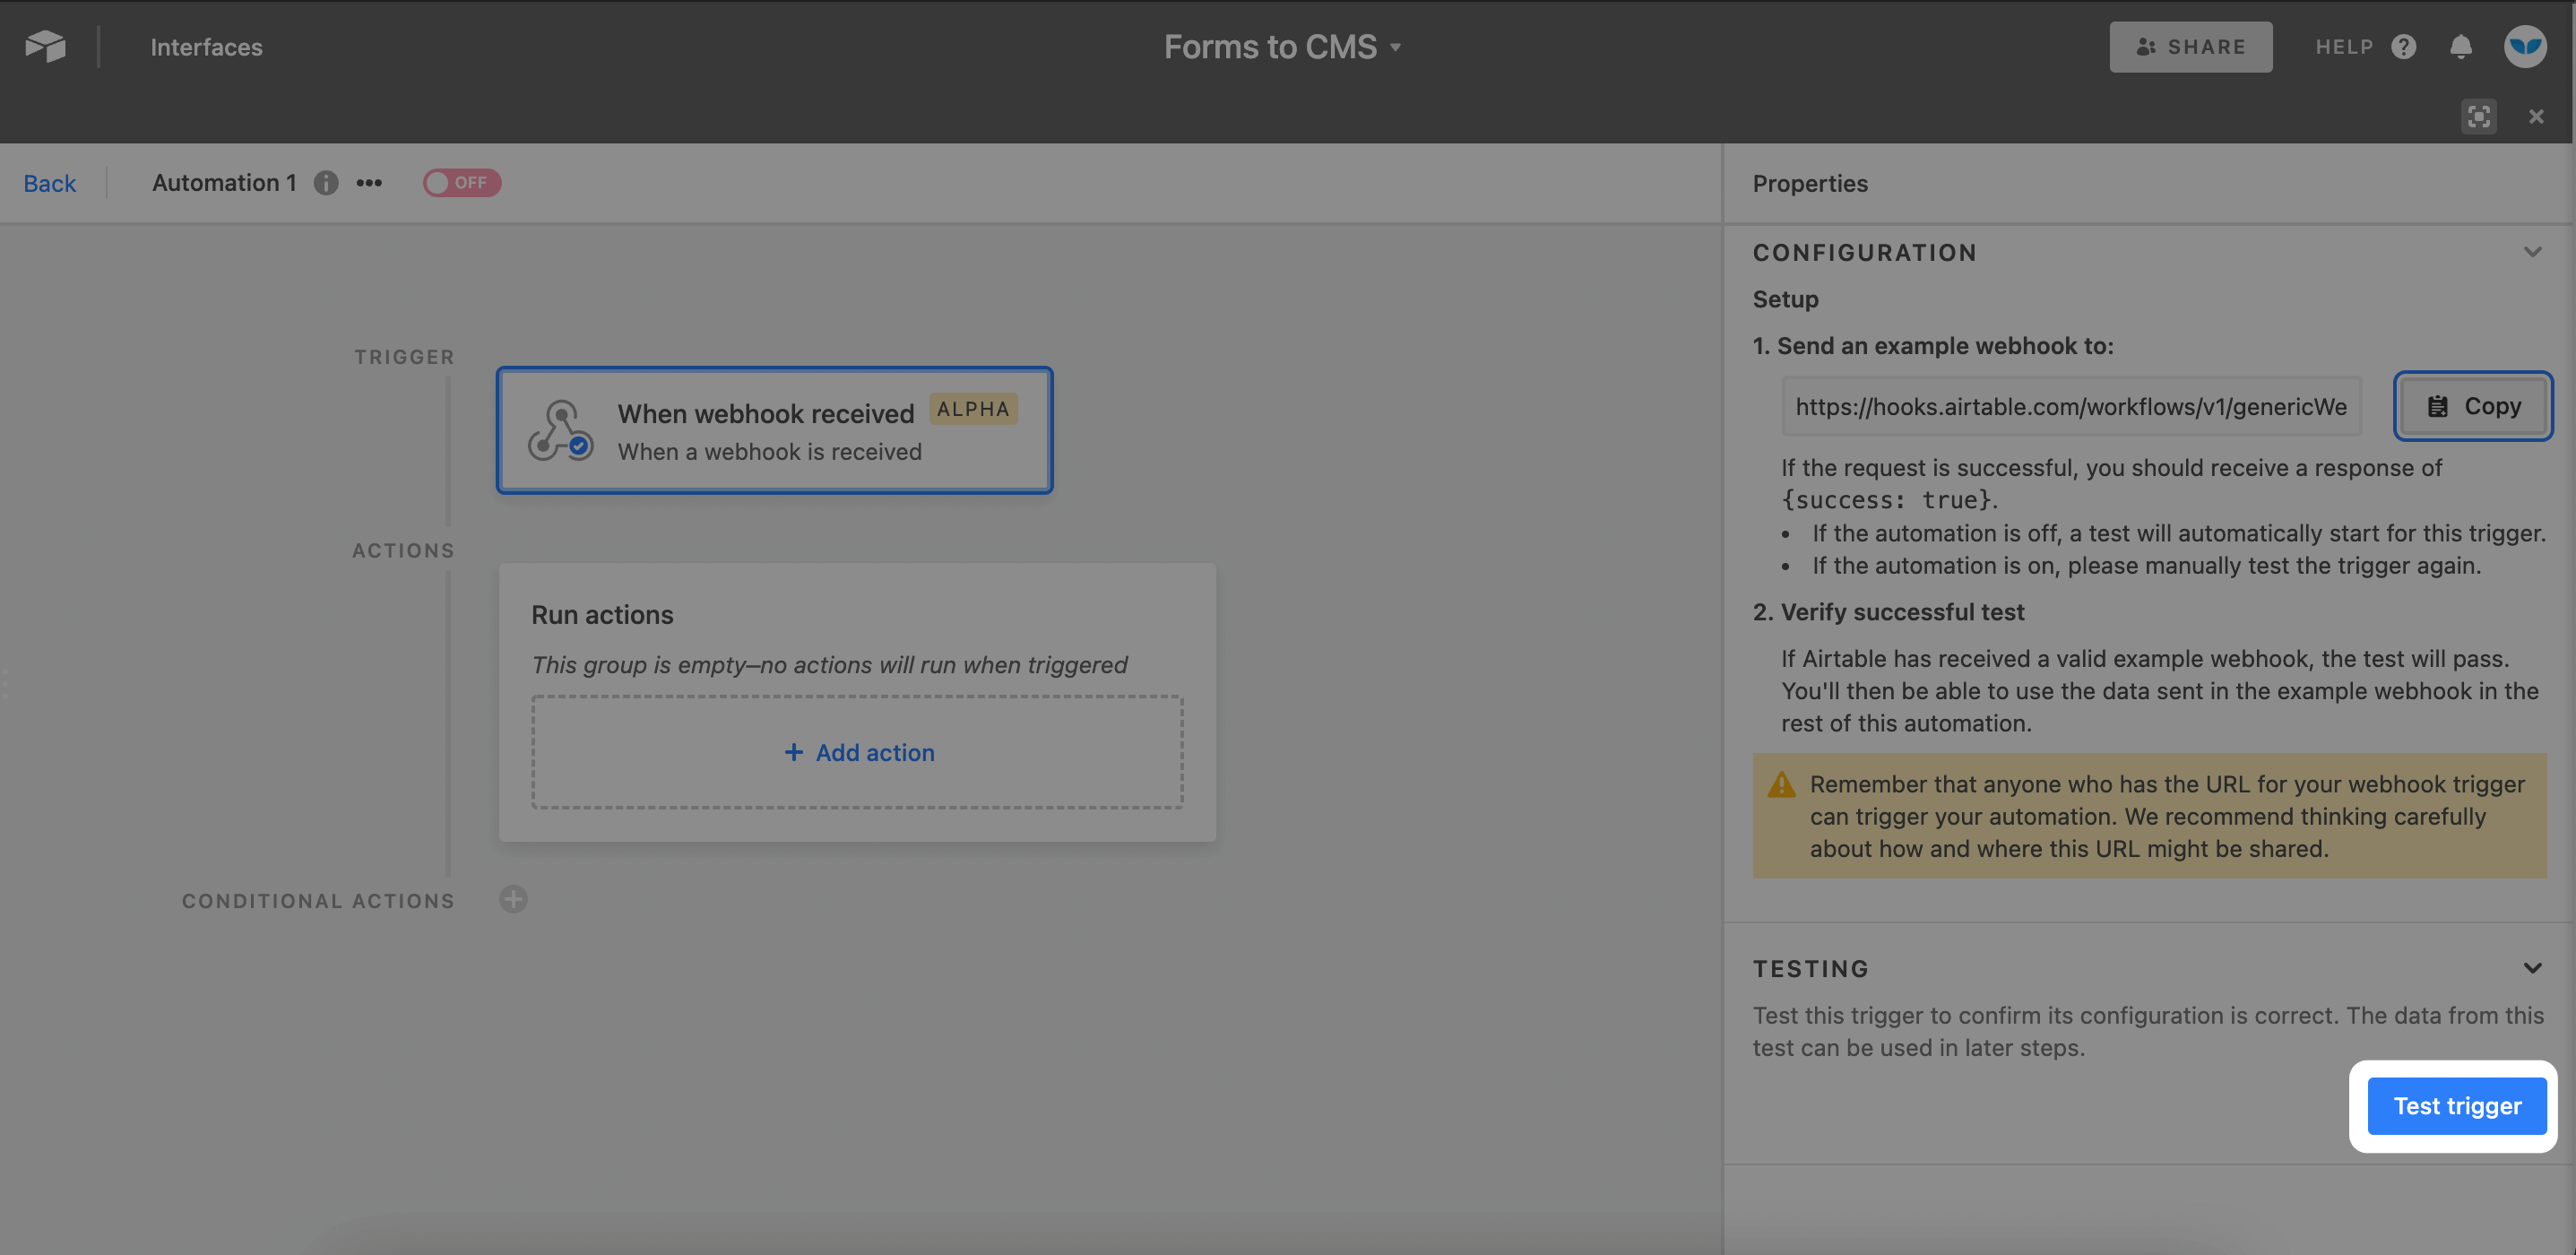
3. Generate Webhook URL in Airtable
Click Automations
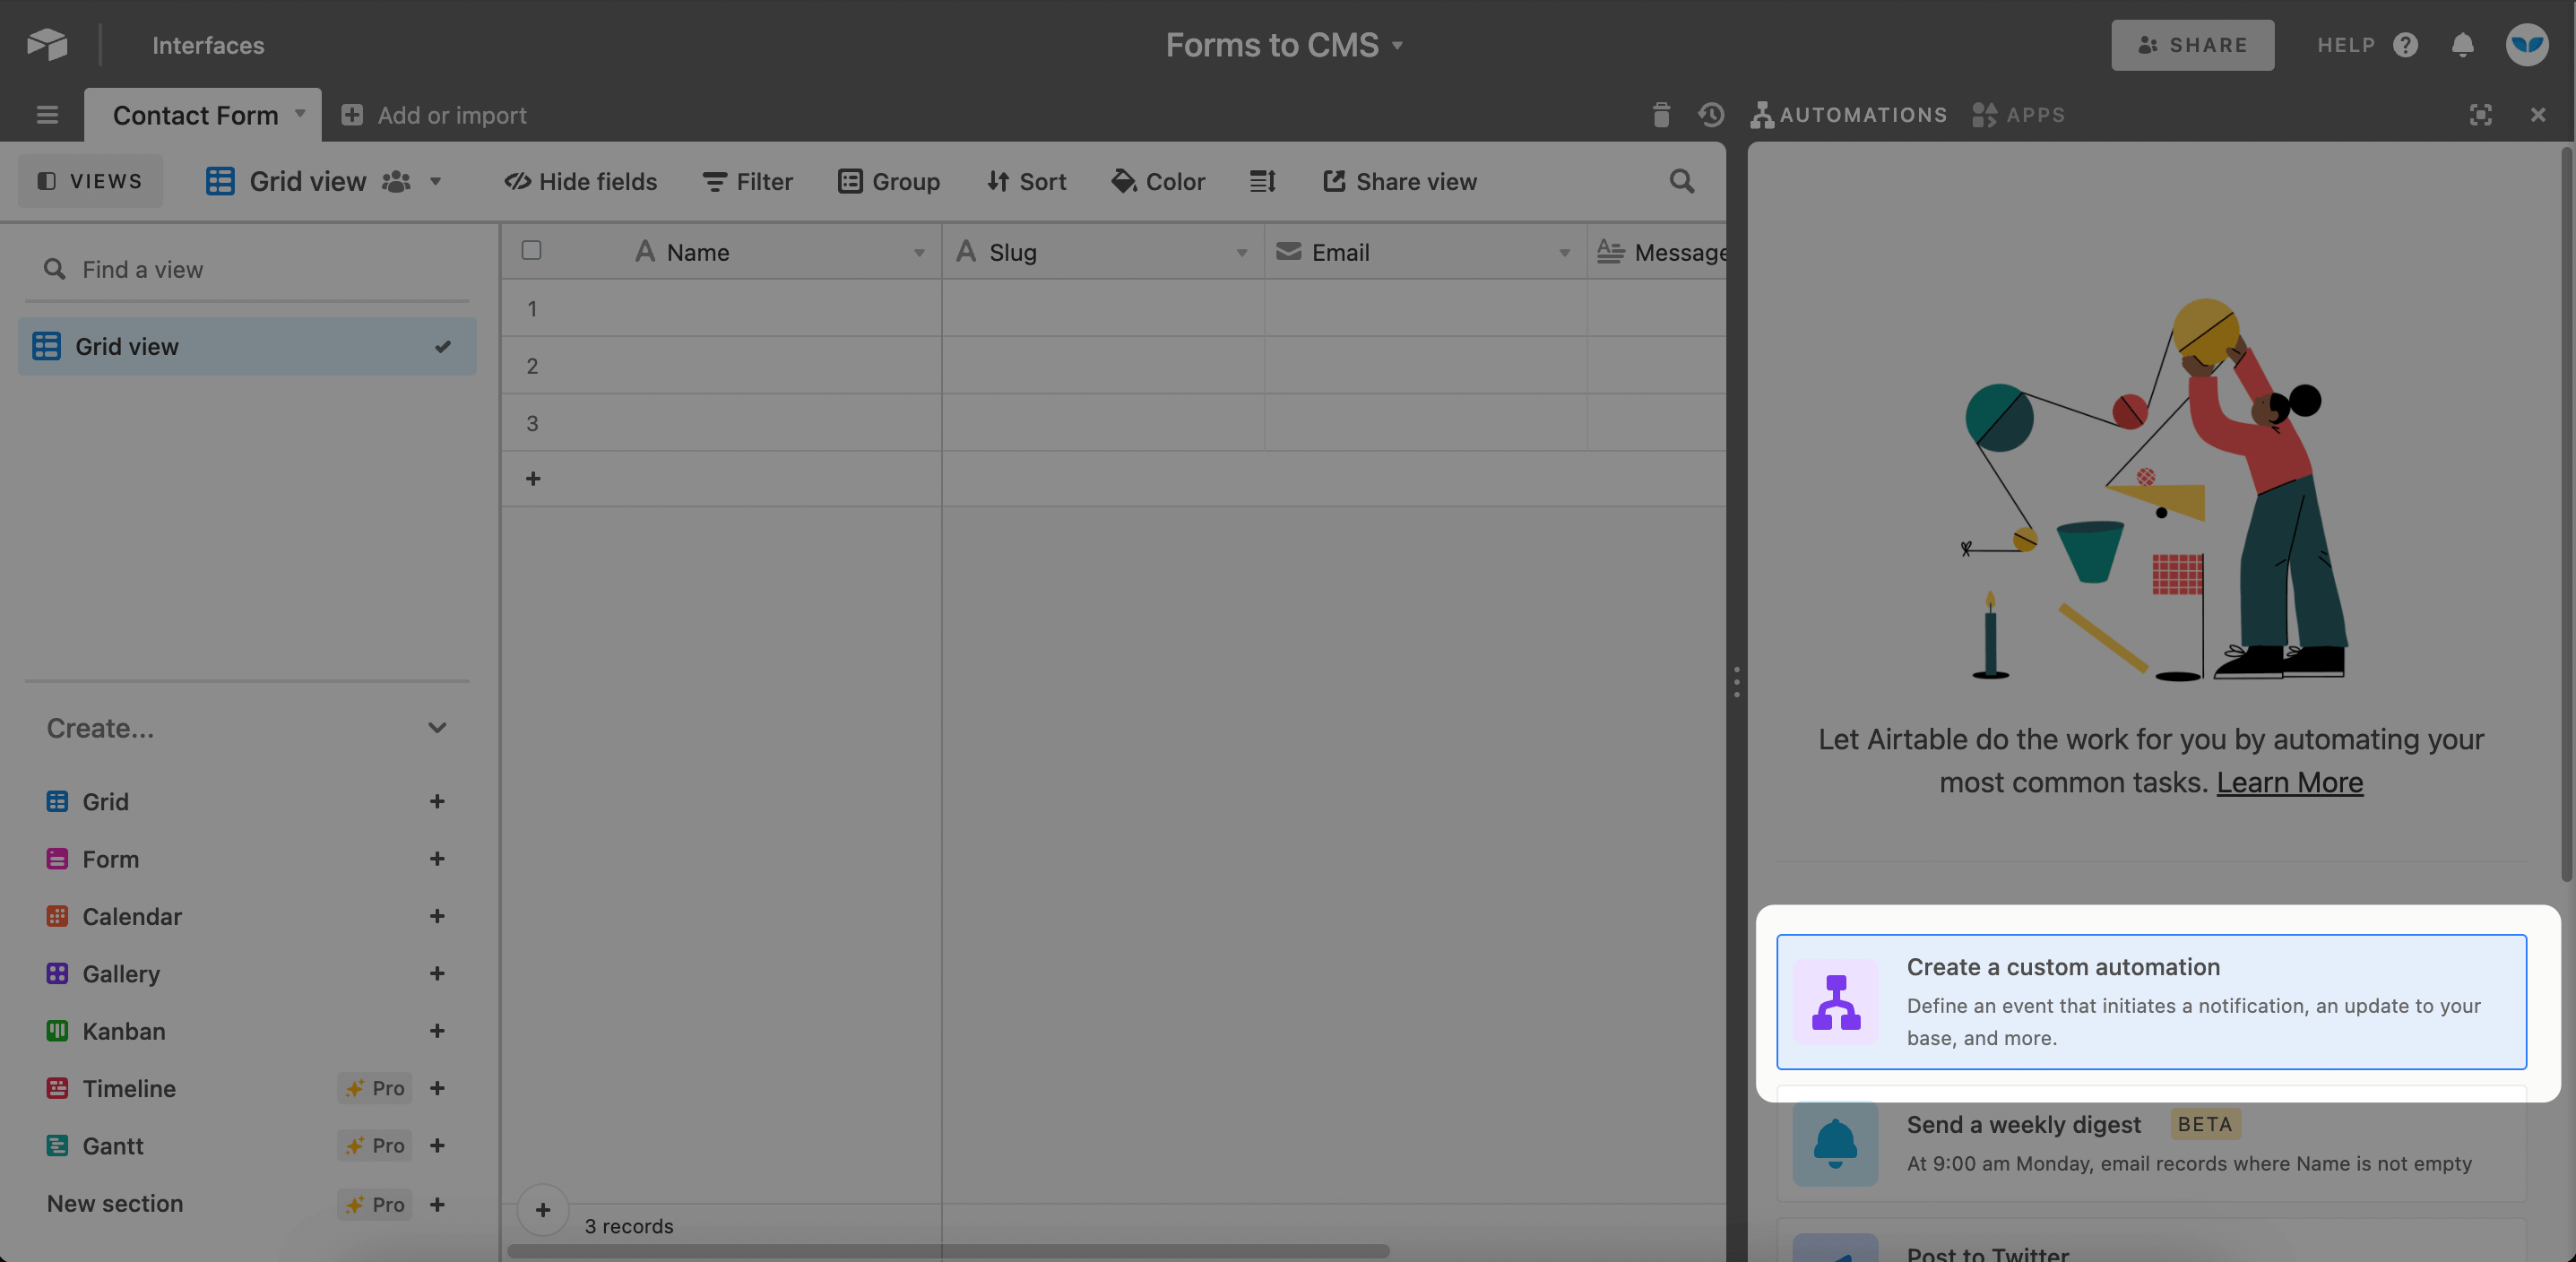
Create a custom automation
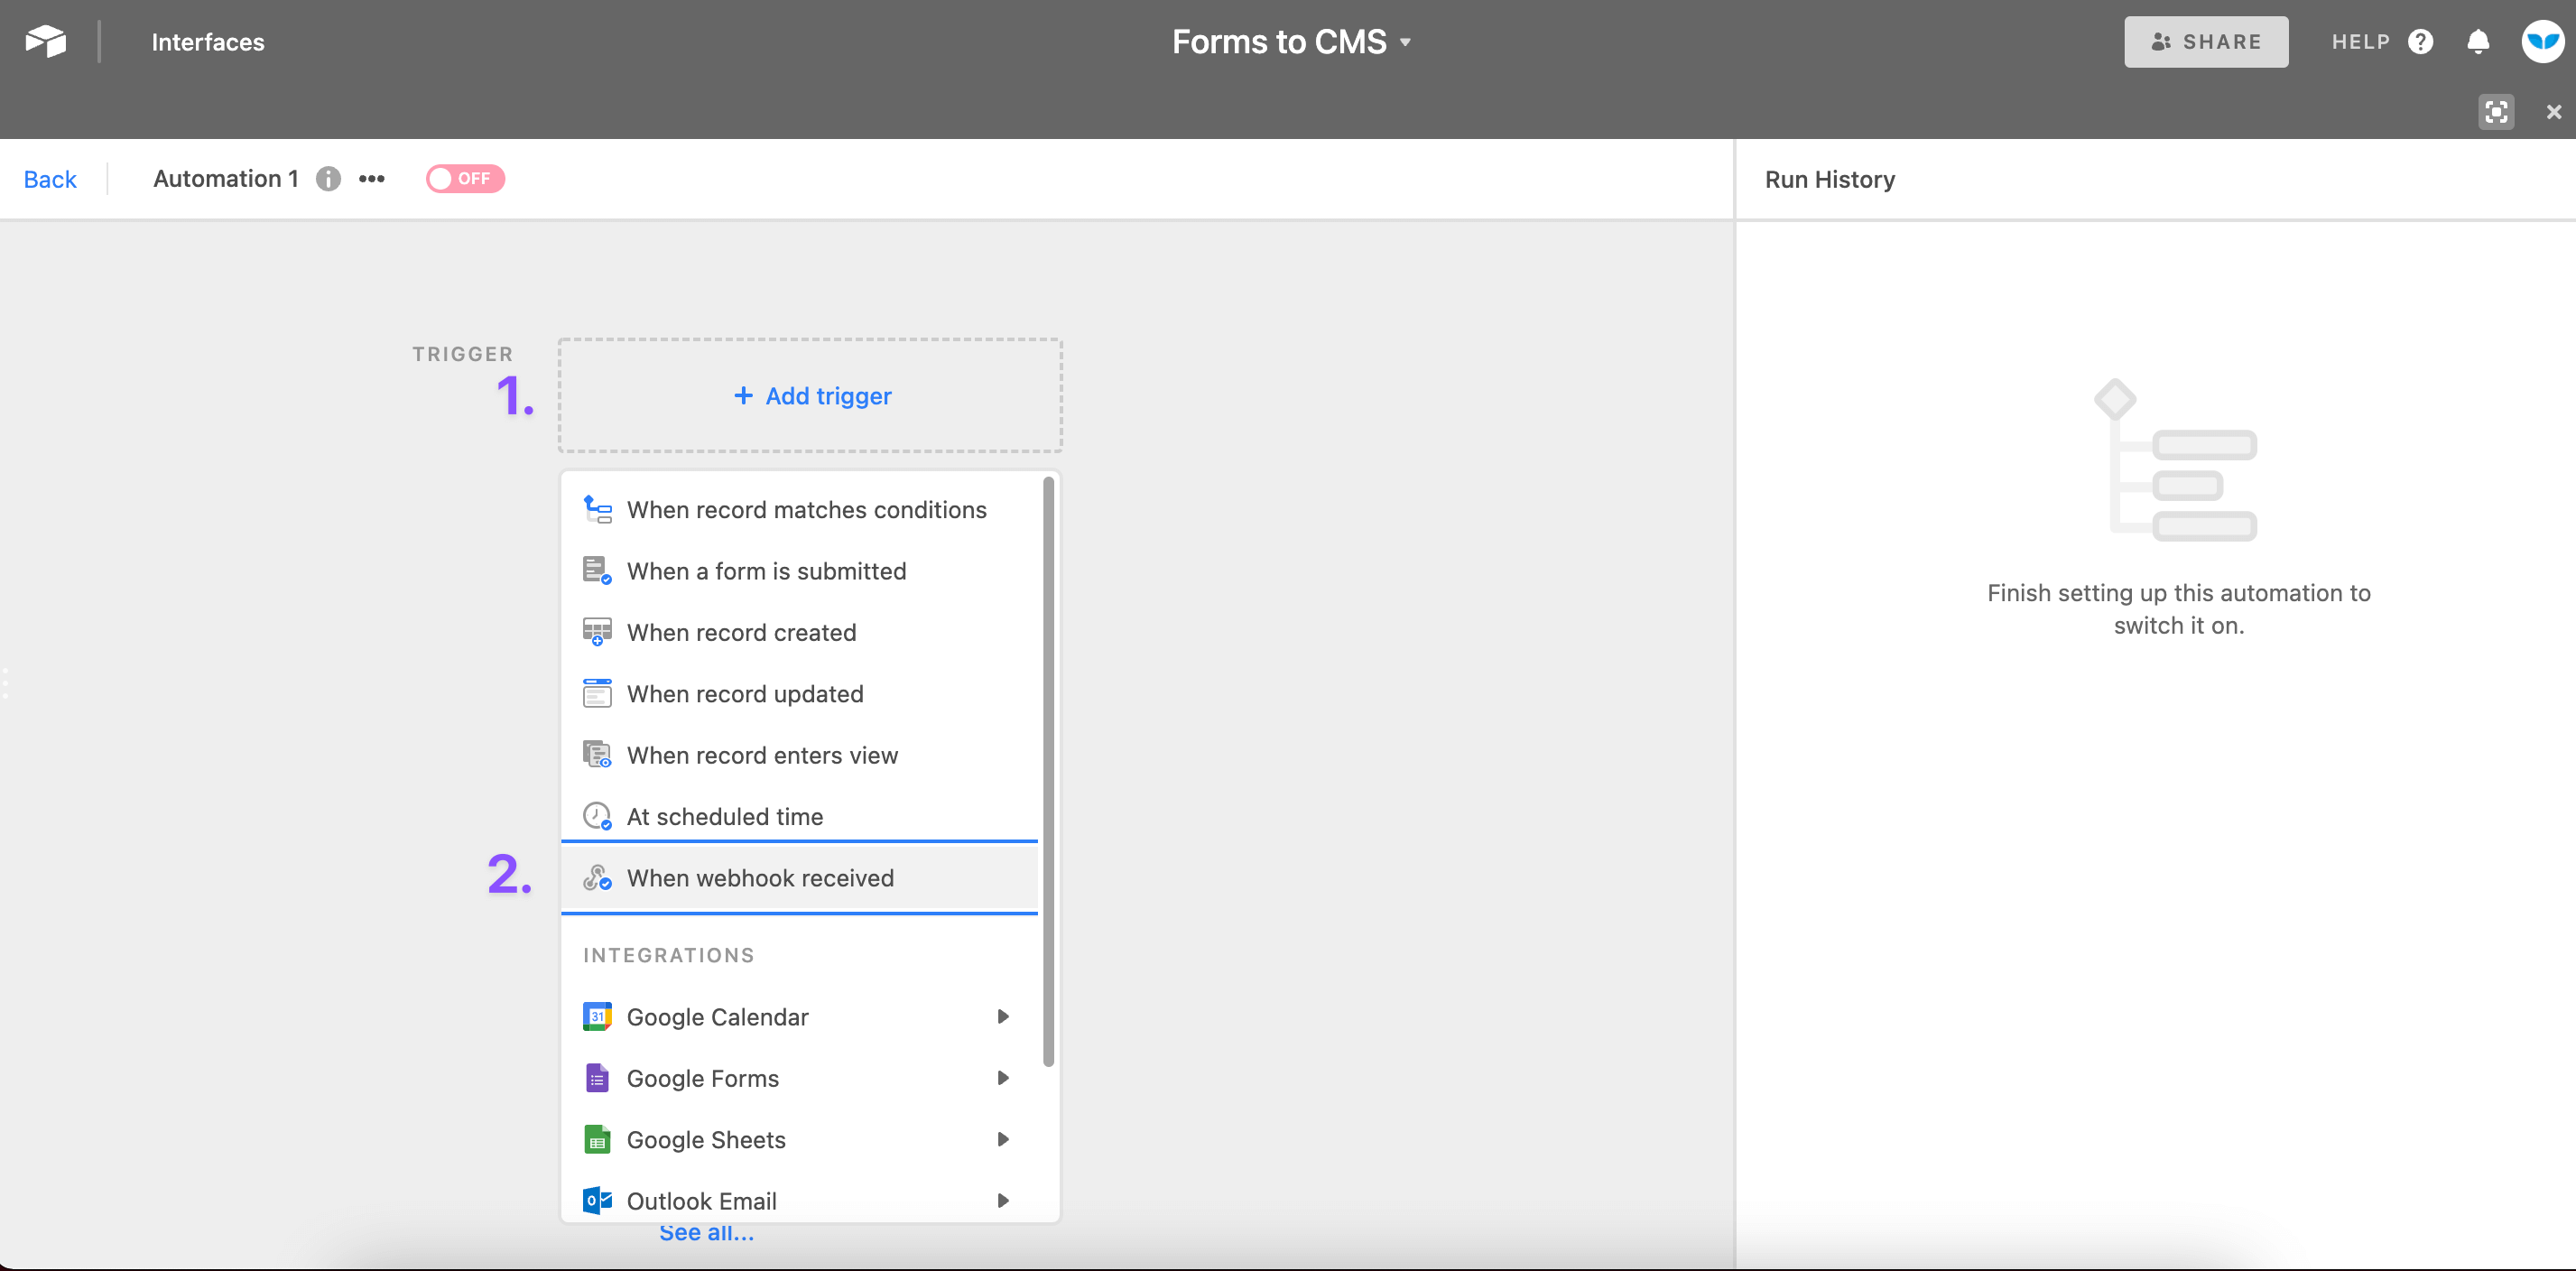
Add Trigger - When Webhook Received
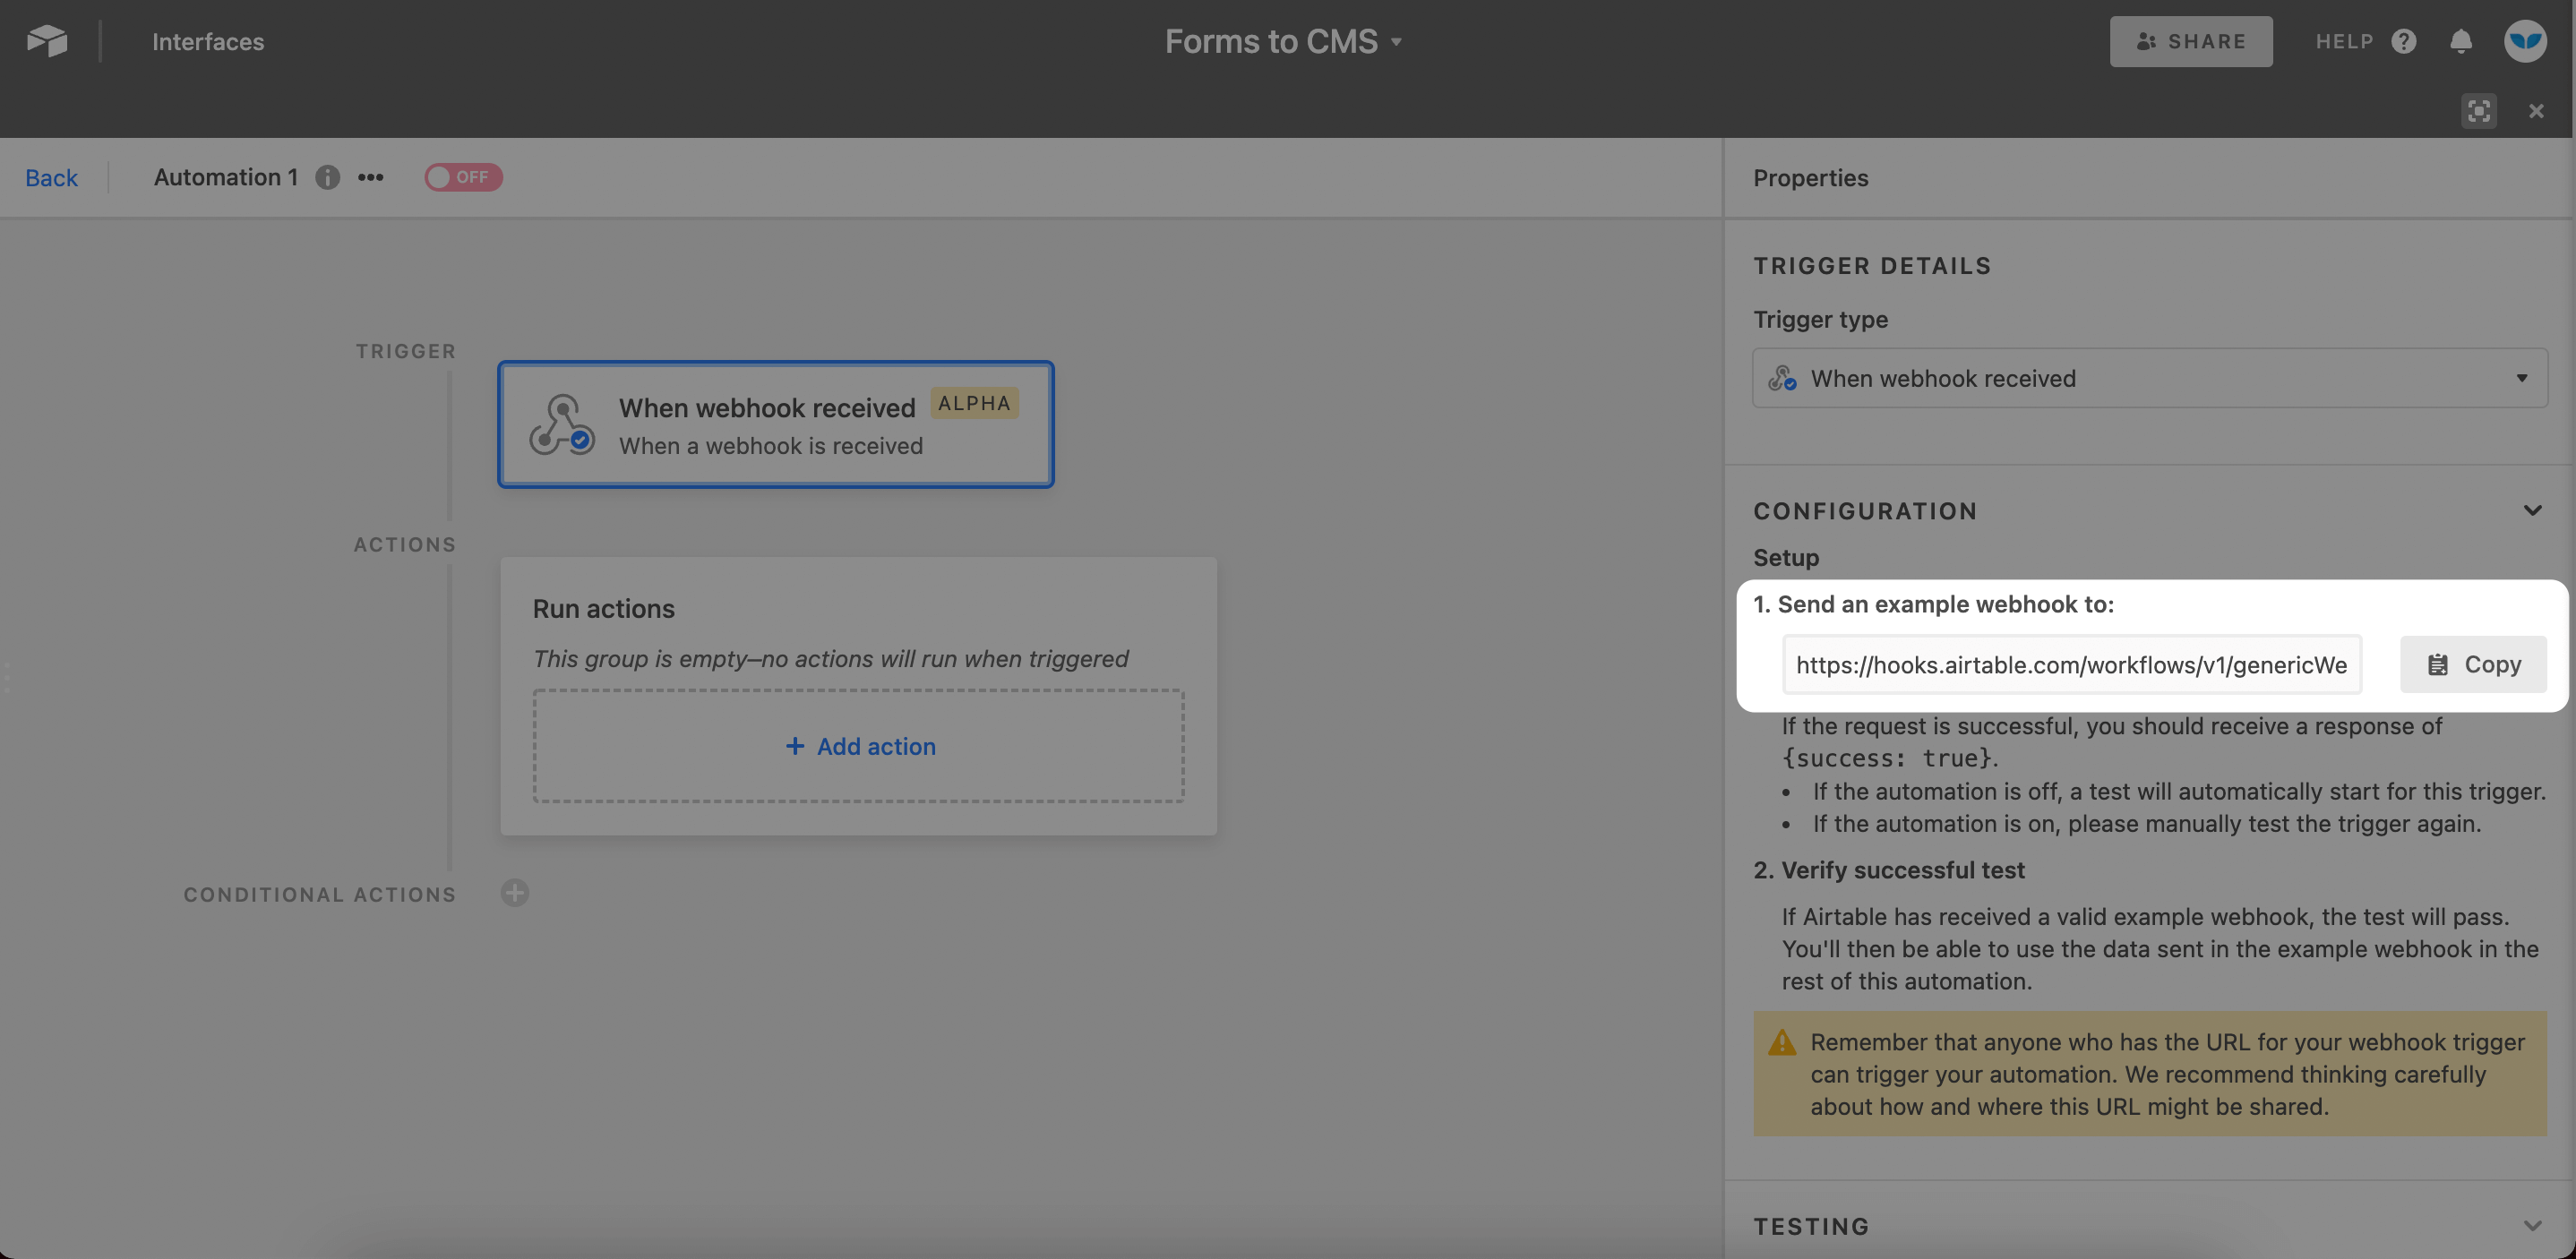
Copy the Webhook URL
4. Add webhook trigger to Webflow
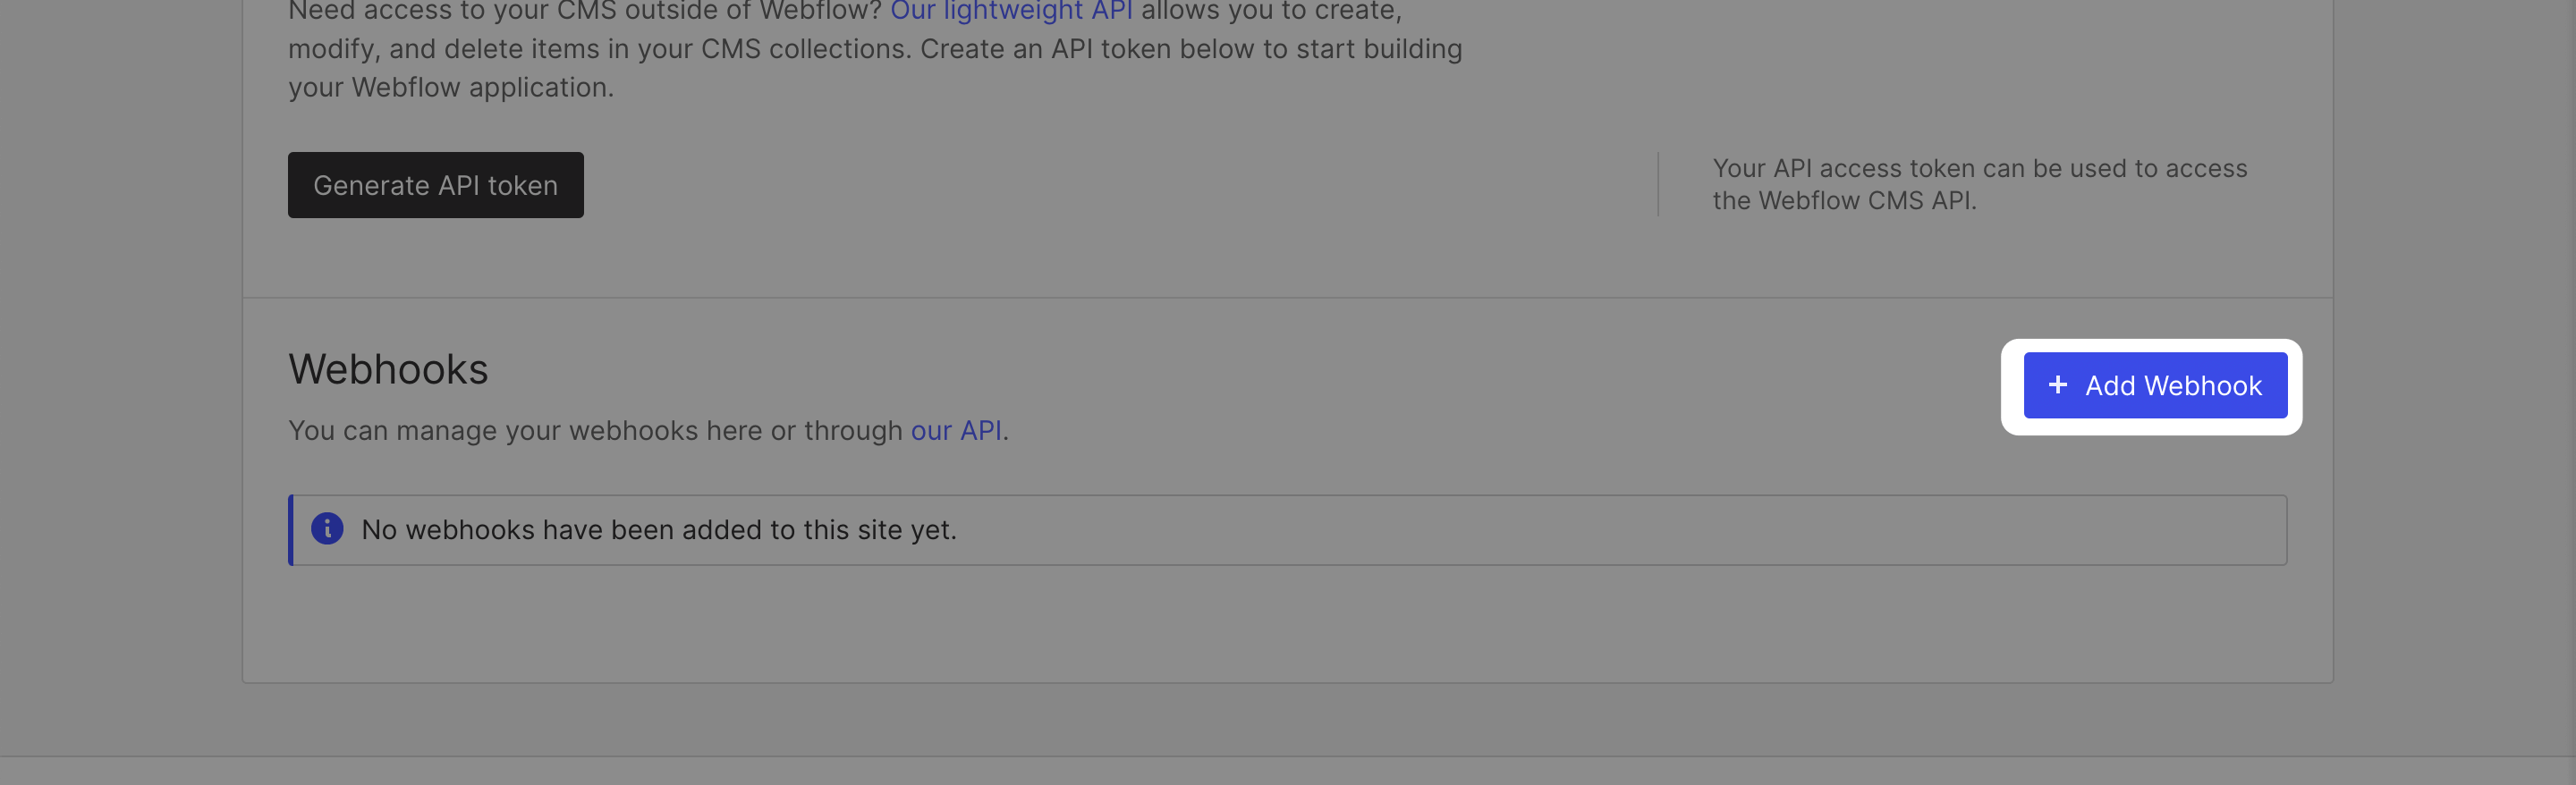
Go to project settings
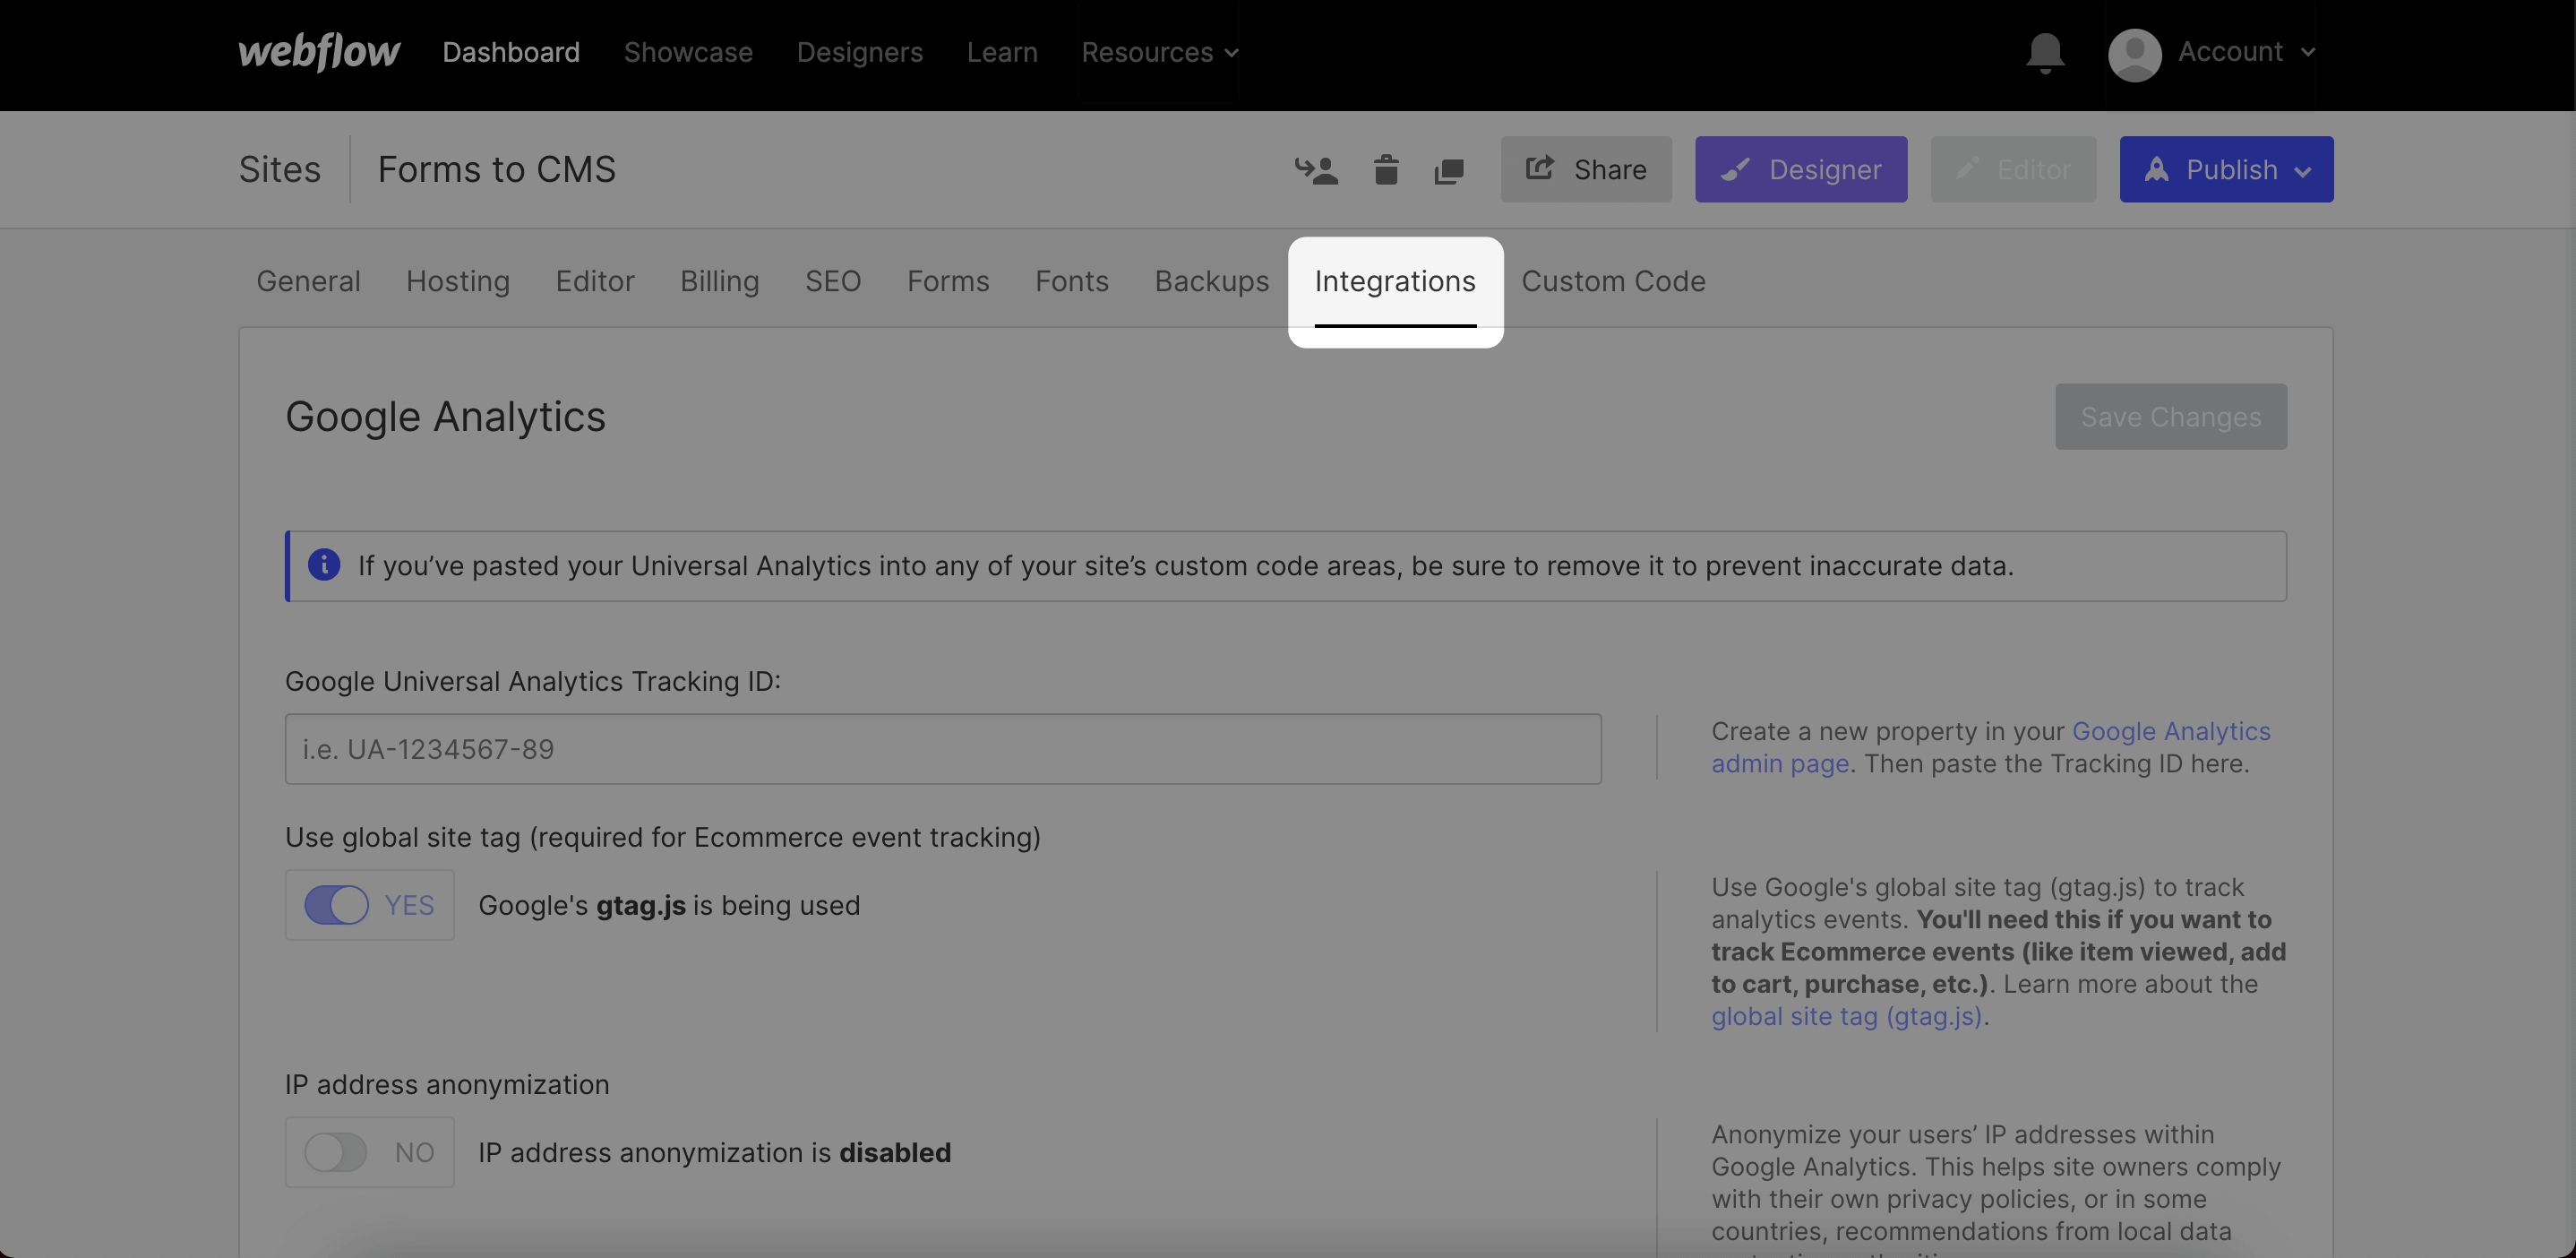
Click “Add Webhook”
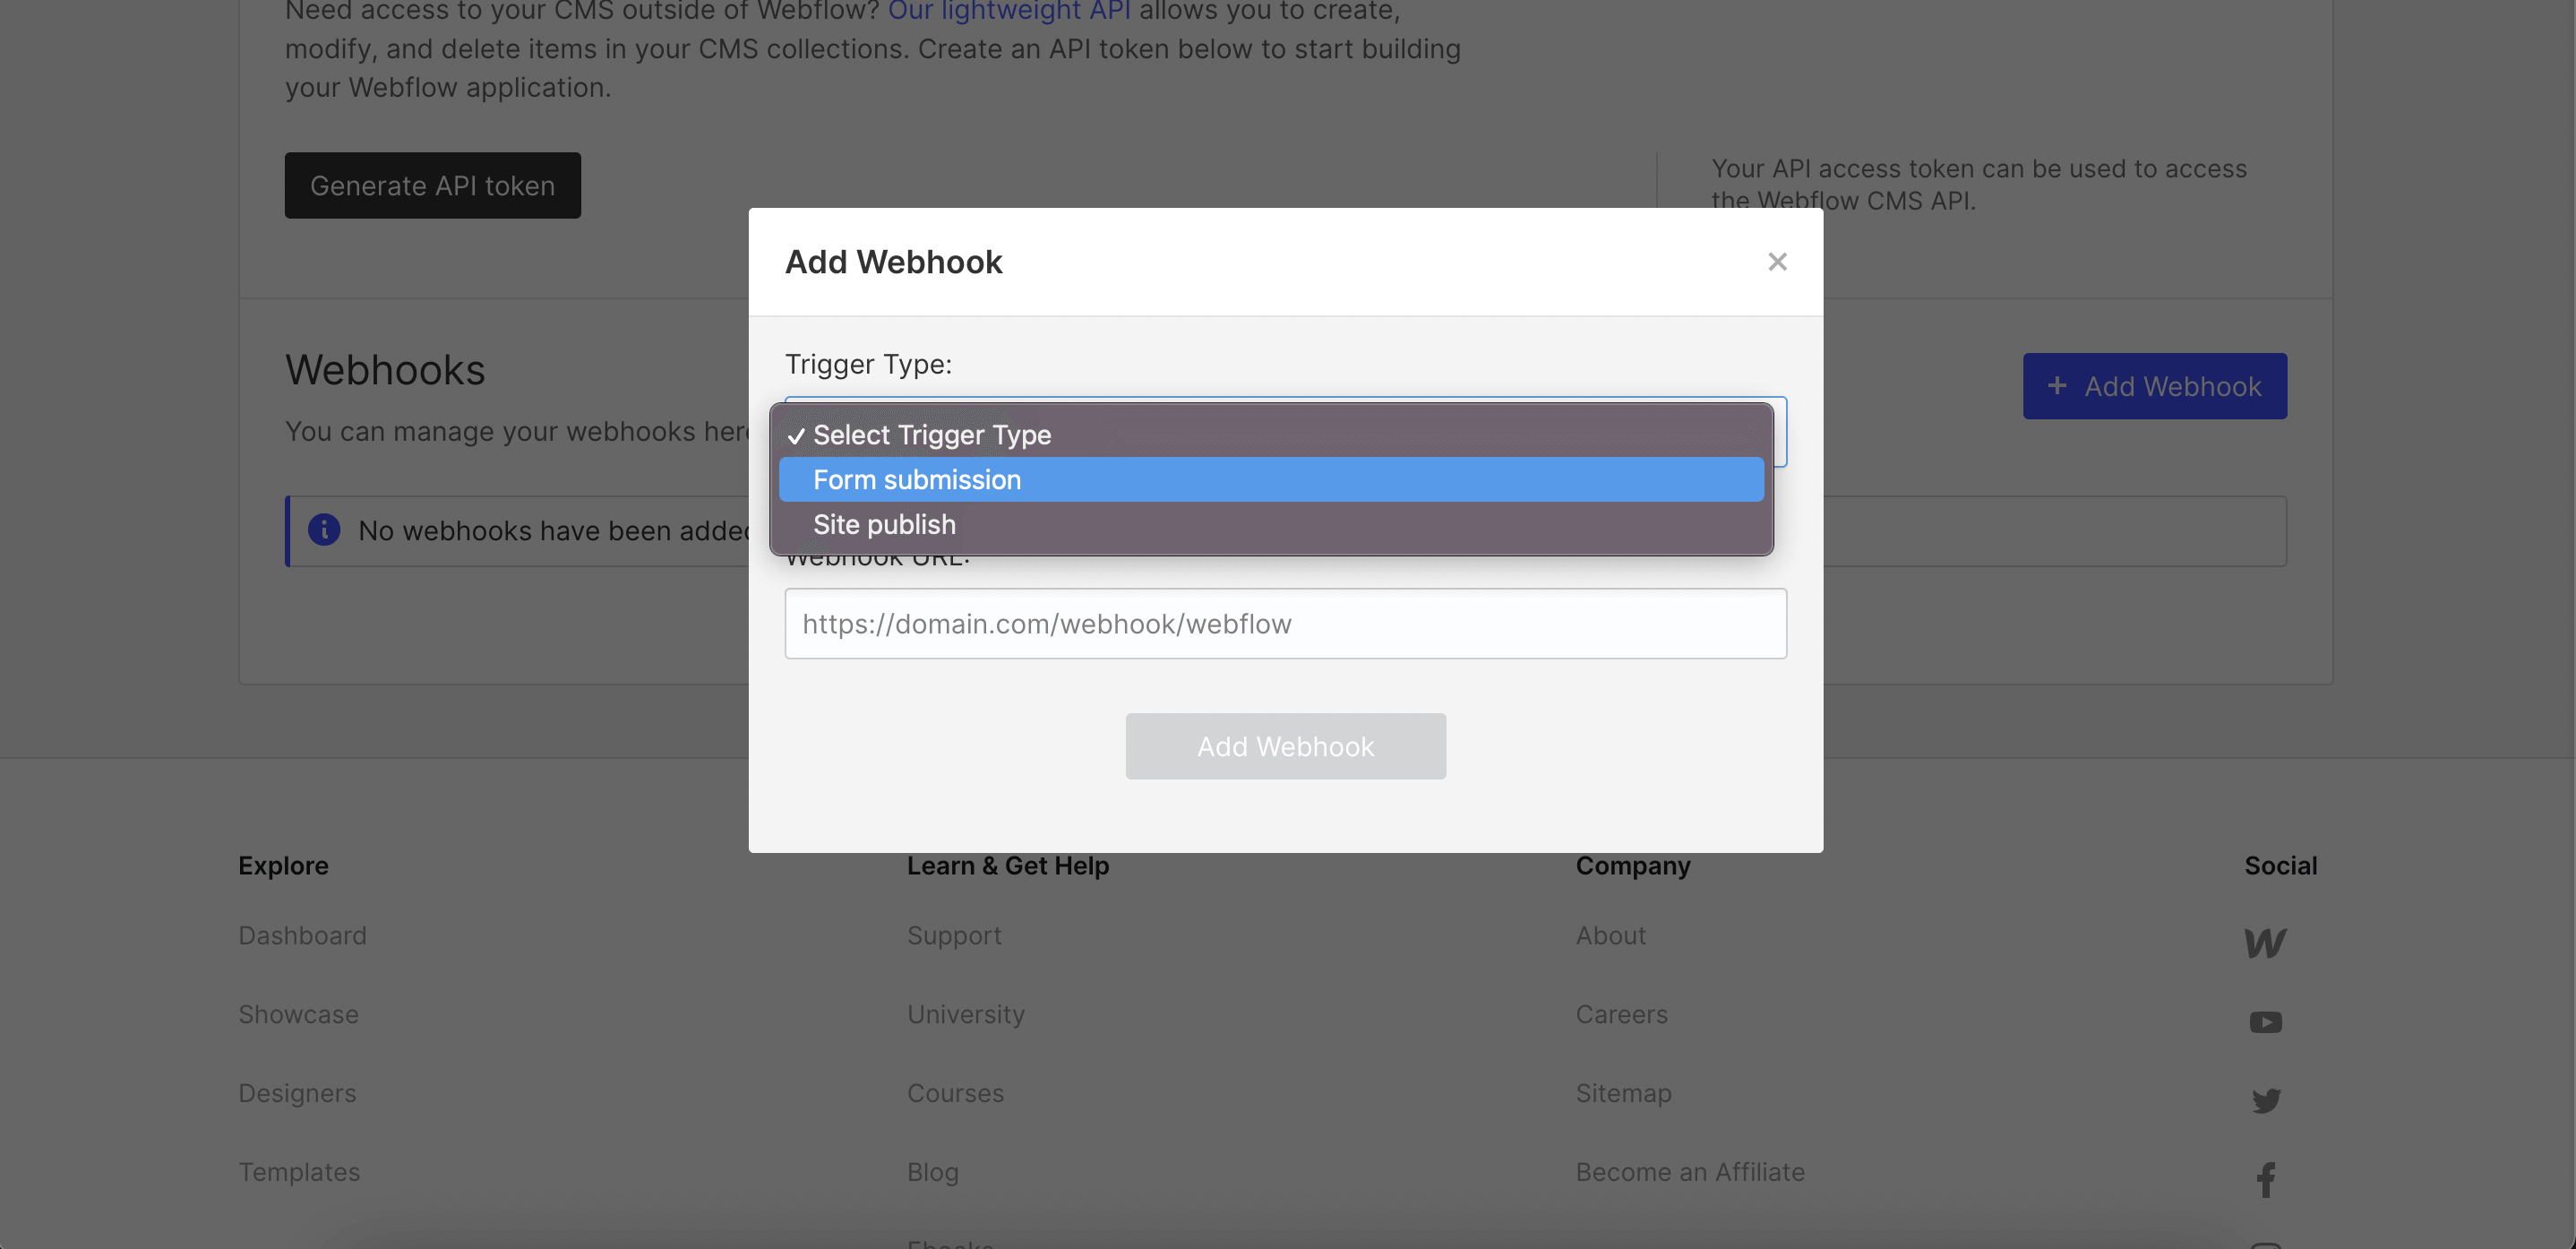
Trigger type = form submission, paste the Airtable Webhook URL
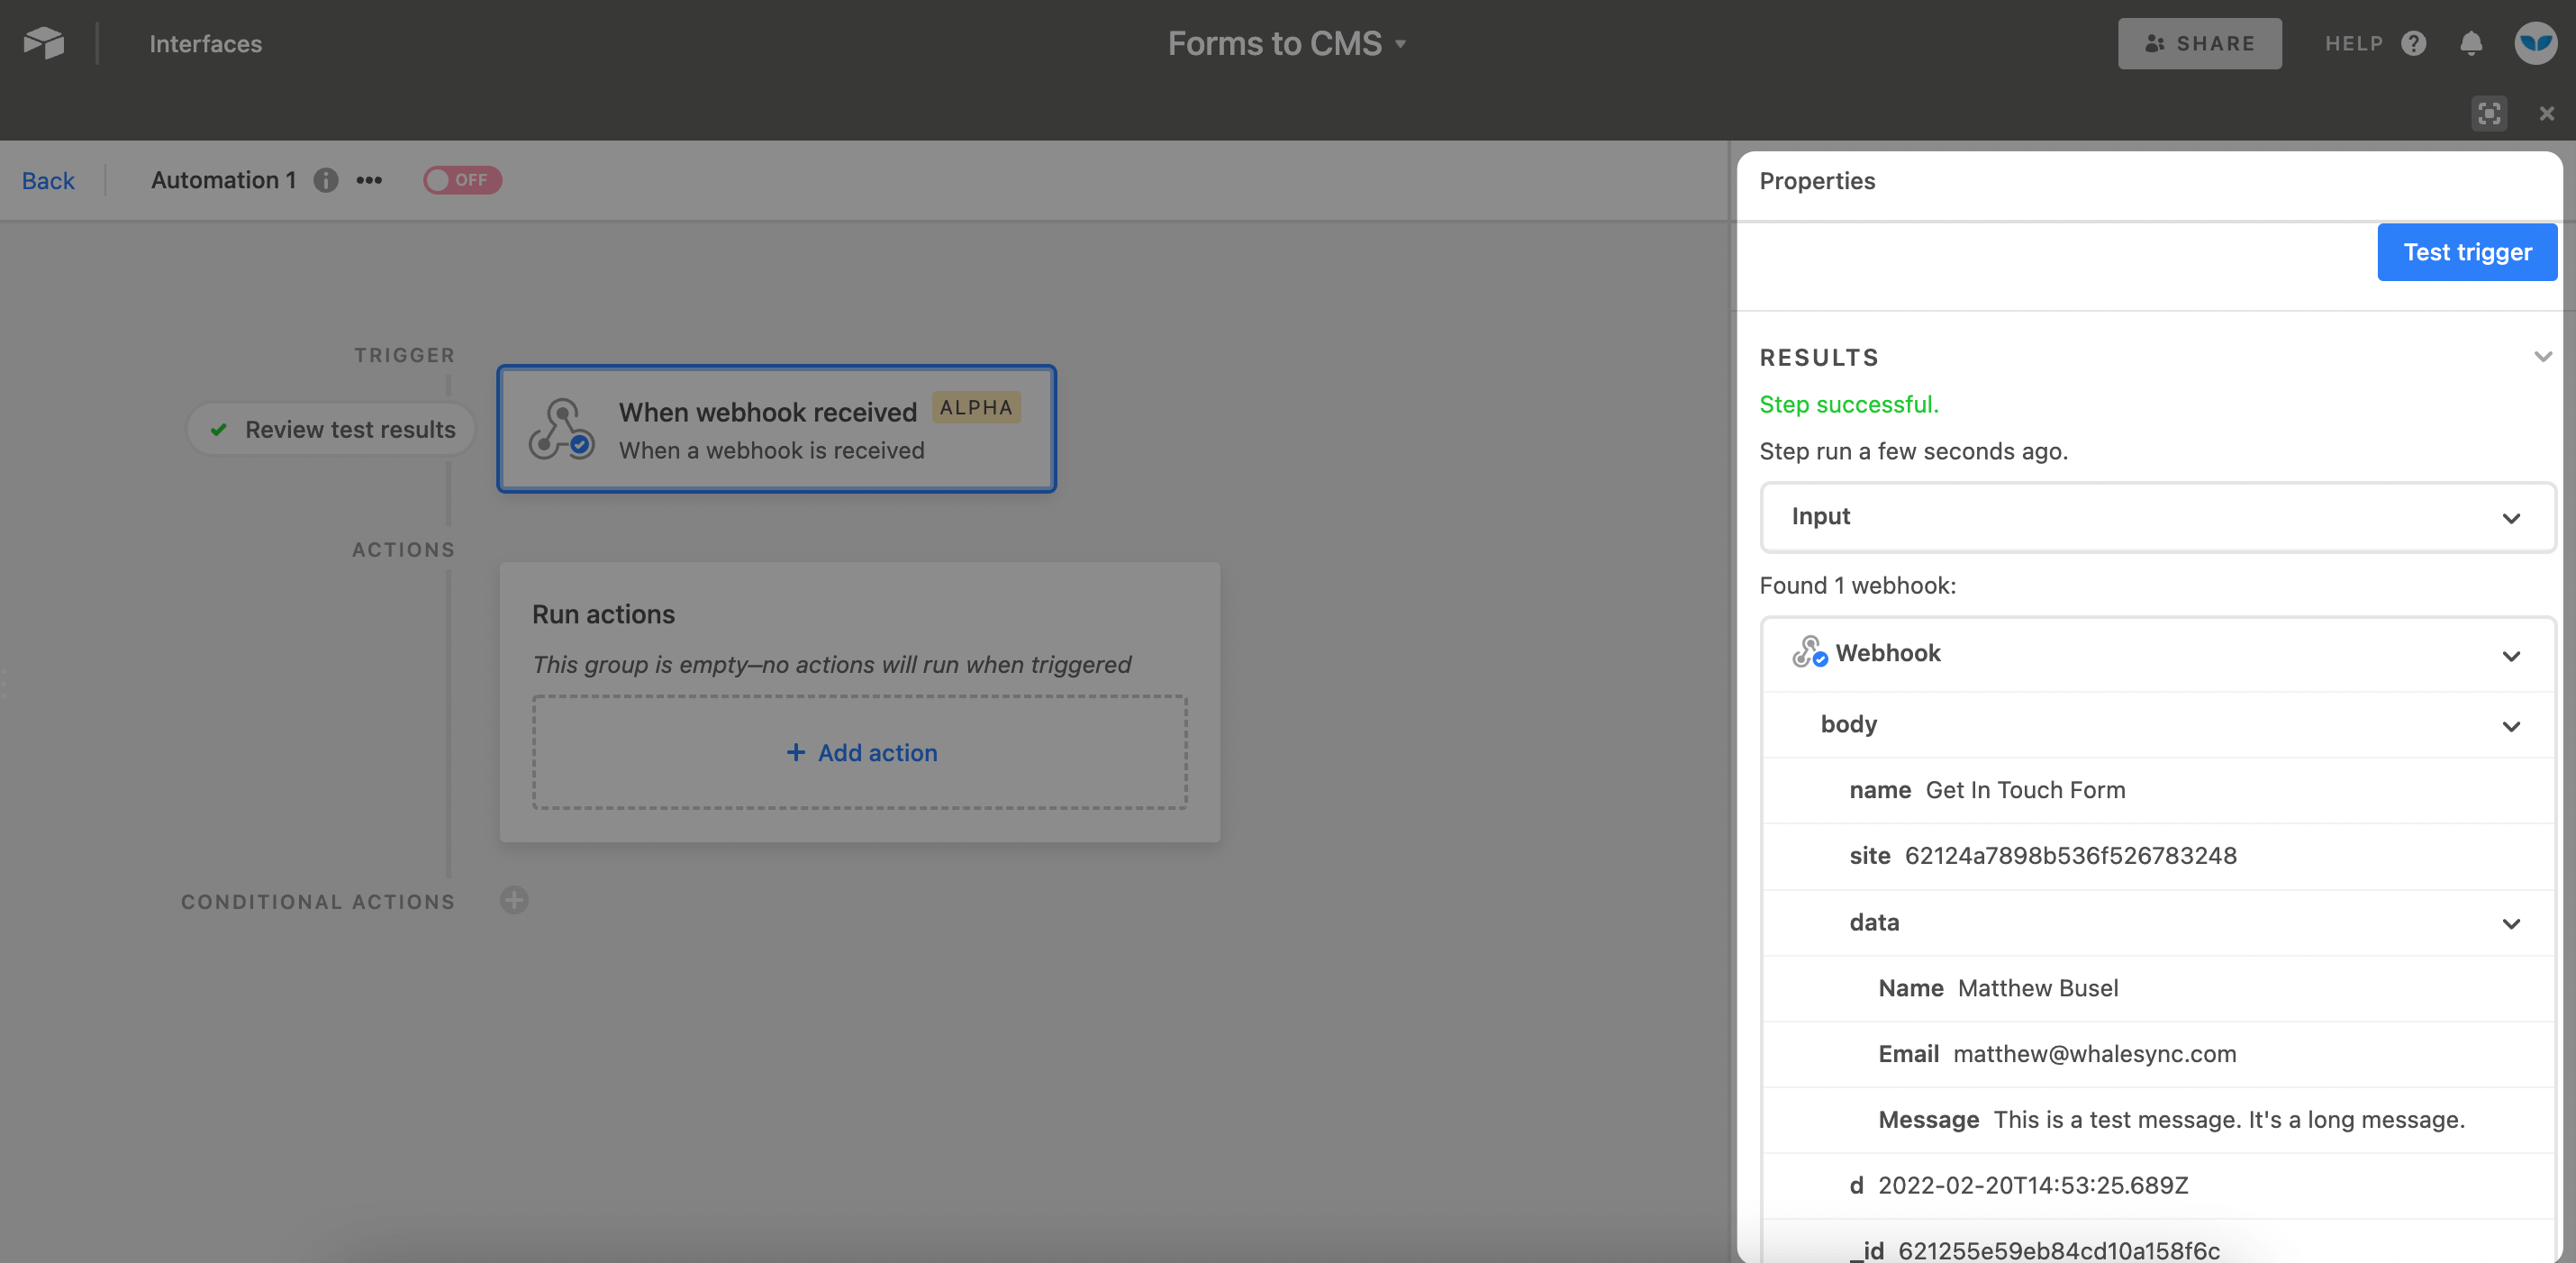
Publish Webflow site and run a test
- Publish your Webflow site again
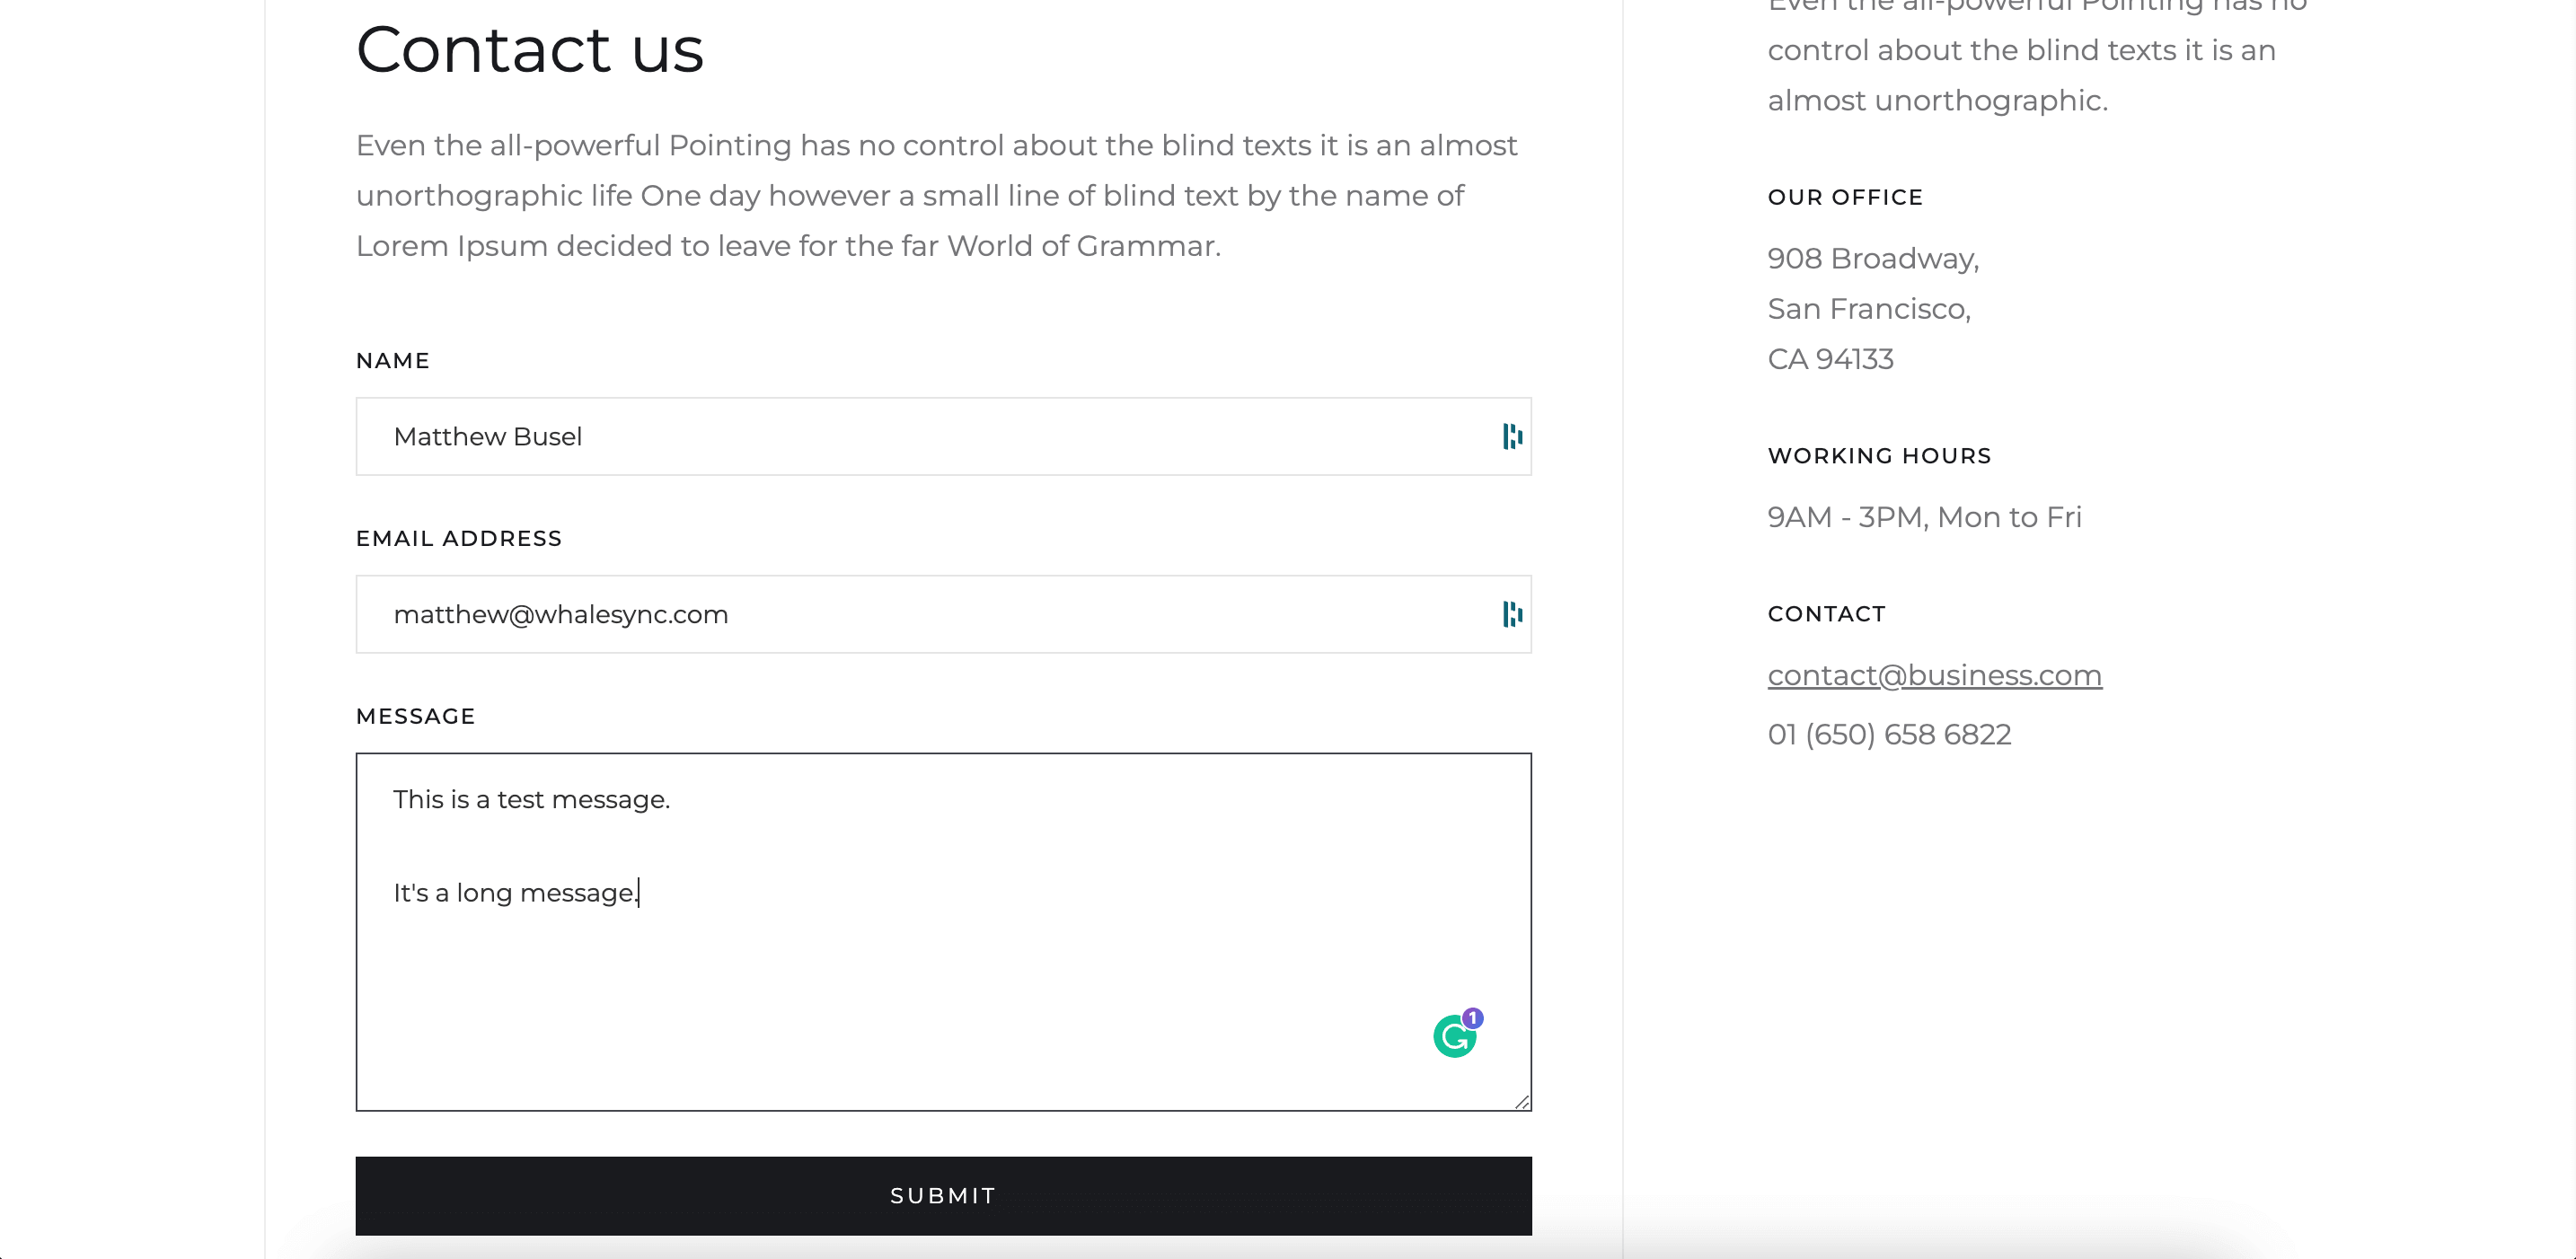
- Submit test data to the Webflow form
- In the Airtable automation hit “Test trigger”
- View the form data
5. Map form submissions to Airtable
In Airtable automation hit “Add Action” - “Create Record”
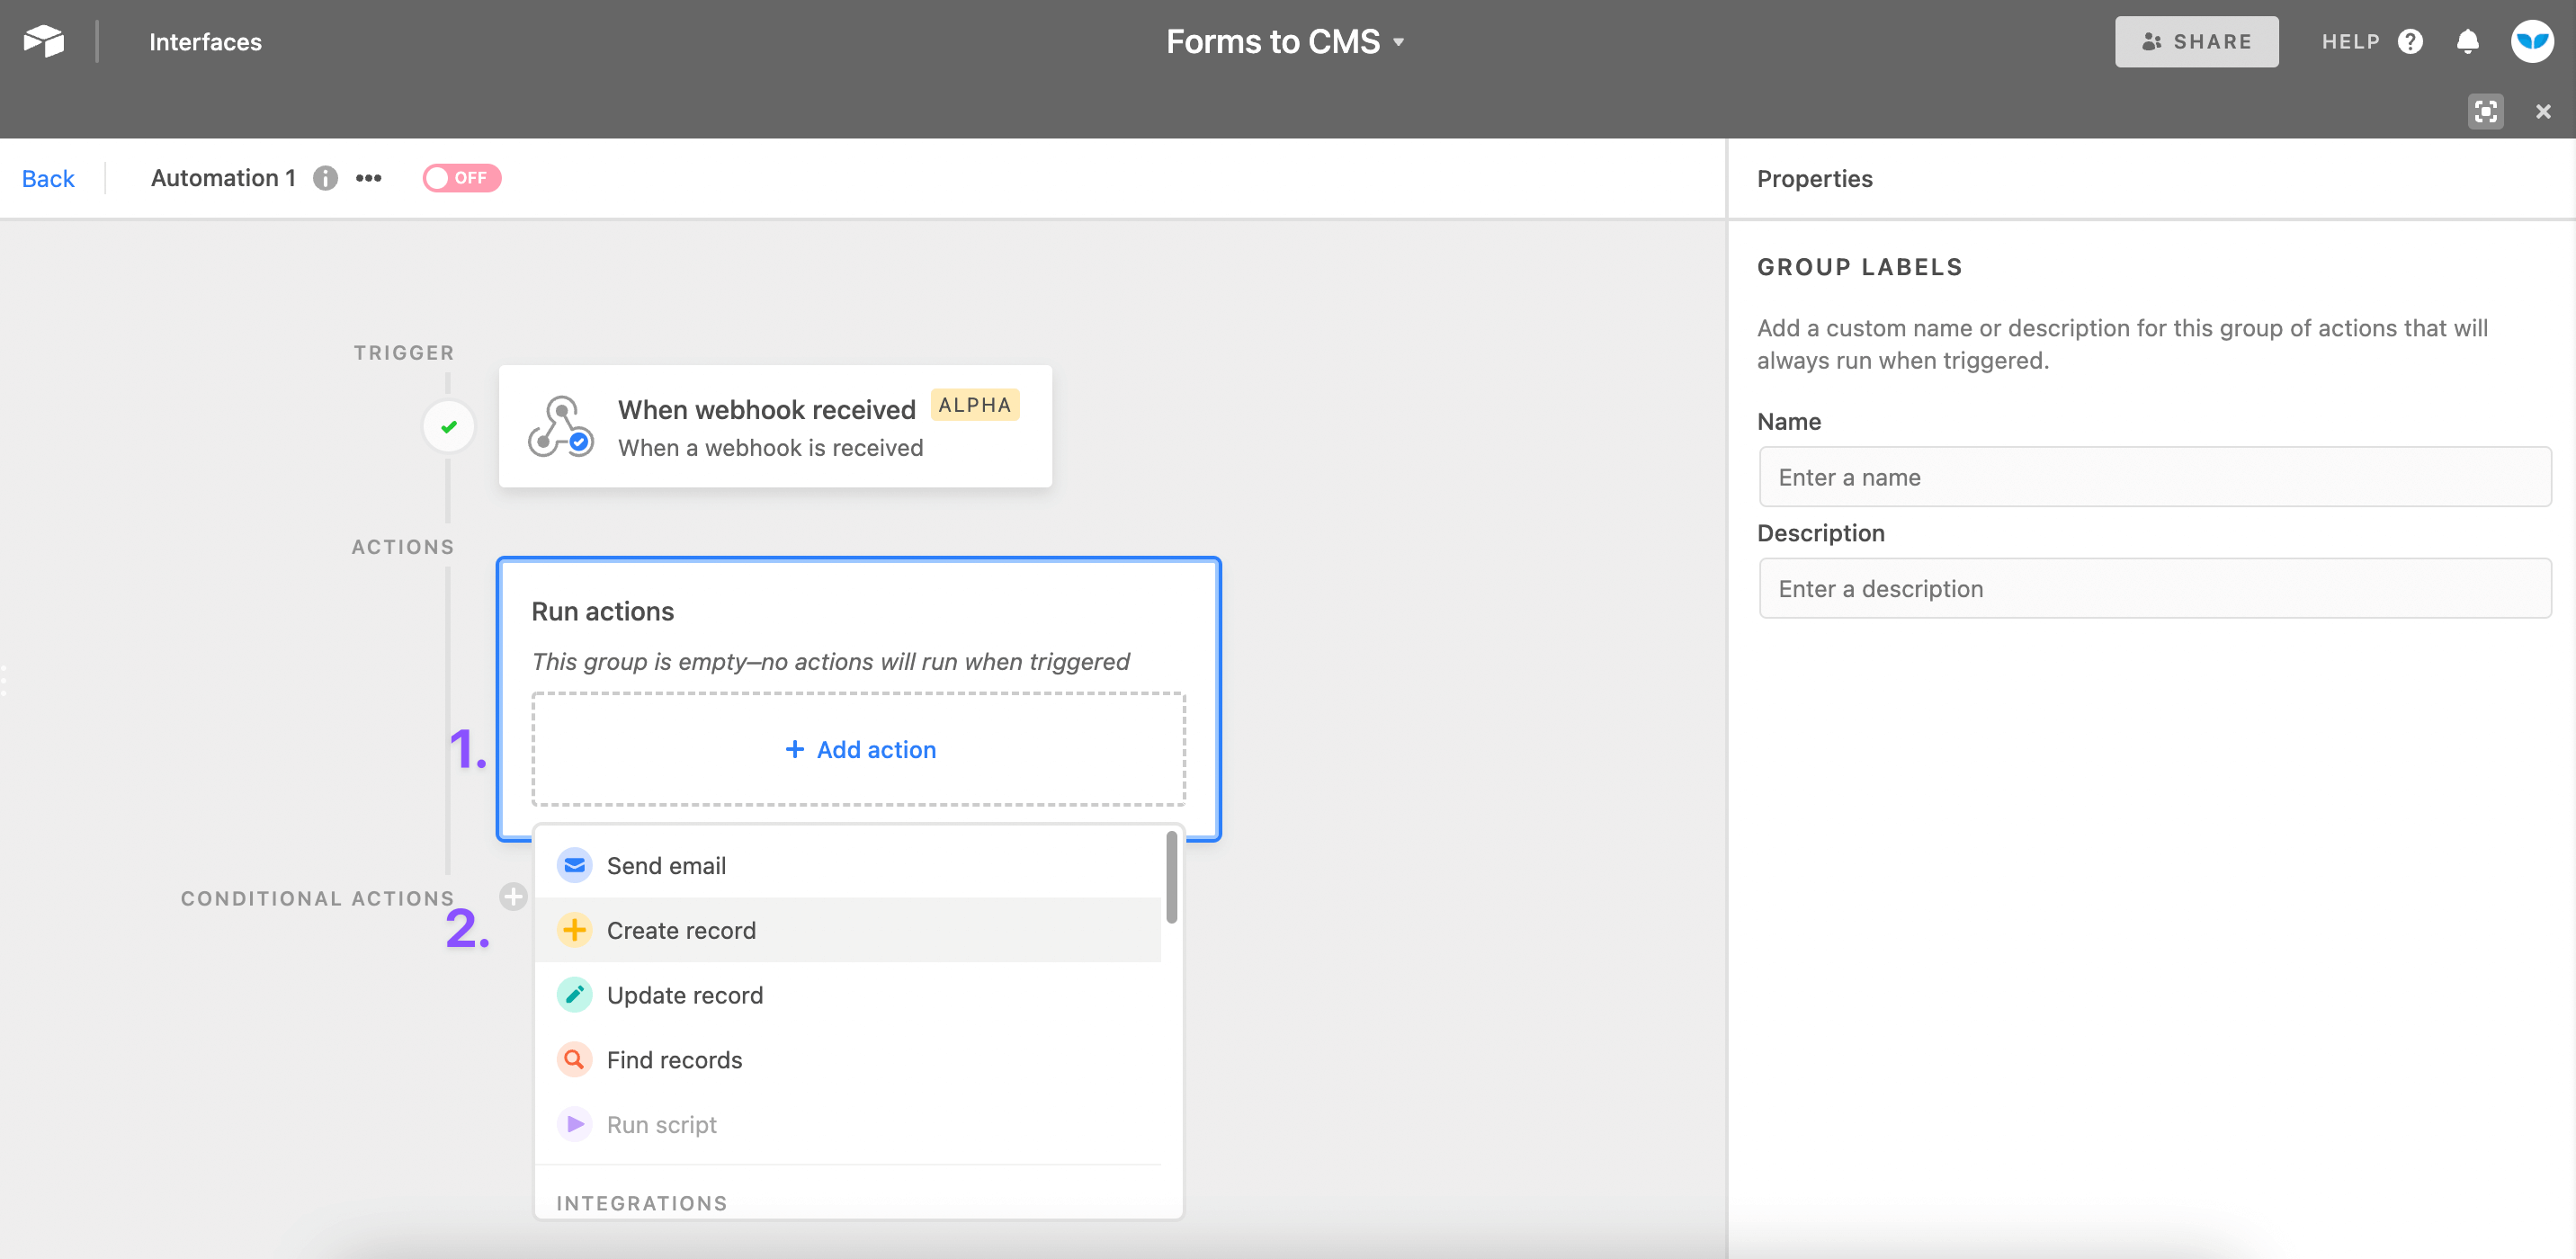
Select your table, choose the fields you want to populate, and map the data

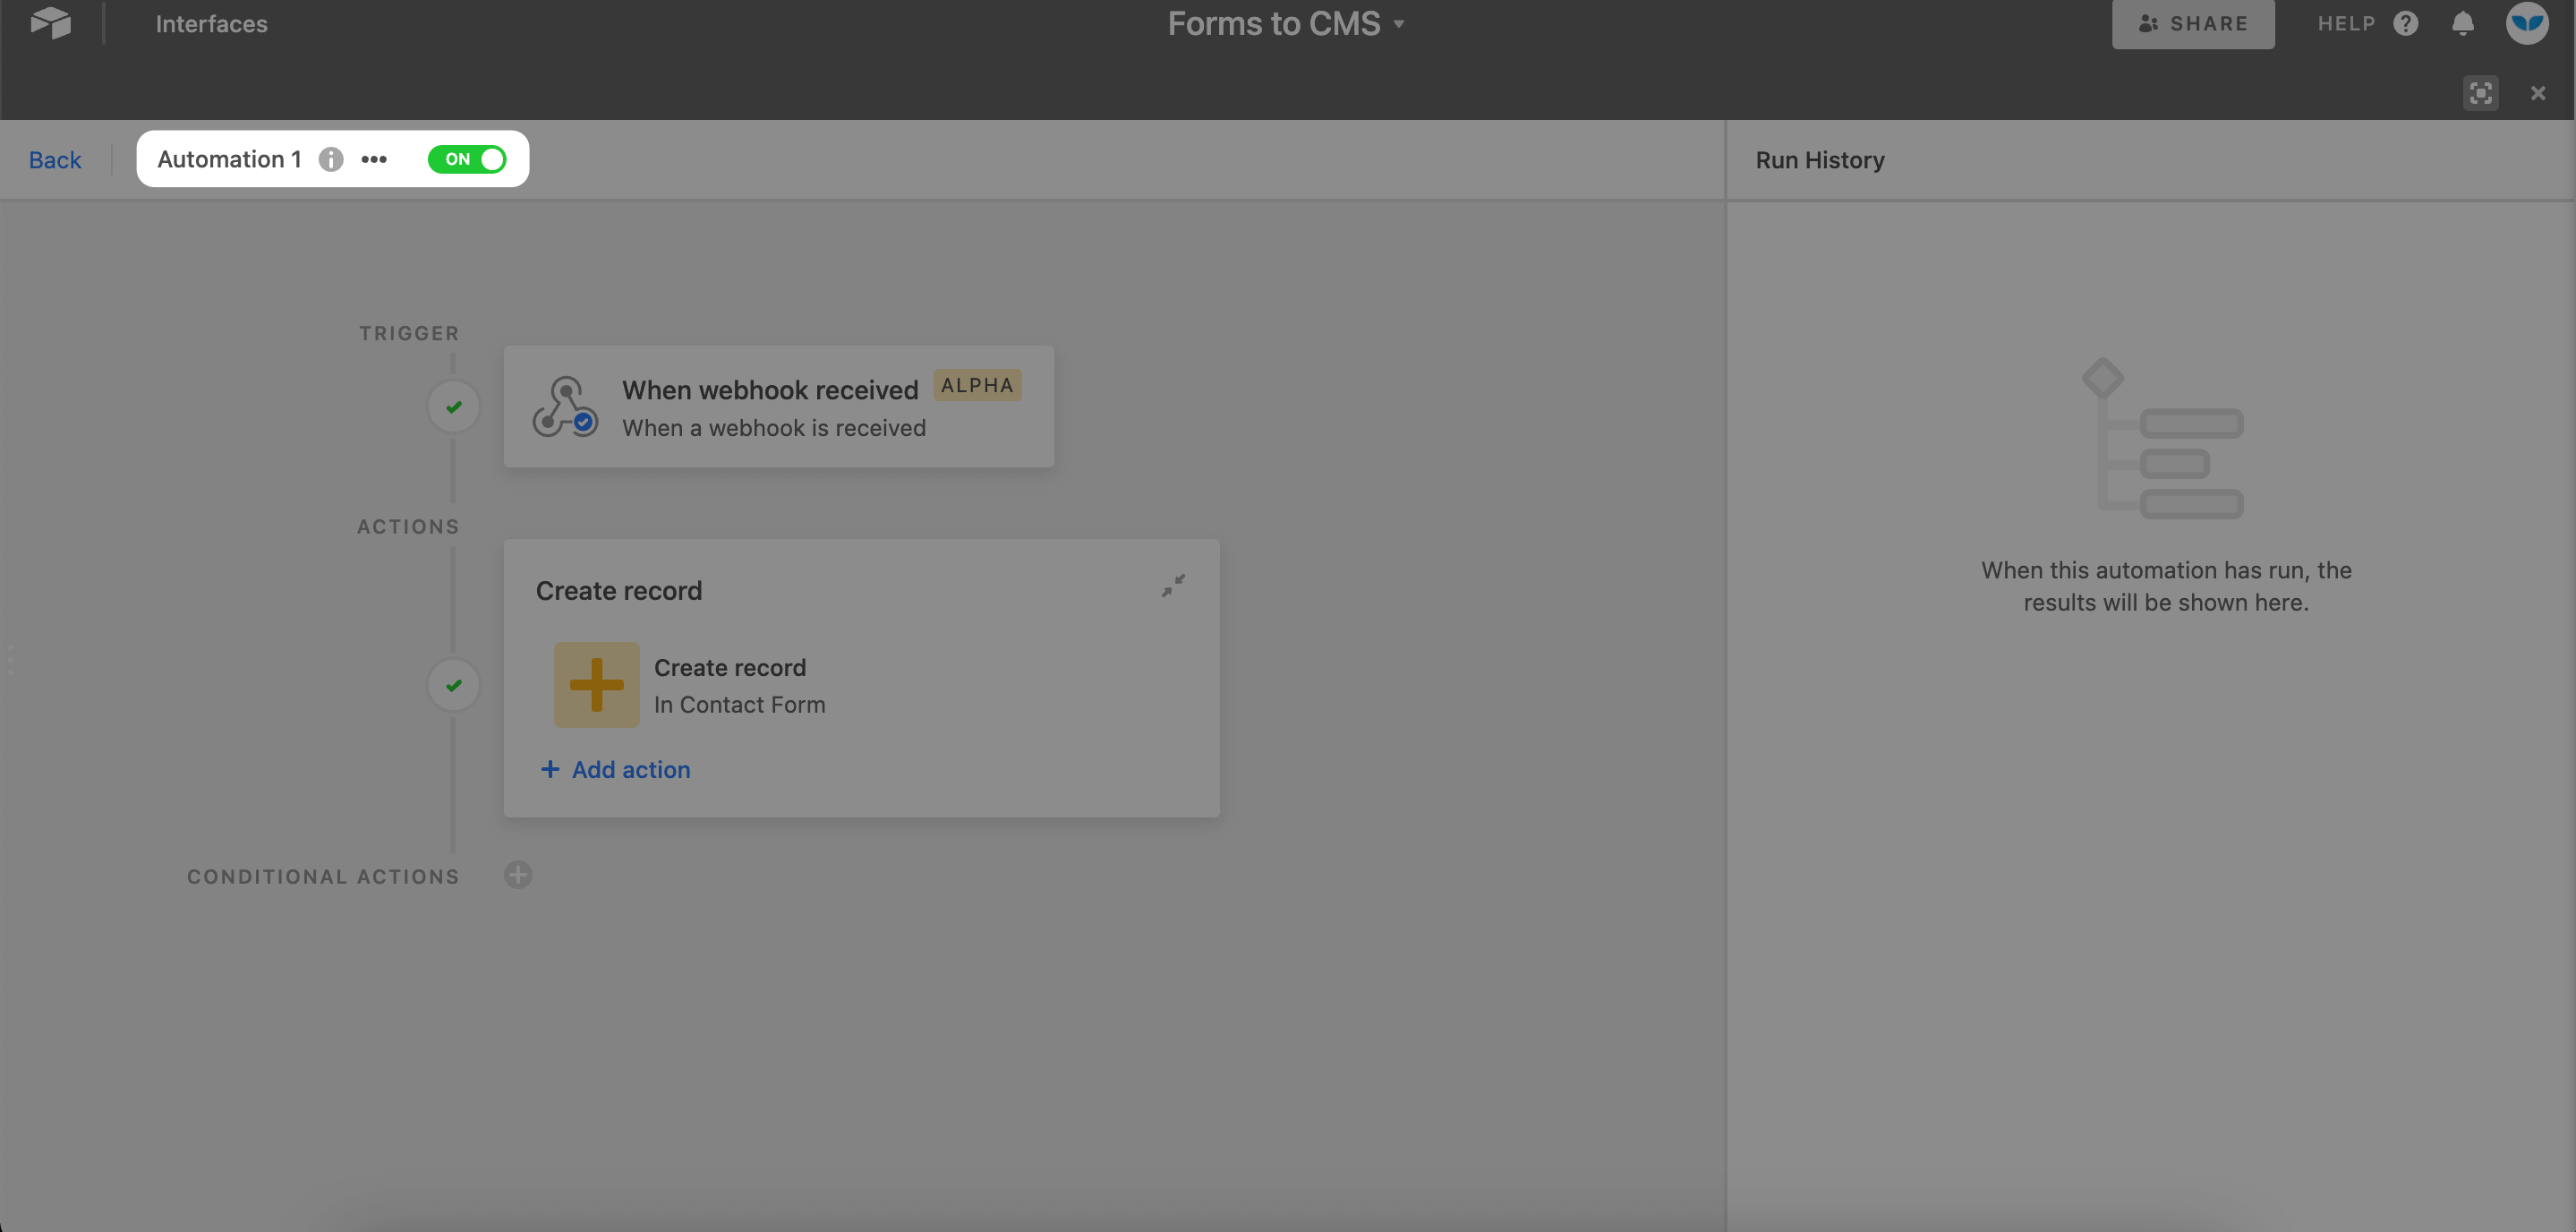
Test action and turn the automation on
- *Note - this workflow will trigger whenever any form on your site is submitted
- *Note - instead of mapping Slug, I used a formula to convert the Name to a Slug
Sync Airtable Data to Webflow CMS
Congrats! You made it to the easy part of this guide 🙂.
With your form data in Airtable, the last few steps are a breeze. With Whalesync, we can instantly sync our Airtable data to the Webflow CMS.
1. Set up Webflow CMS
Create a Collection with each of the same fields as your Airtable

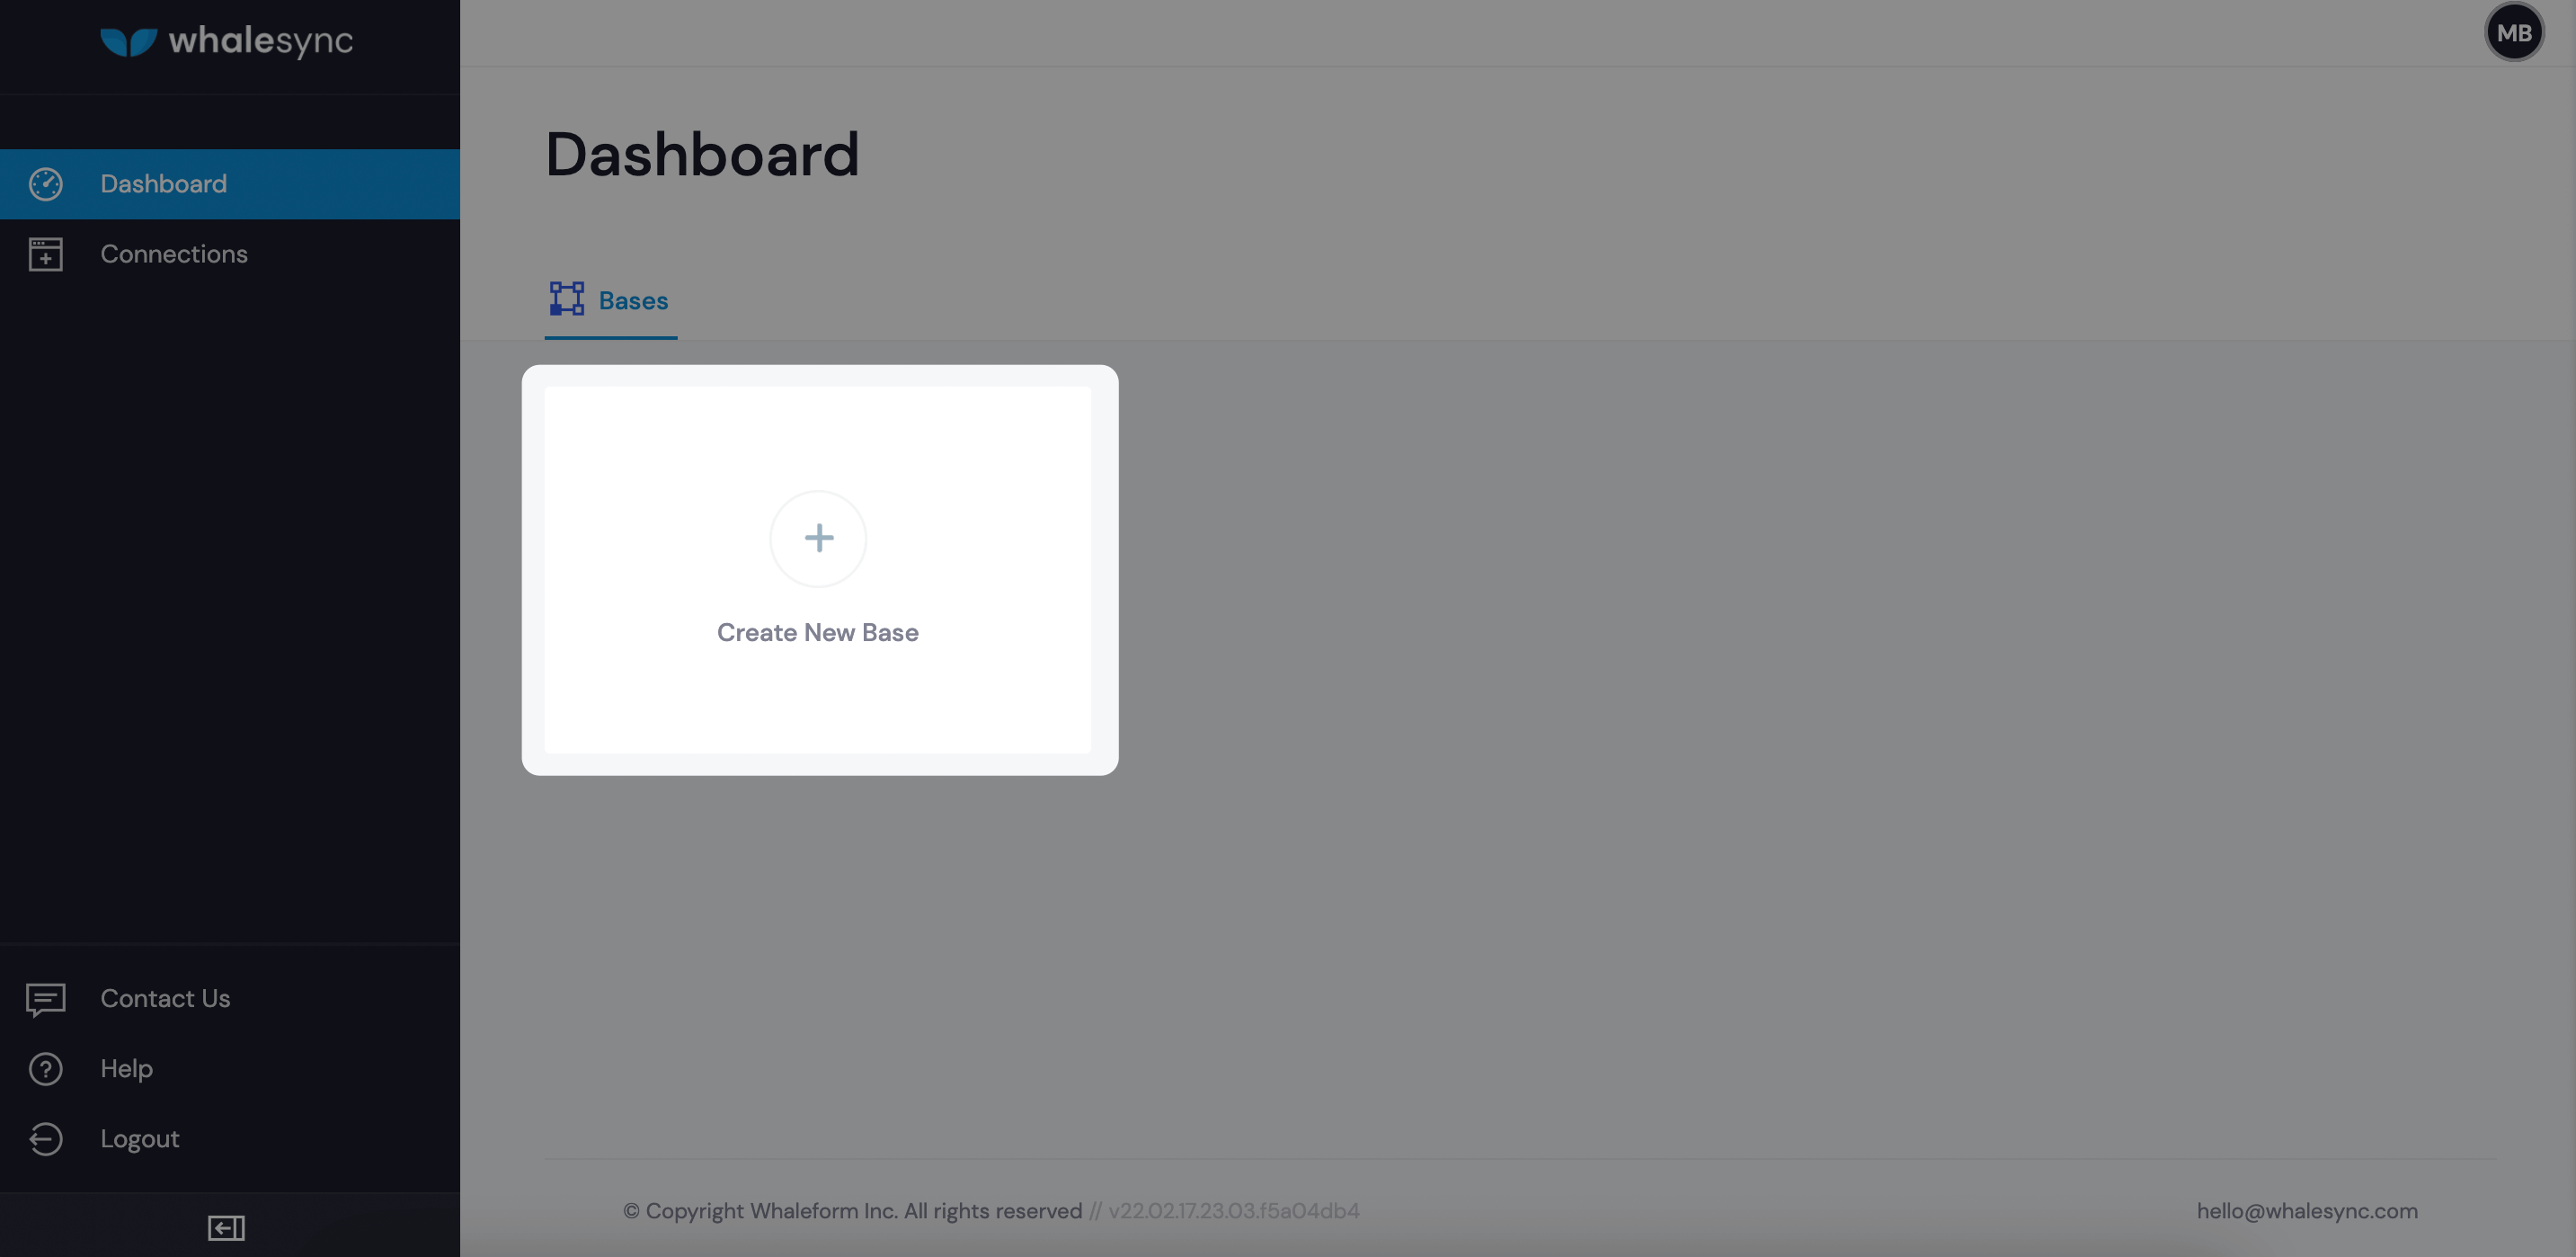
2. Set up Whalesync Base
Create a Whalesync base
- Connect Airtable with your Airtable API Key + Base Sharing Link
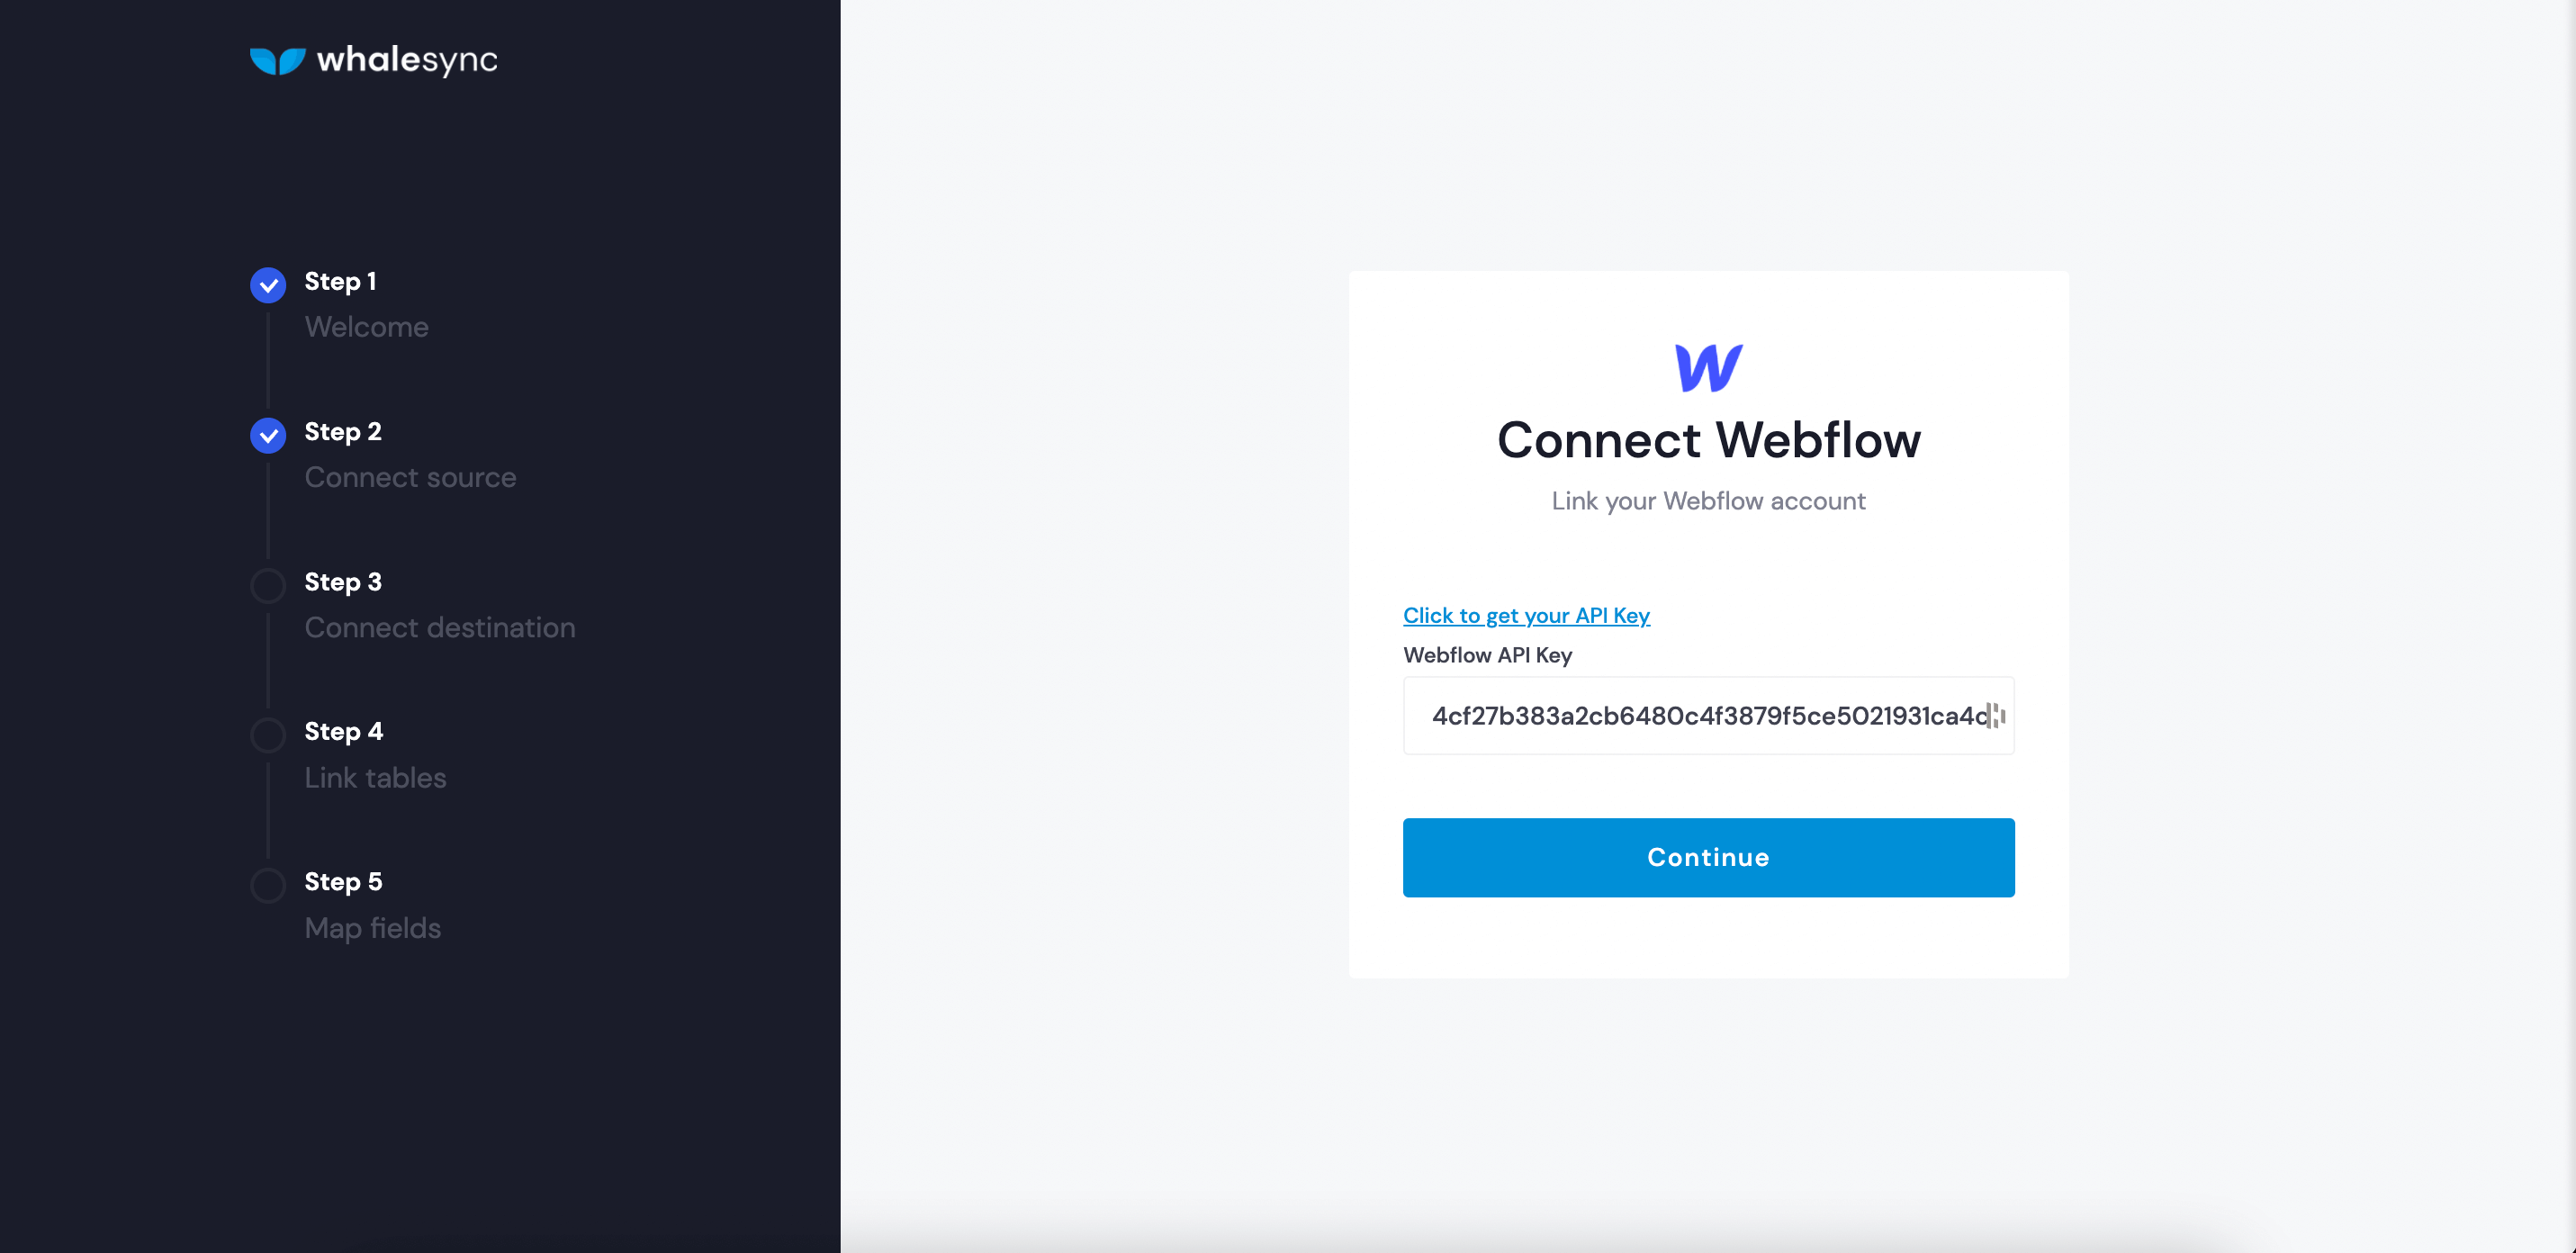
- Connect Webflow with an API Key
3. Map Airtable form fields to Webflow form fields
Map your Airtable table to your Webflow collection
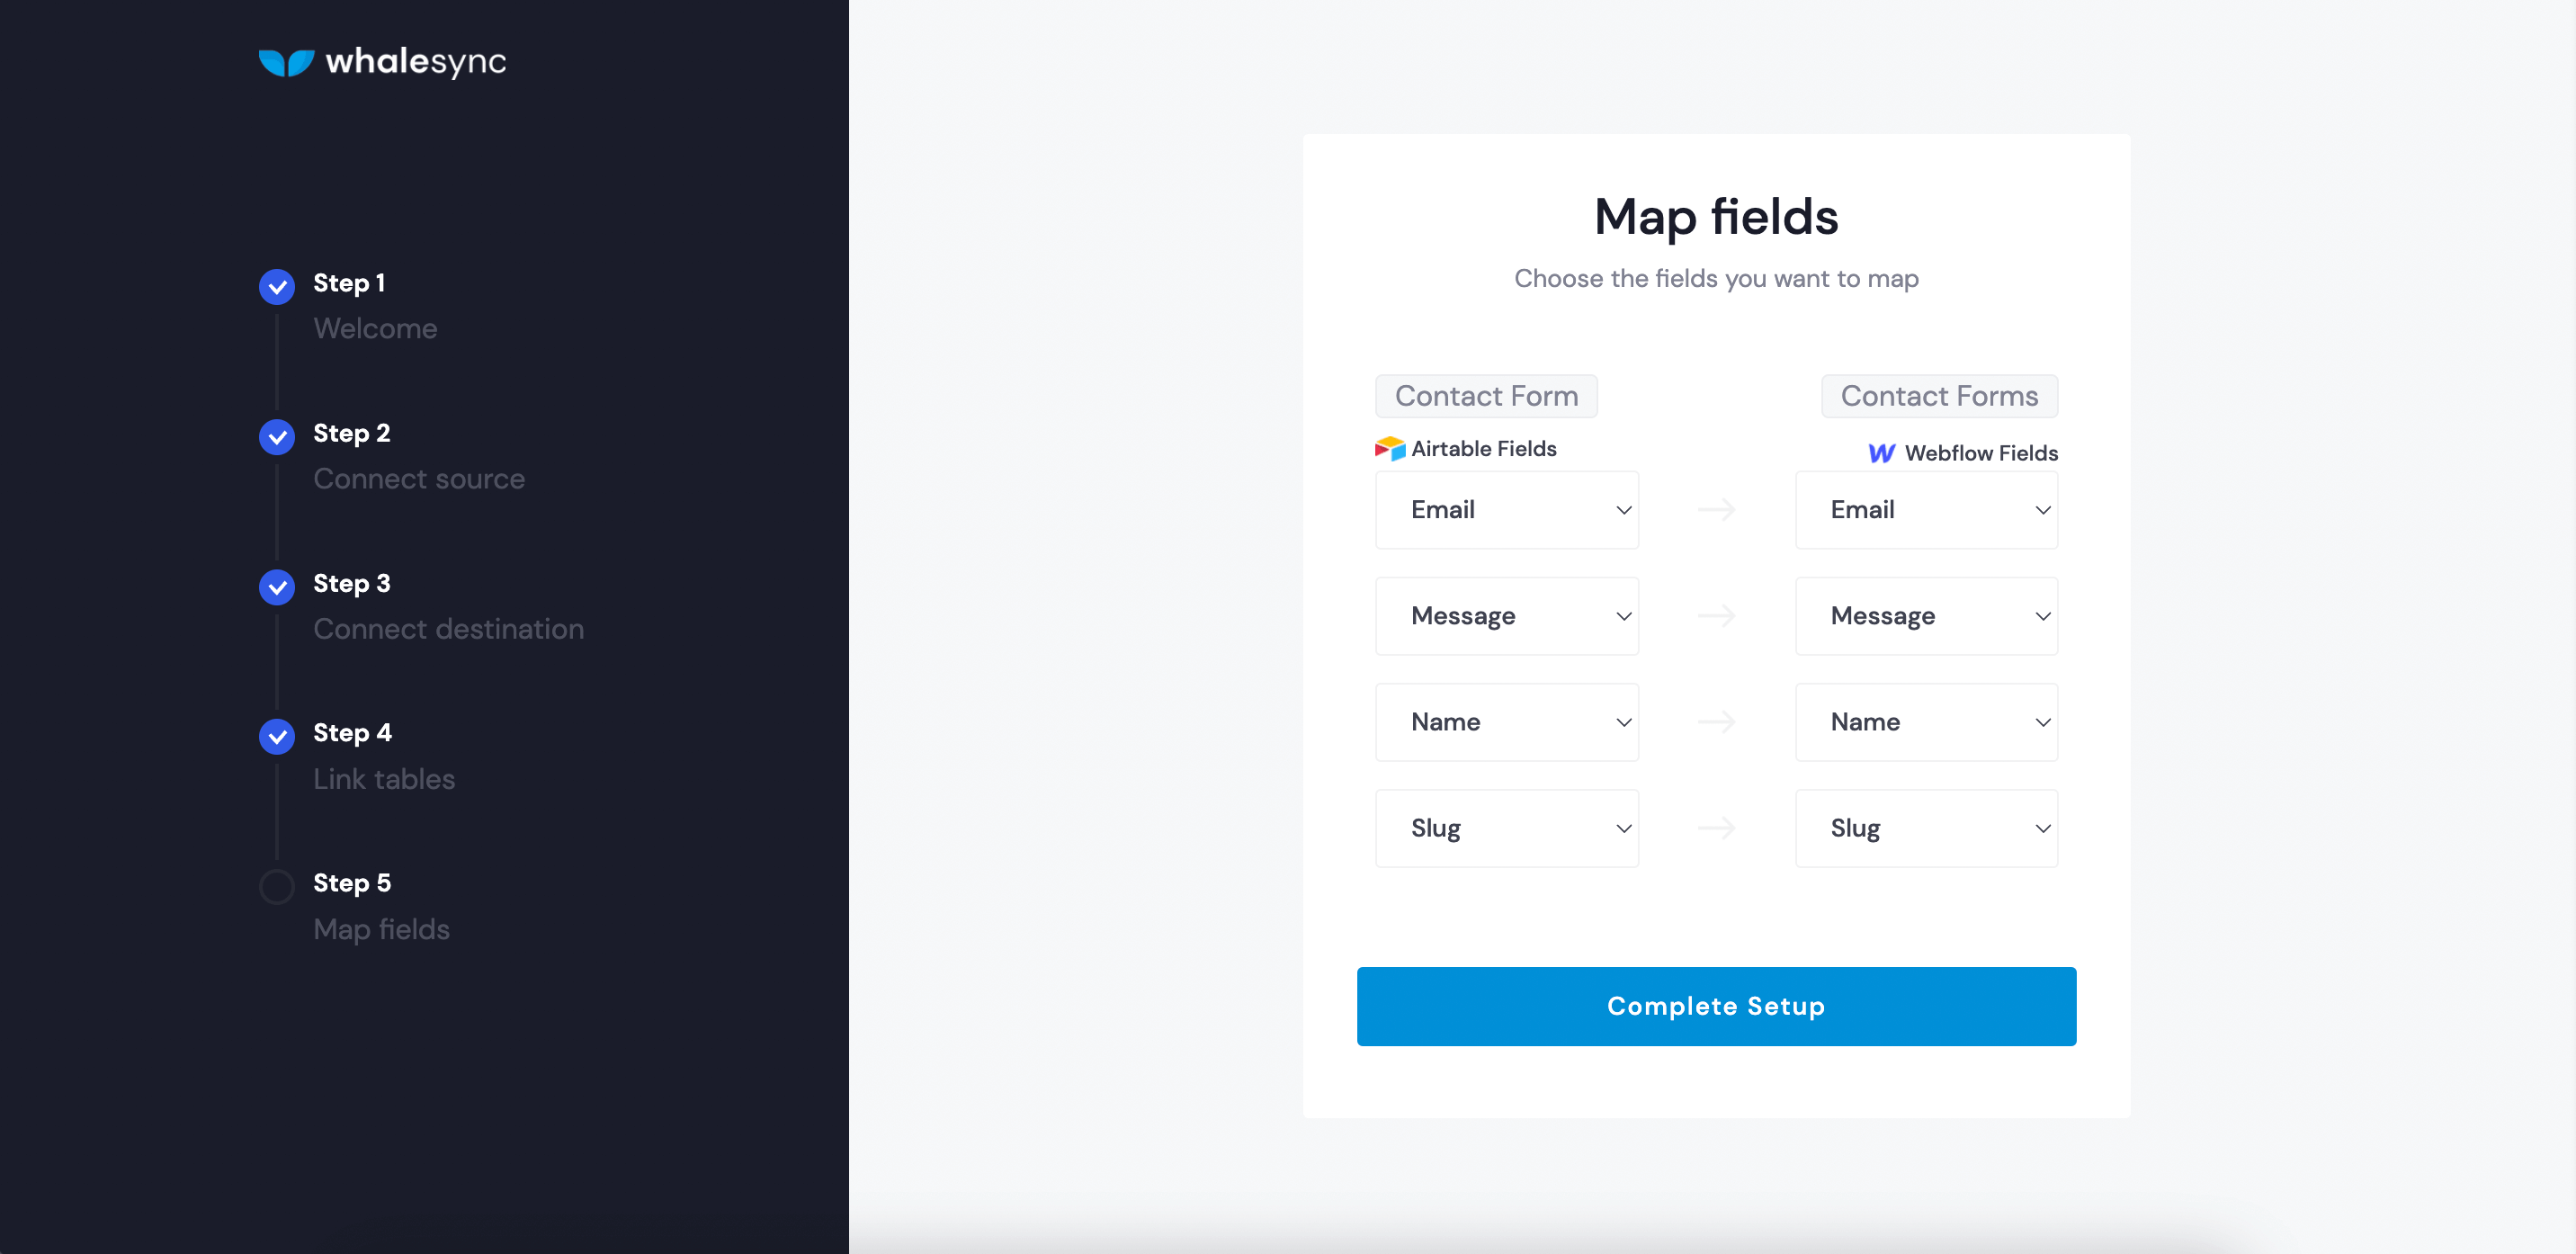
- Map each of the fields
- *Note - if your field names match exactly, Whalesync will auto-map them for you (⚡).
4. Turn syncing on
Toggle the blue switch to turn syncing on
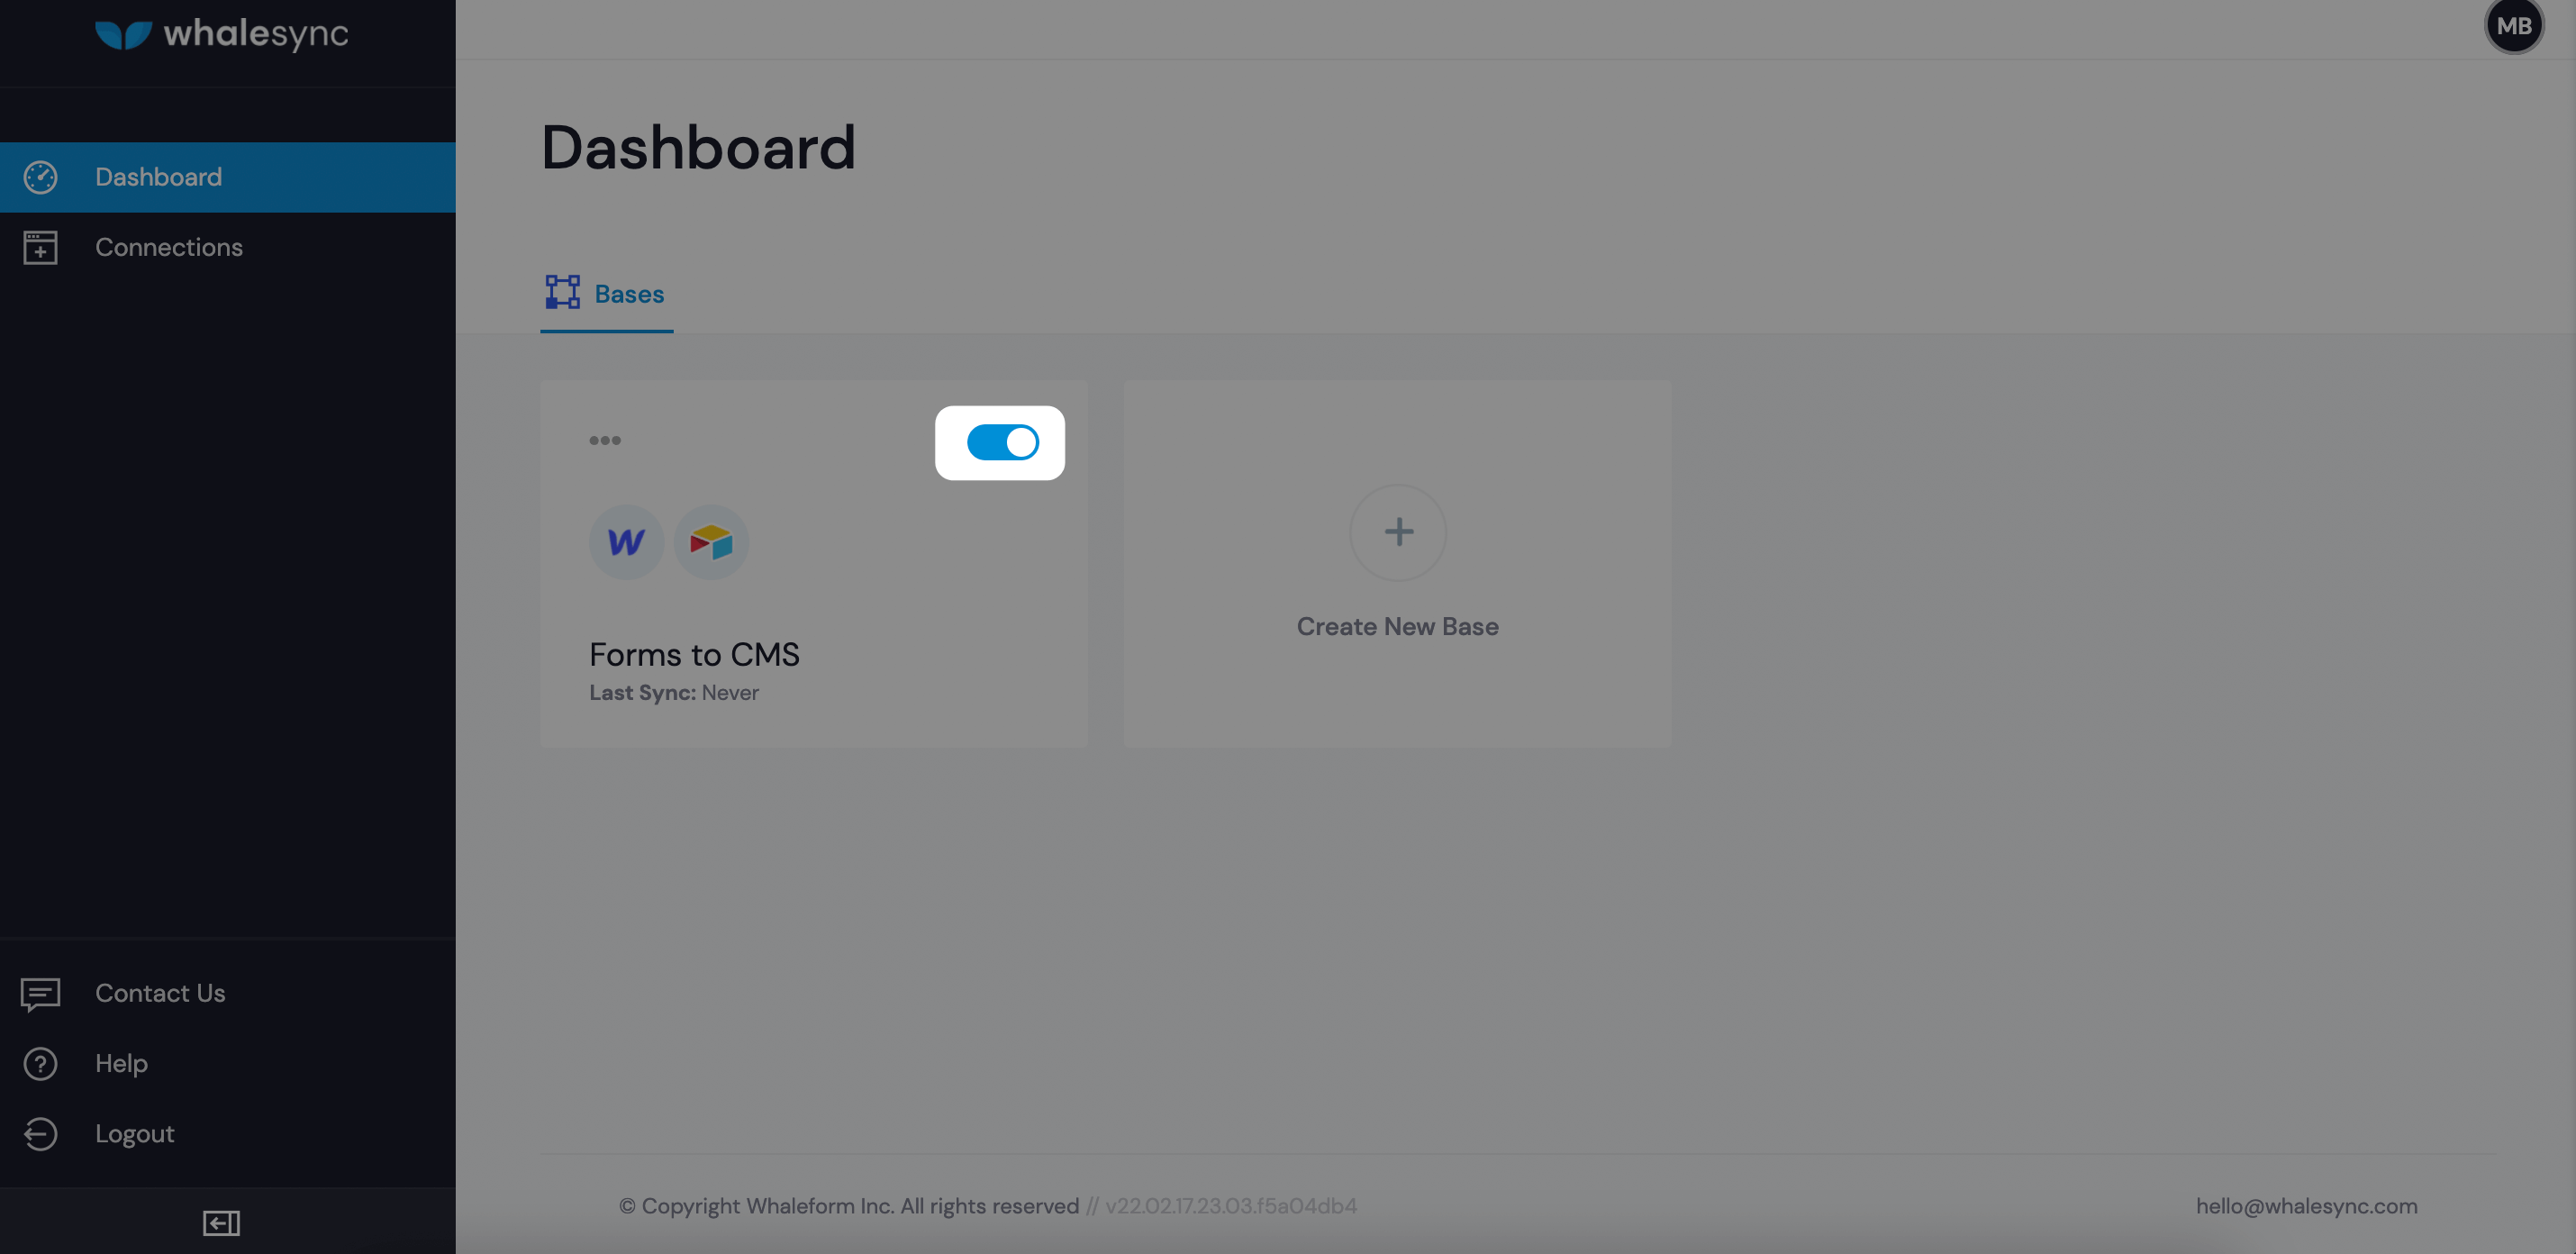
And that’s it! 🎉 When you submit your Webflow form, it will populate Airtable and then your Webflow CMS instantly. Enjoy!
For a quick overview of how to set up Whalesync specifically, check out our video guide:
Subscribe for more
Stay up to date with the latest no-code data news, strategies, and insights sent straight to your inbox!


.svg)


.svg)

