How to Build a No-Code Resource List
Curate and display thousands of resources using Airtable and Webflow.

I’m a tool fanatic. One of my favorite feelings is discovering a new piece of software that helps me achieve my goals. That’s why it’s been amazing to see the recent proliferation of curated resource lists. Every week, people share new collections that help product managers, designers, no-coders, and more.
At Whalesync, we’re inspired by our users who’ve put together amazing resource lists like Create Better and Beyta. Although it takes time to curate high-quality collections, building the site for these collections can be surprisingly easy. In this tutorial, I’ll walk through how to build a resource list displaying thousands of resources... all with no code.

1. Curate the list
Tool: Airtable
Curating a useful resource list starts with deciding what type of list you want to create. A few questions to ask yourself:
- What list do you wish existed in the world?
- What topic would be fun to research?
- What lists have you accidentally created over time?
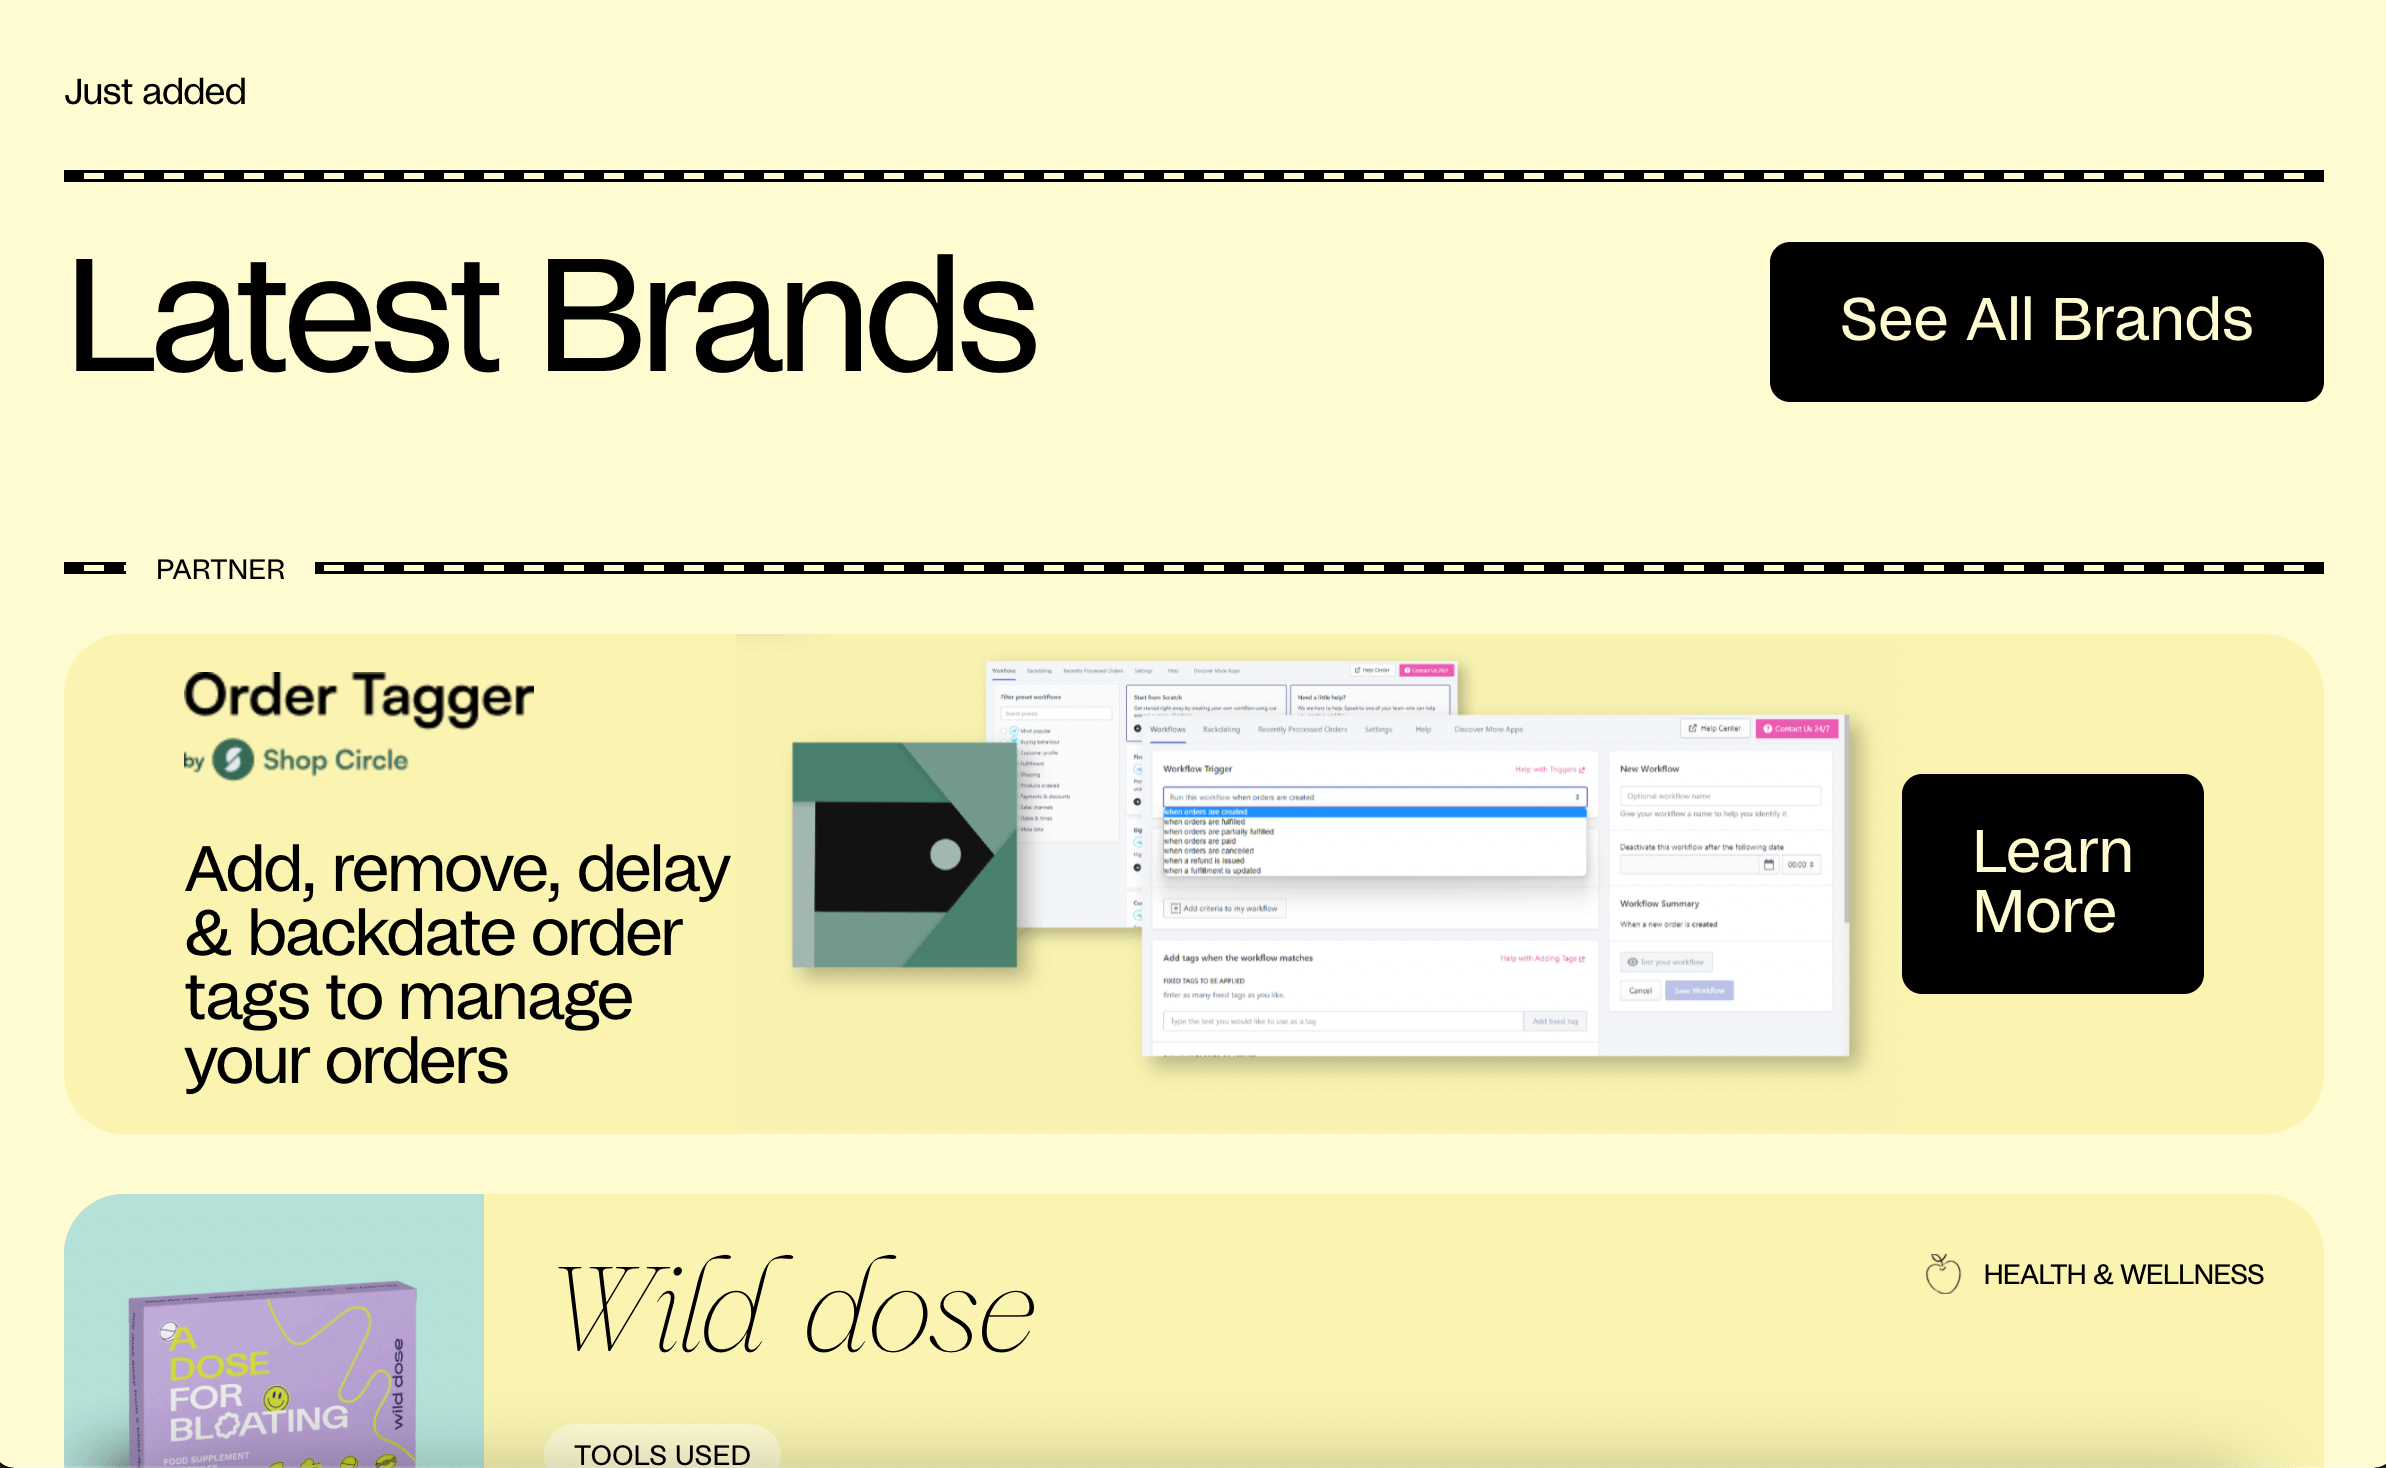
For example, take a look at 1-800-D2C, made by the fantastic creator Tim Masek. 1-800-D2C curates all the best tools for e-commerce brands in a beautiful Webflow site. Check out his No-Code Conf talk to hear how Tim came up with the idea.
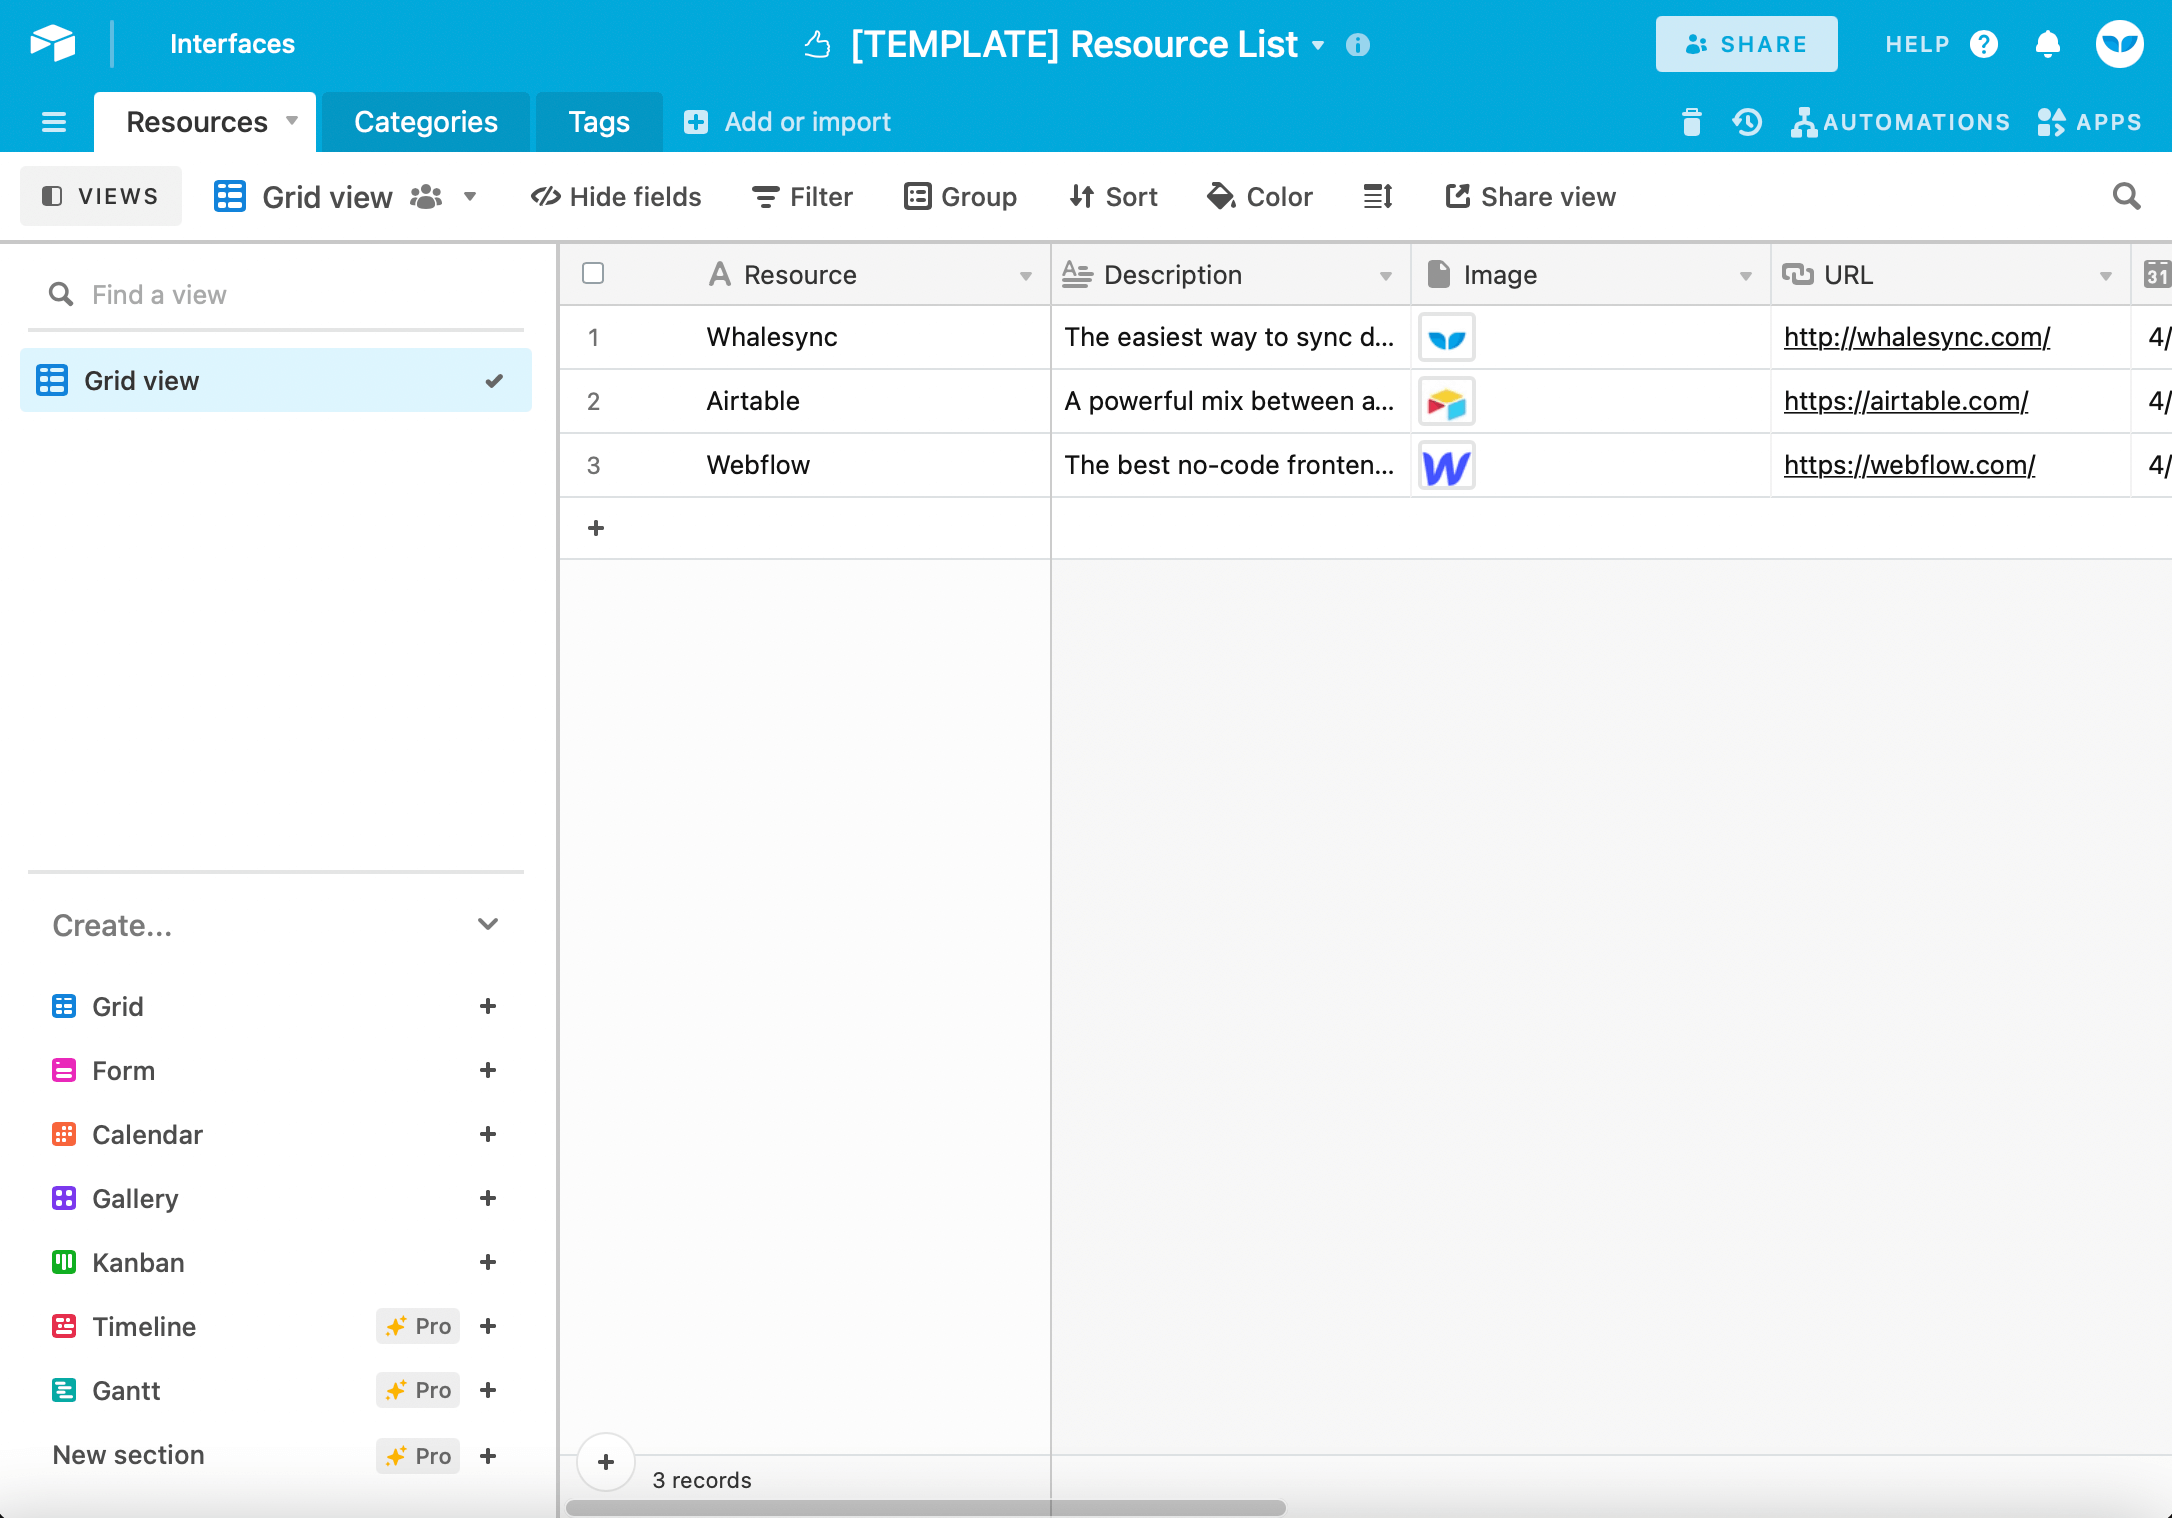
Once you’ve decided what type of resource list to create, you can start populating your list in Airtable. In the beginning, I wouldn’t worry too much about formatting everything perfectly. Instead, build momentum by getting as many quality resources down as possible. Later, you can always come back and tweak things to ensure consistency.
Feel free to copy our Airtable Resource List Template as a head start. A few fields you may want to consider including:
- 📝 Resource name
- 📝 Description
- 🖼️ Image
- 🔗 URL
- 📅 Date Posted
- 🔽 Category
📌 Note - Avoid using the Multi-Select field in Airtable as Webflow doesn’t have an equivalent field. Instead, create a second table and use the Linked Record field.📌
2. Create collections
Tool: Webflow
Now that we’ve curated our list, we need to display the list in a way that’s easily digestible. Technically we could just share our spreadsheet, but it’s worth investing in design. A solid design helps build trust with our users. CreateBetter, Beyta, and 1-800-D2C all have unique looks that speak to their target audiences.
Luckily, we have Webflow, which lets you customize your site’s design without code 🙂. Although Webflow is super powerful, it does have a bit of a learning curve. For purposes of this guide, I’ll focus specifically on creating a resource list and not design. For tips on designing a beautiful site in Webflow, check out Webflow University.
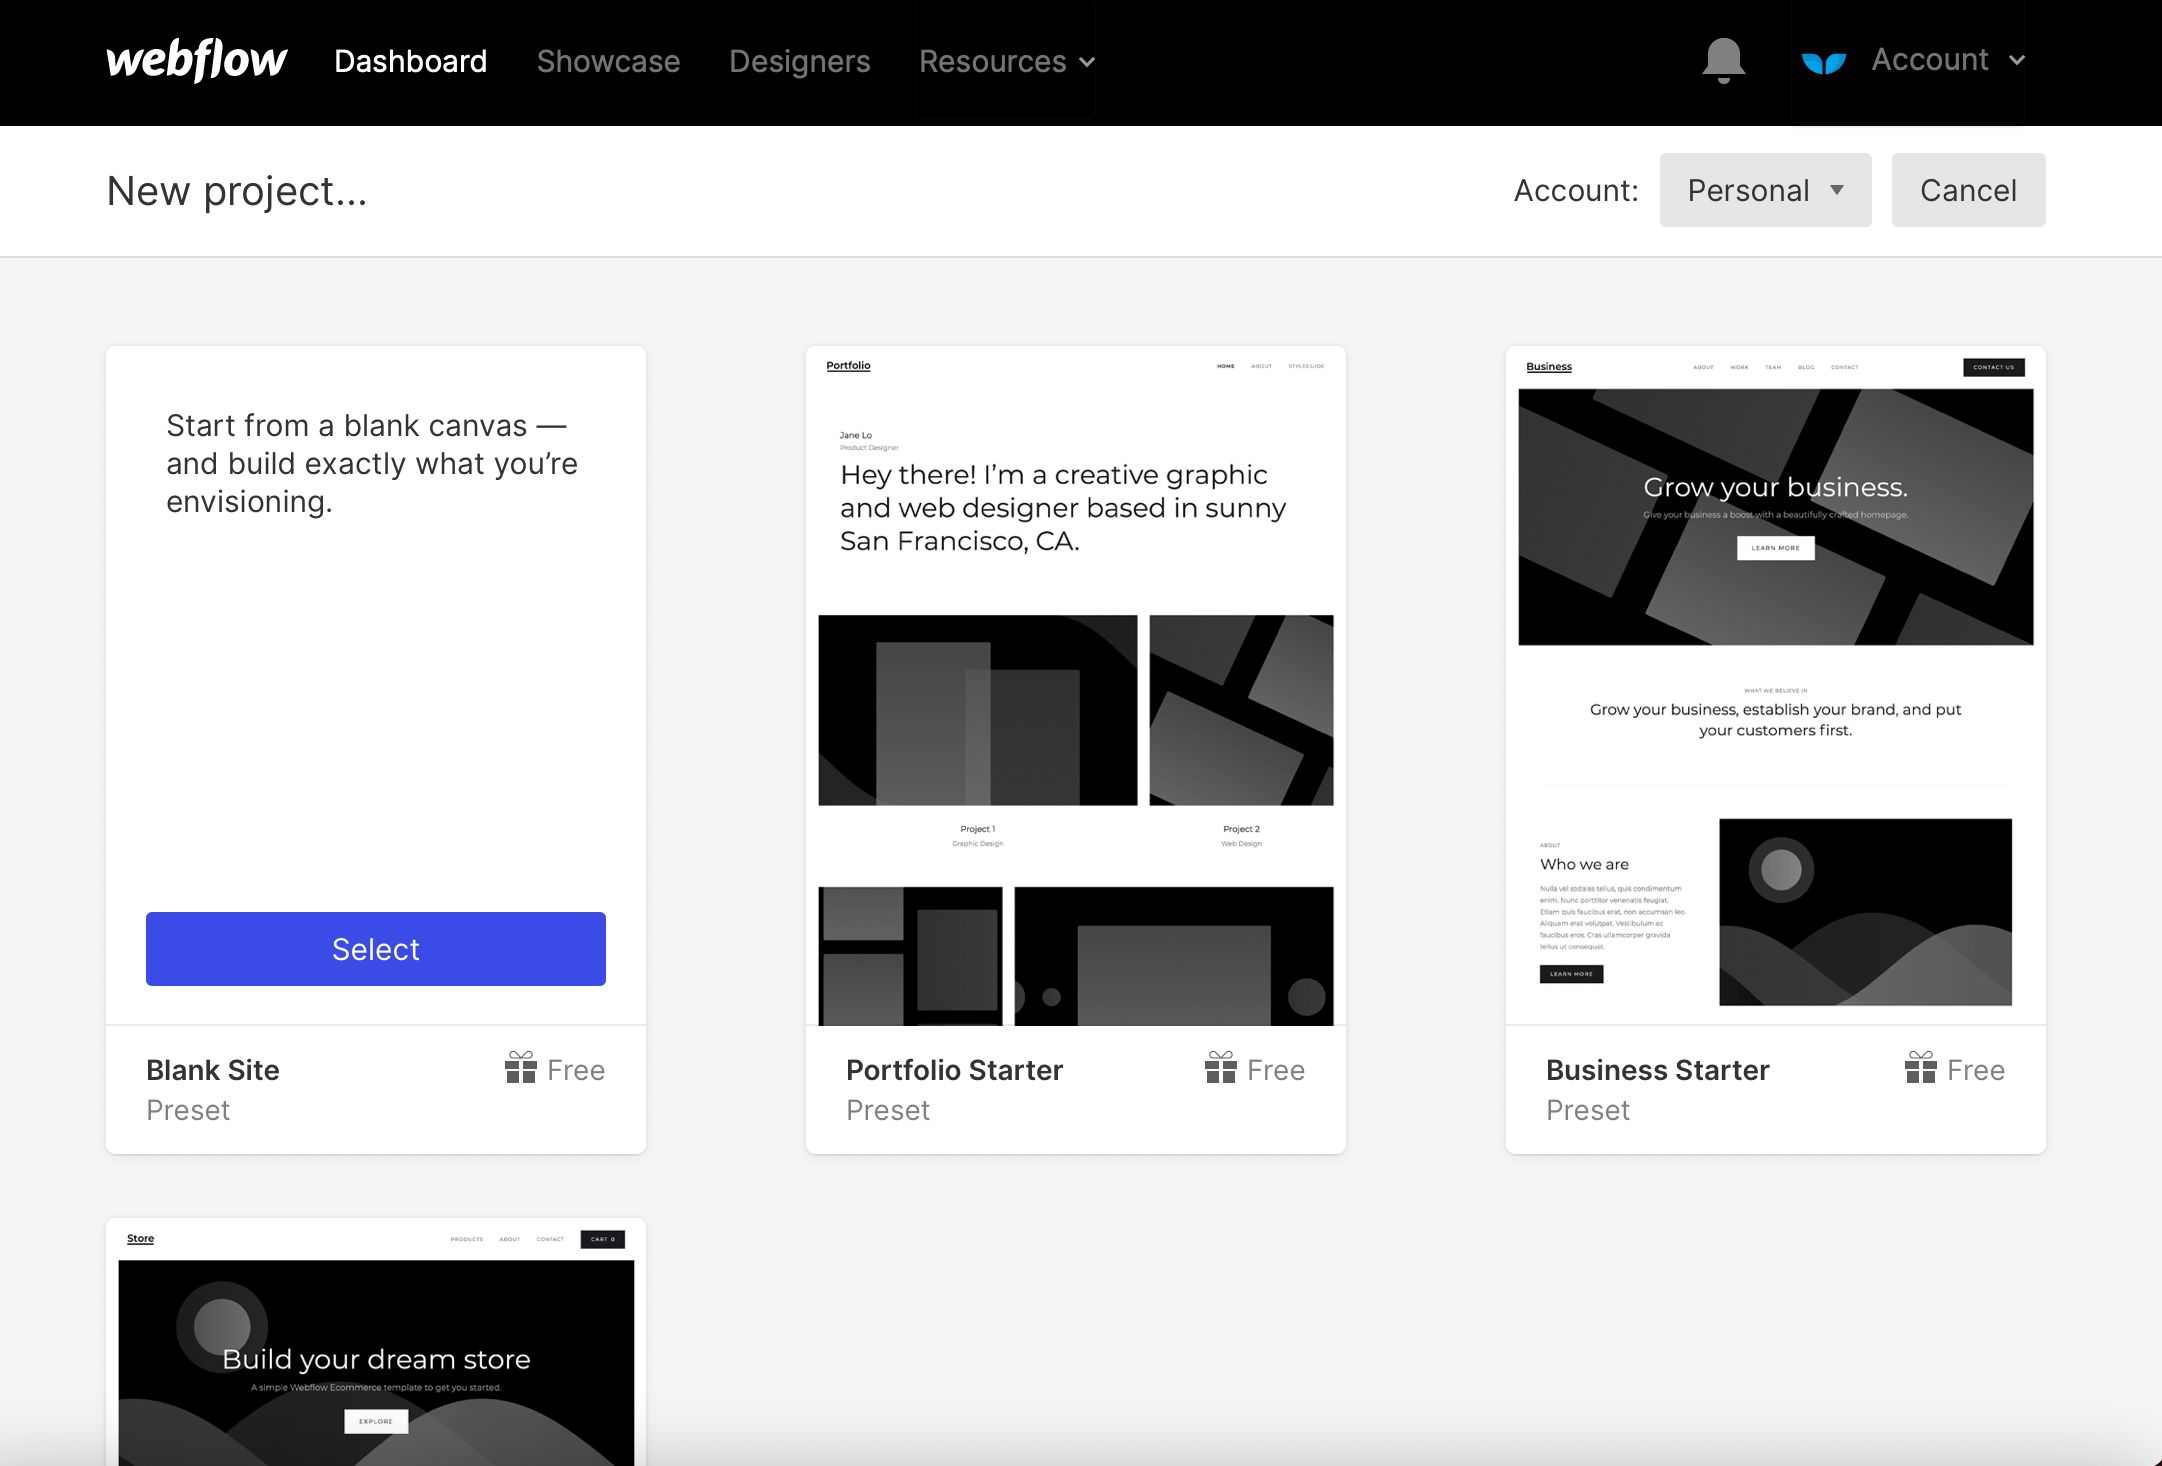
The first thing we need to do is create a new project in Webflow.
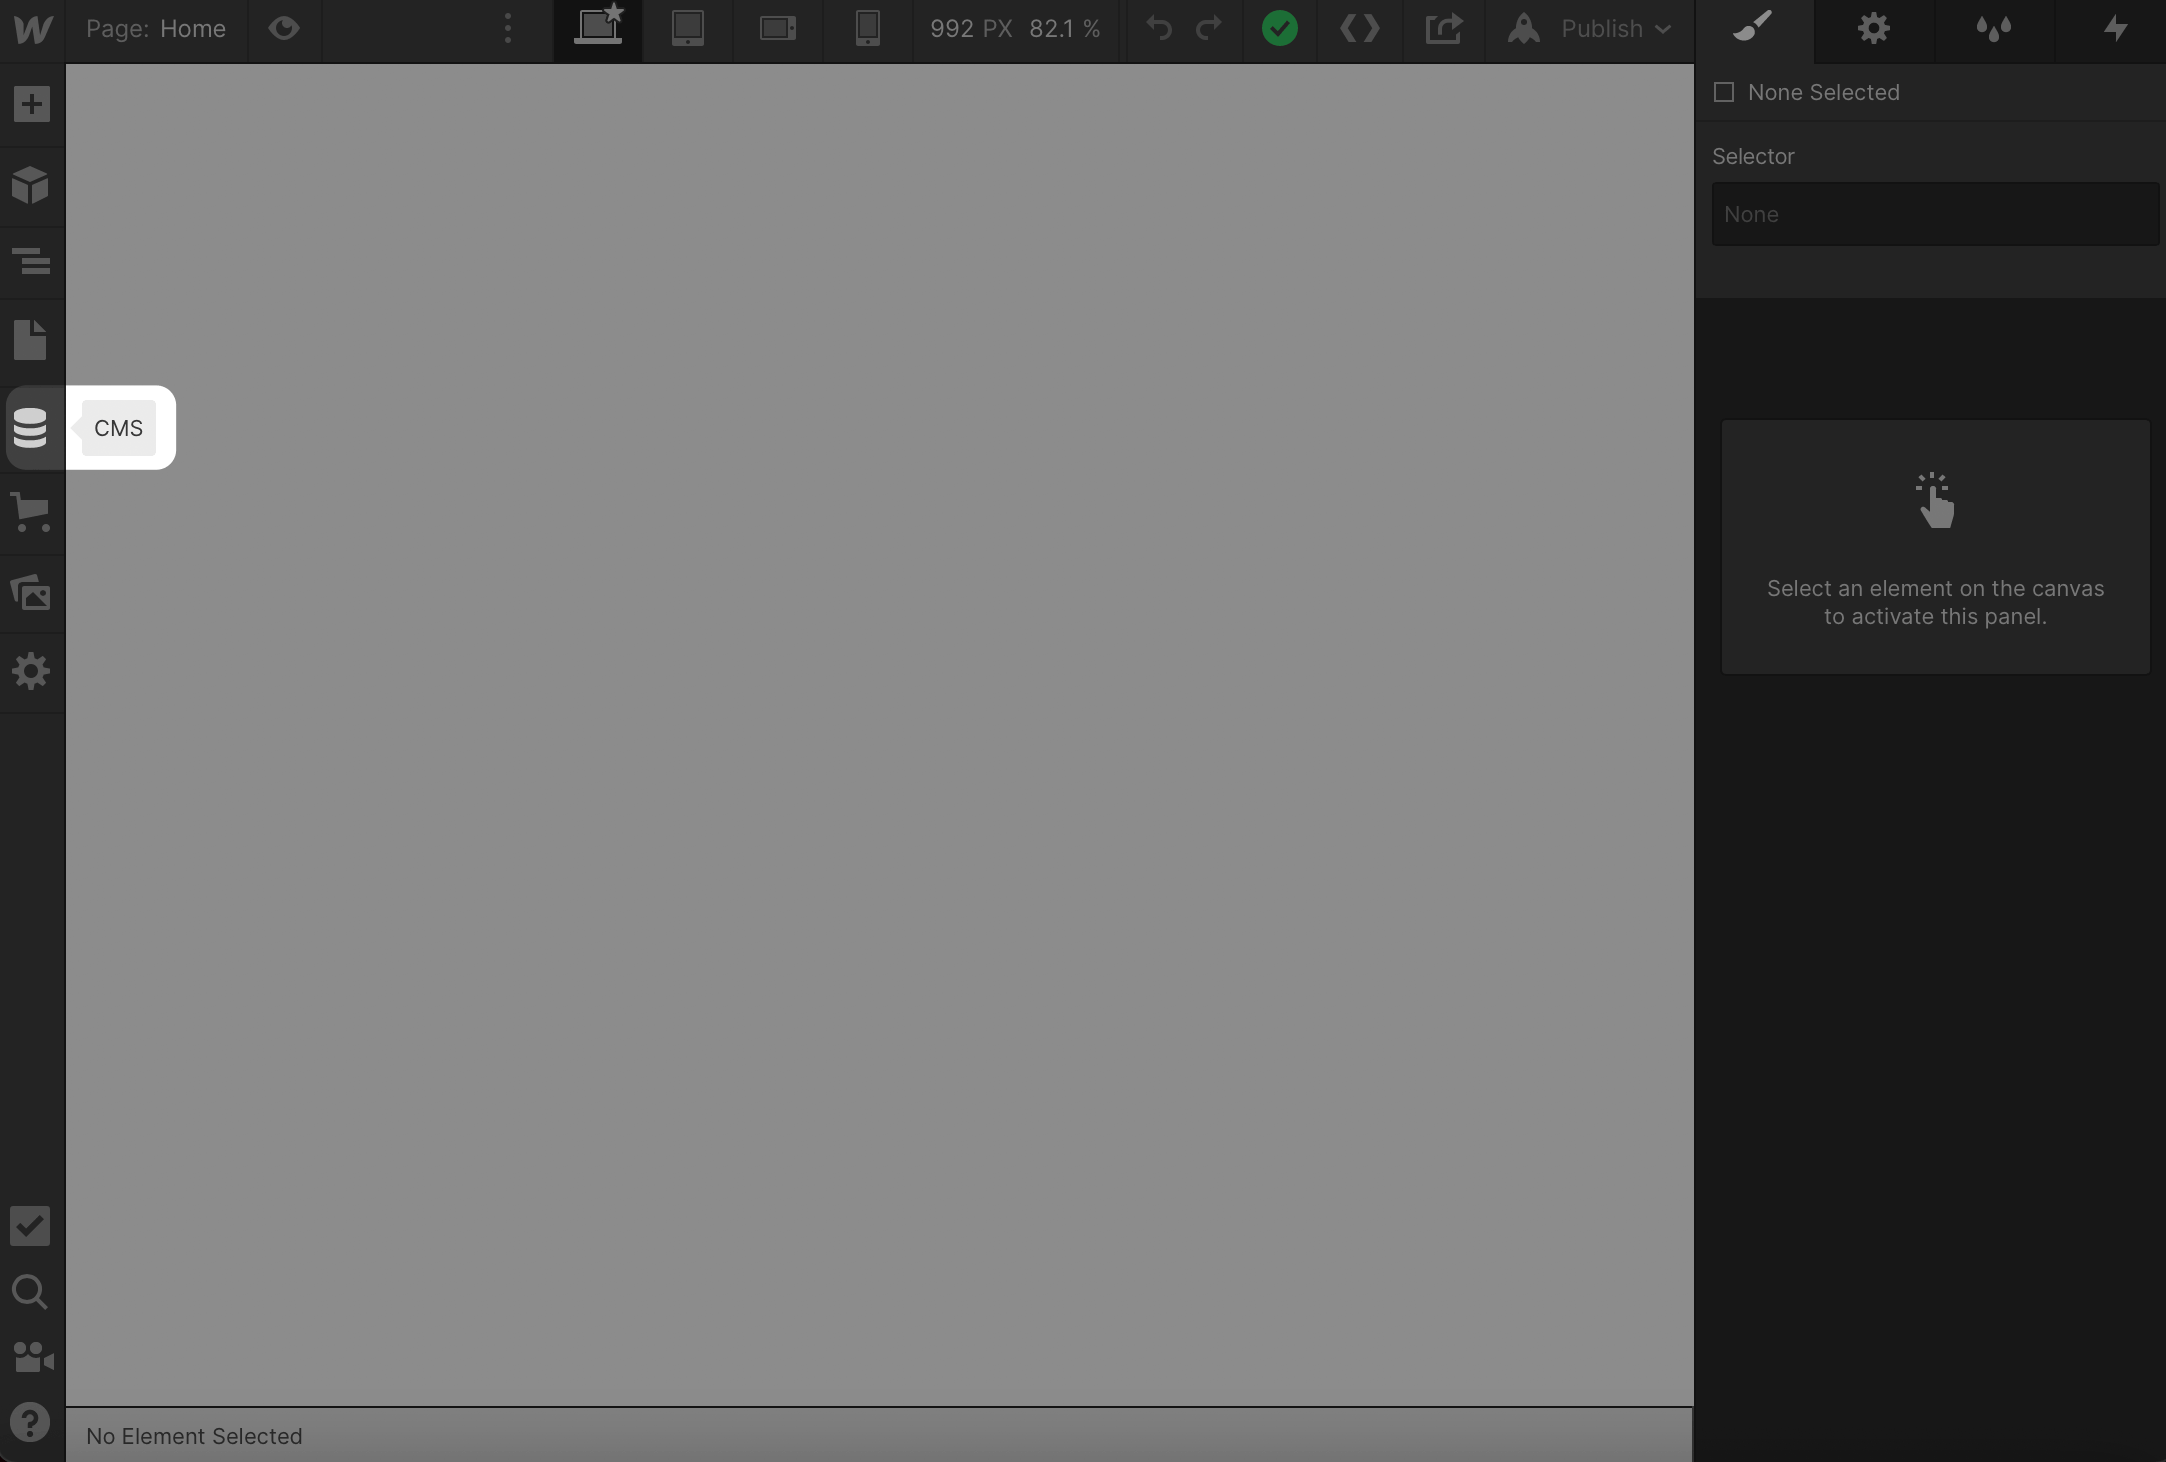
In your Webflow site, select “CMS” from the sidebar.
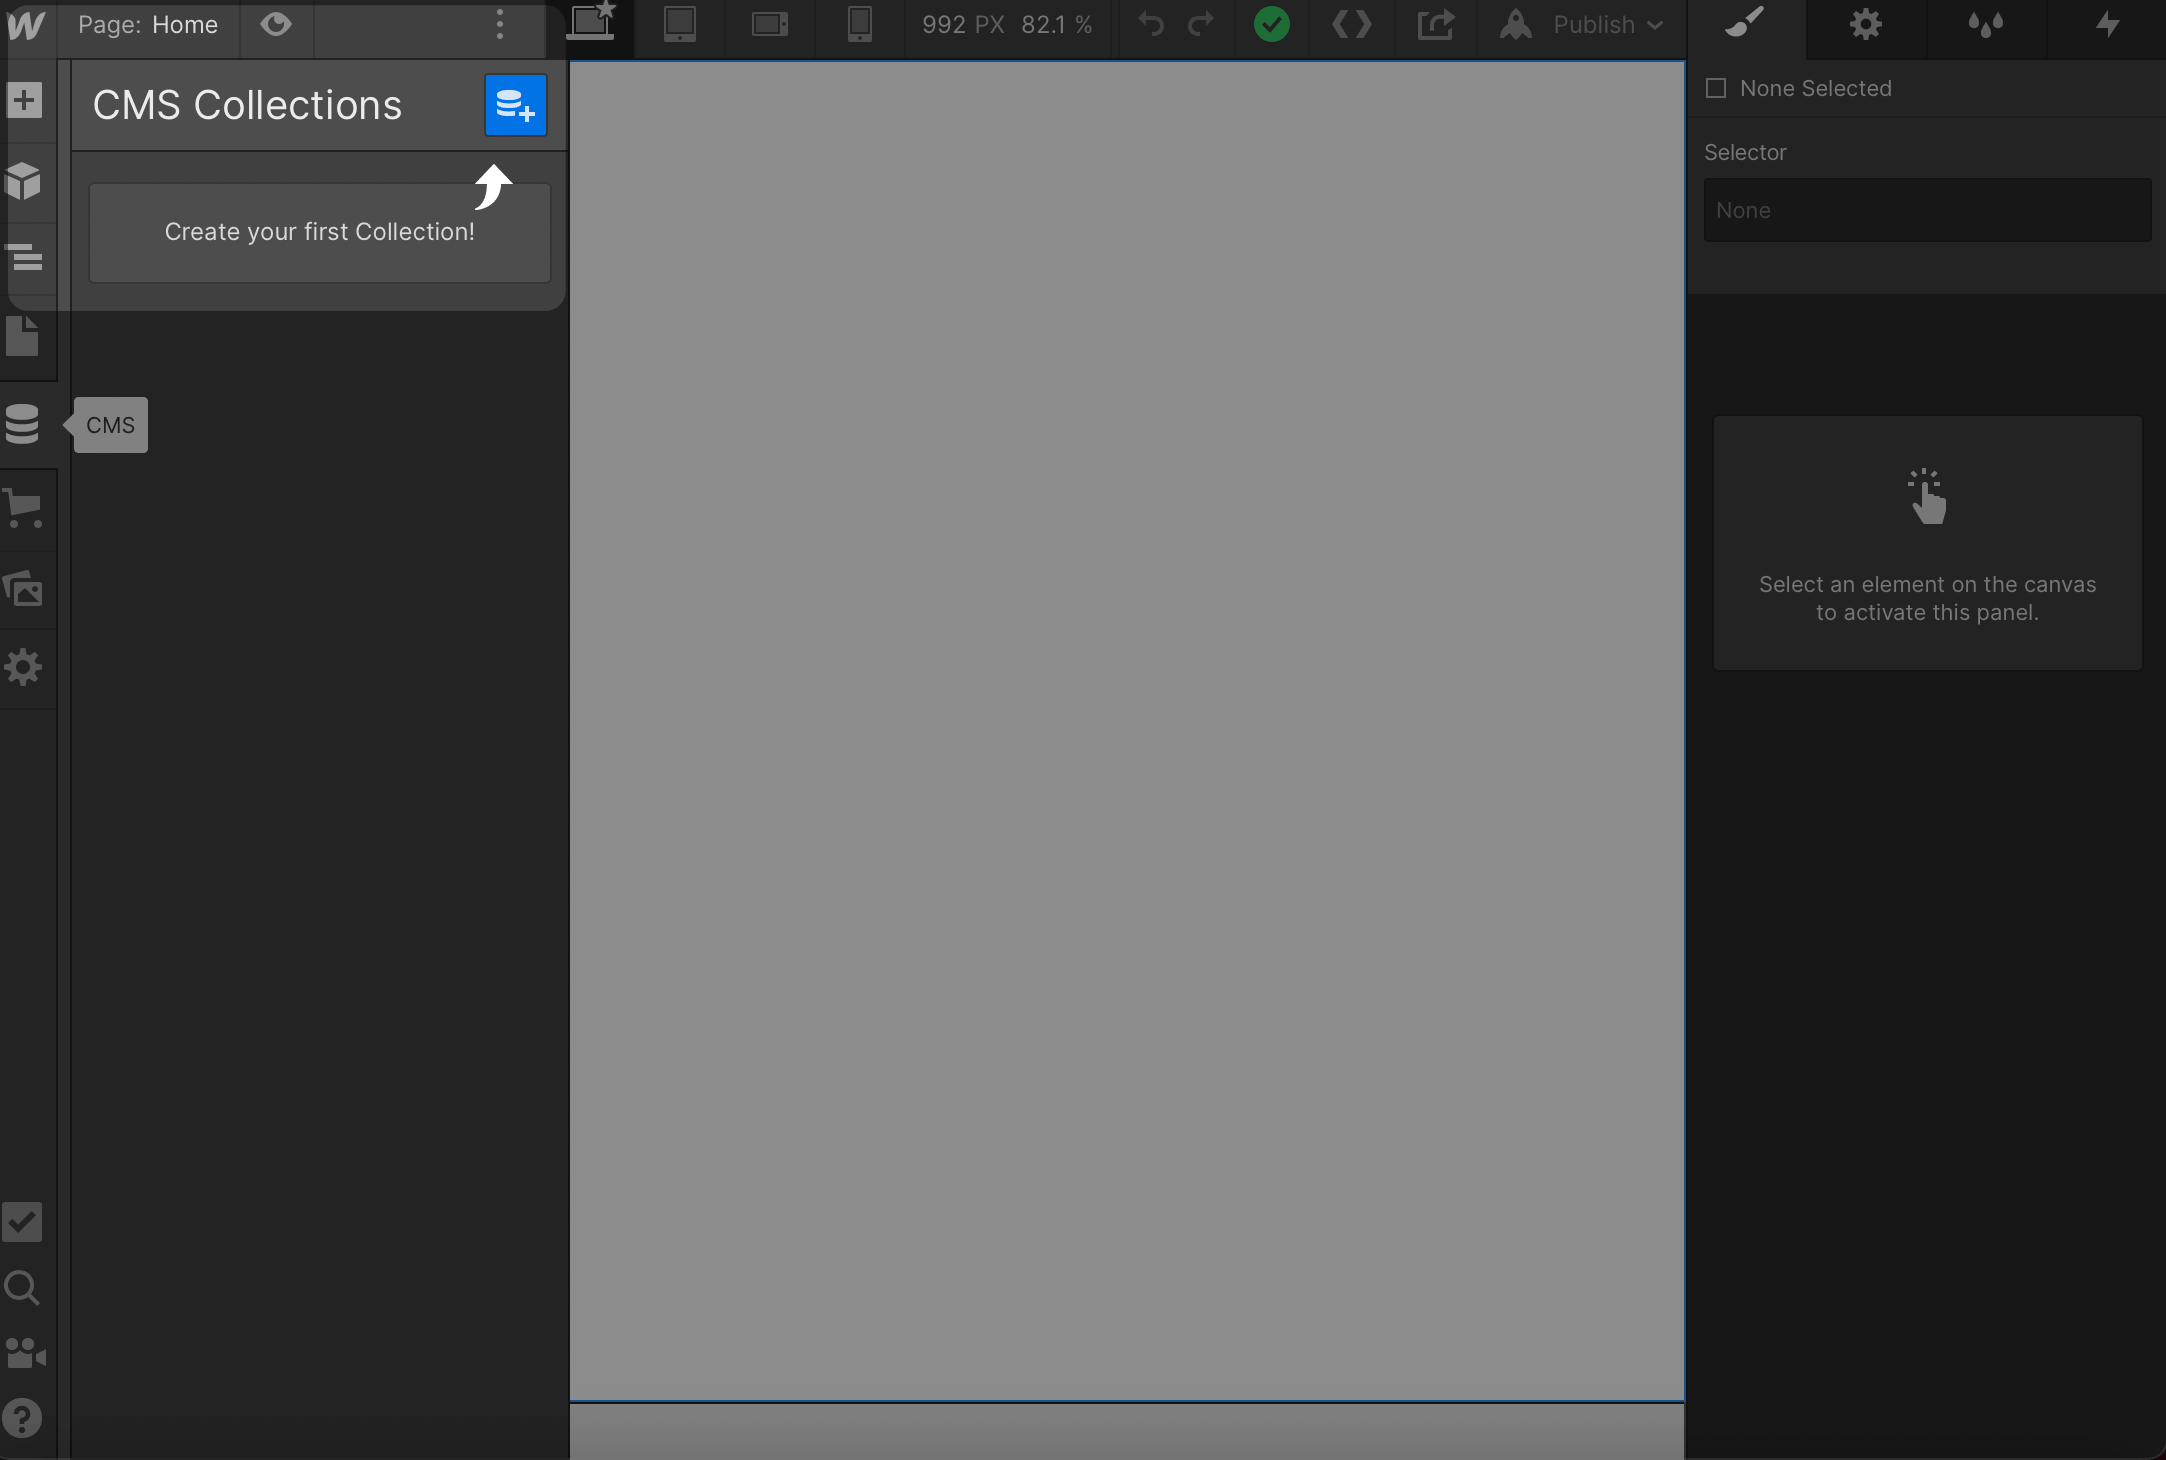
Then create your first Collection.
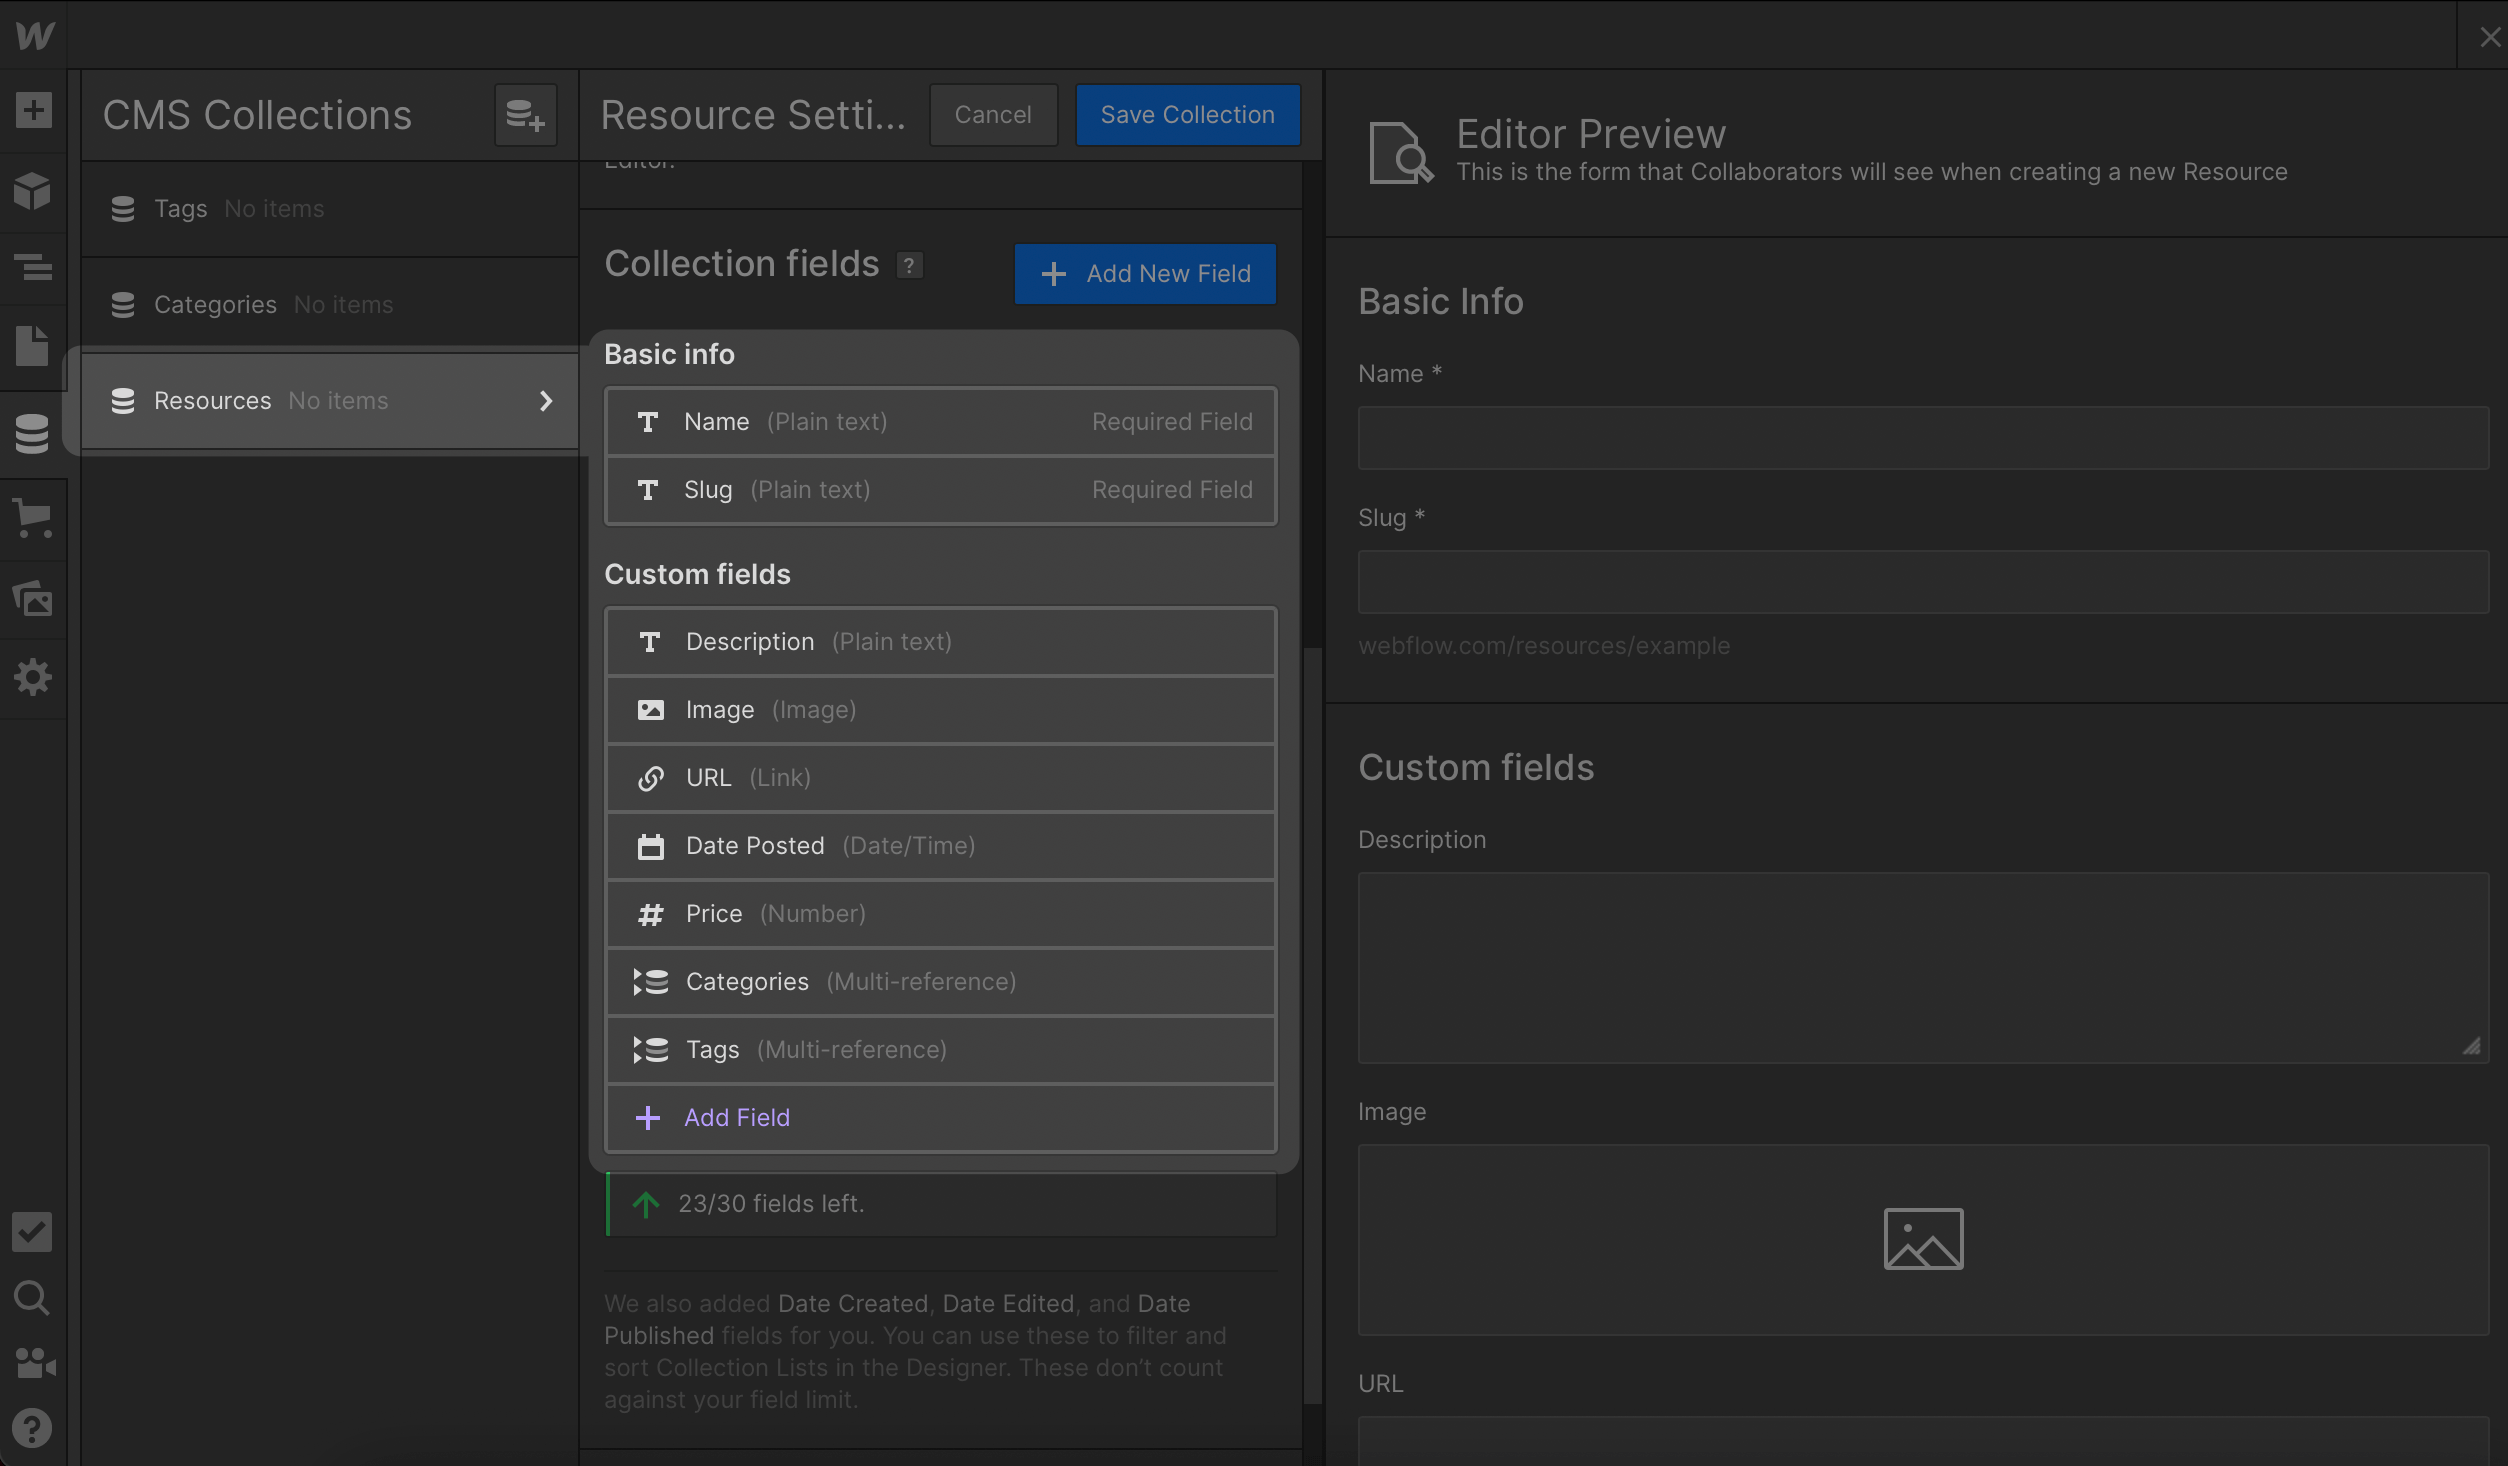
Collections in Webflow are equivalent to tables in Airtable. We’ll need to set up Collections that exactly match the tables in our Airtable base.
If you used our Airtable template, create a copy of those same fields in each of your Webflow collections.
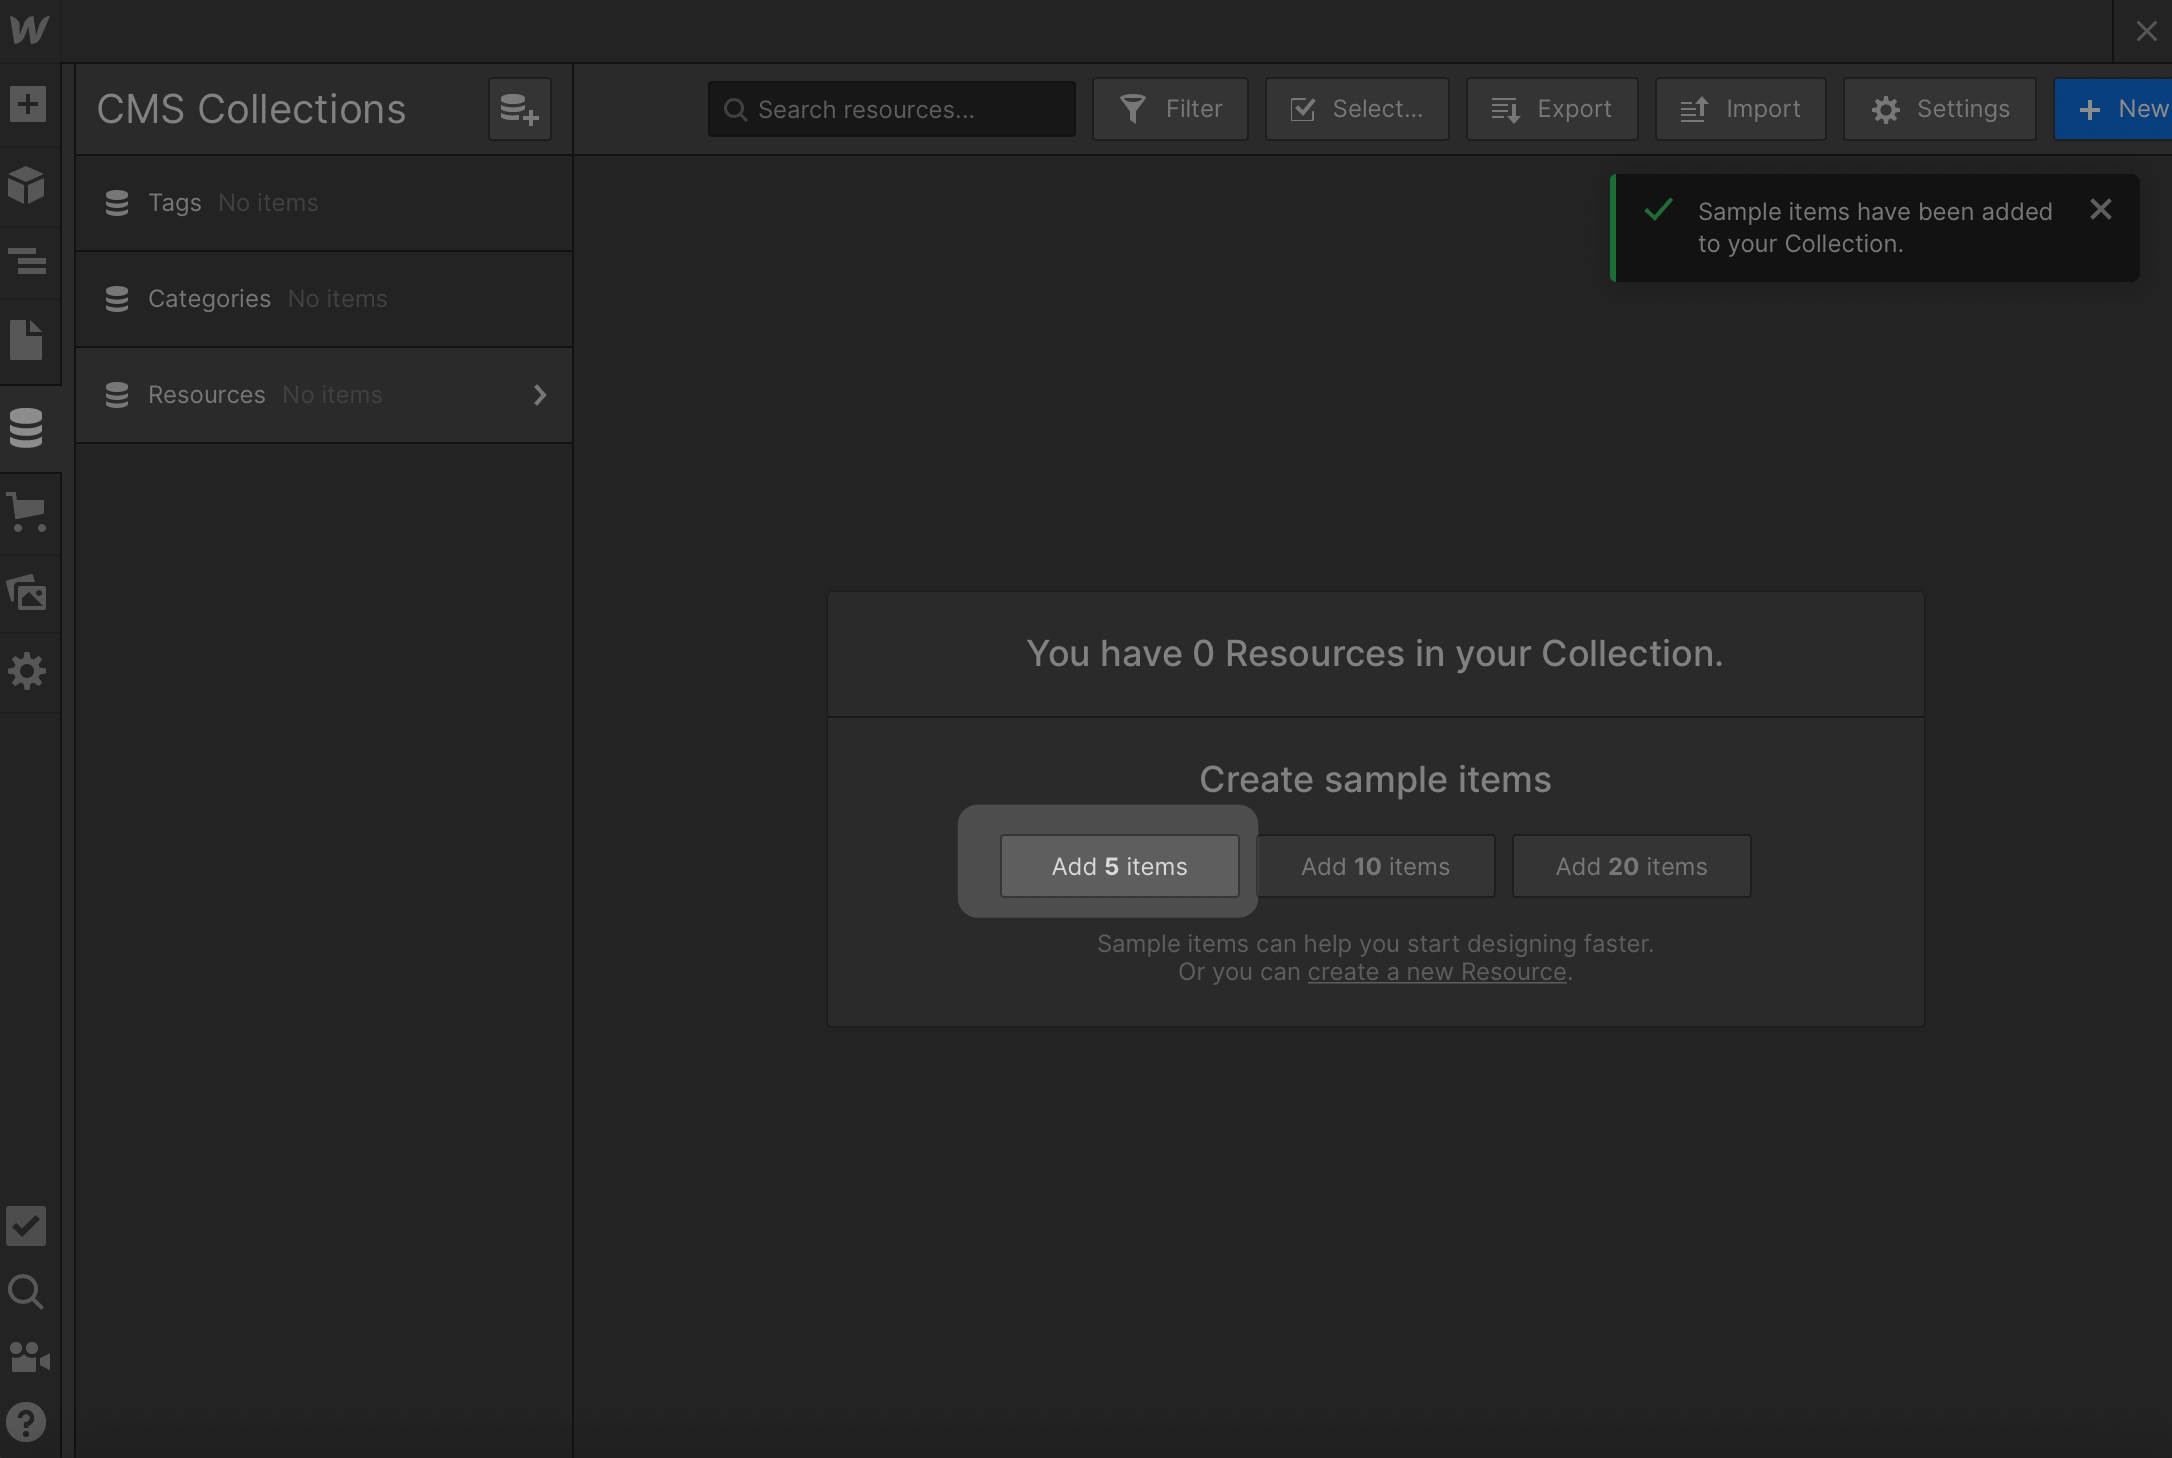
Finally, let’s add a few sample items to help us with the design.
Our collections are now set up and good to go ✅.
3. Populate page
Tool: Webflow
Now that we have our collections created, we need to populate our page with that data.
Click the “+” button from the sidebar and then add a “Collection List”.
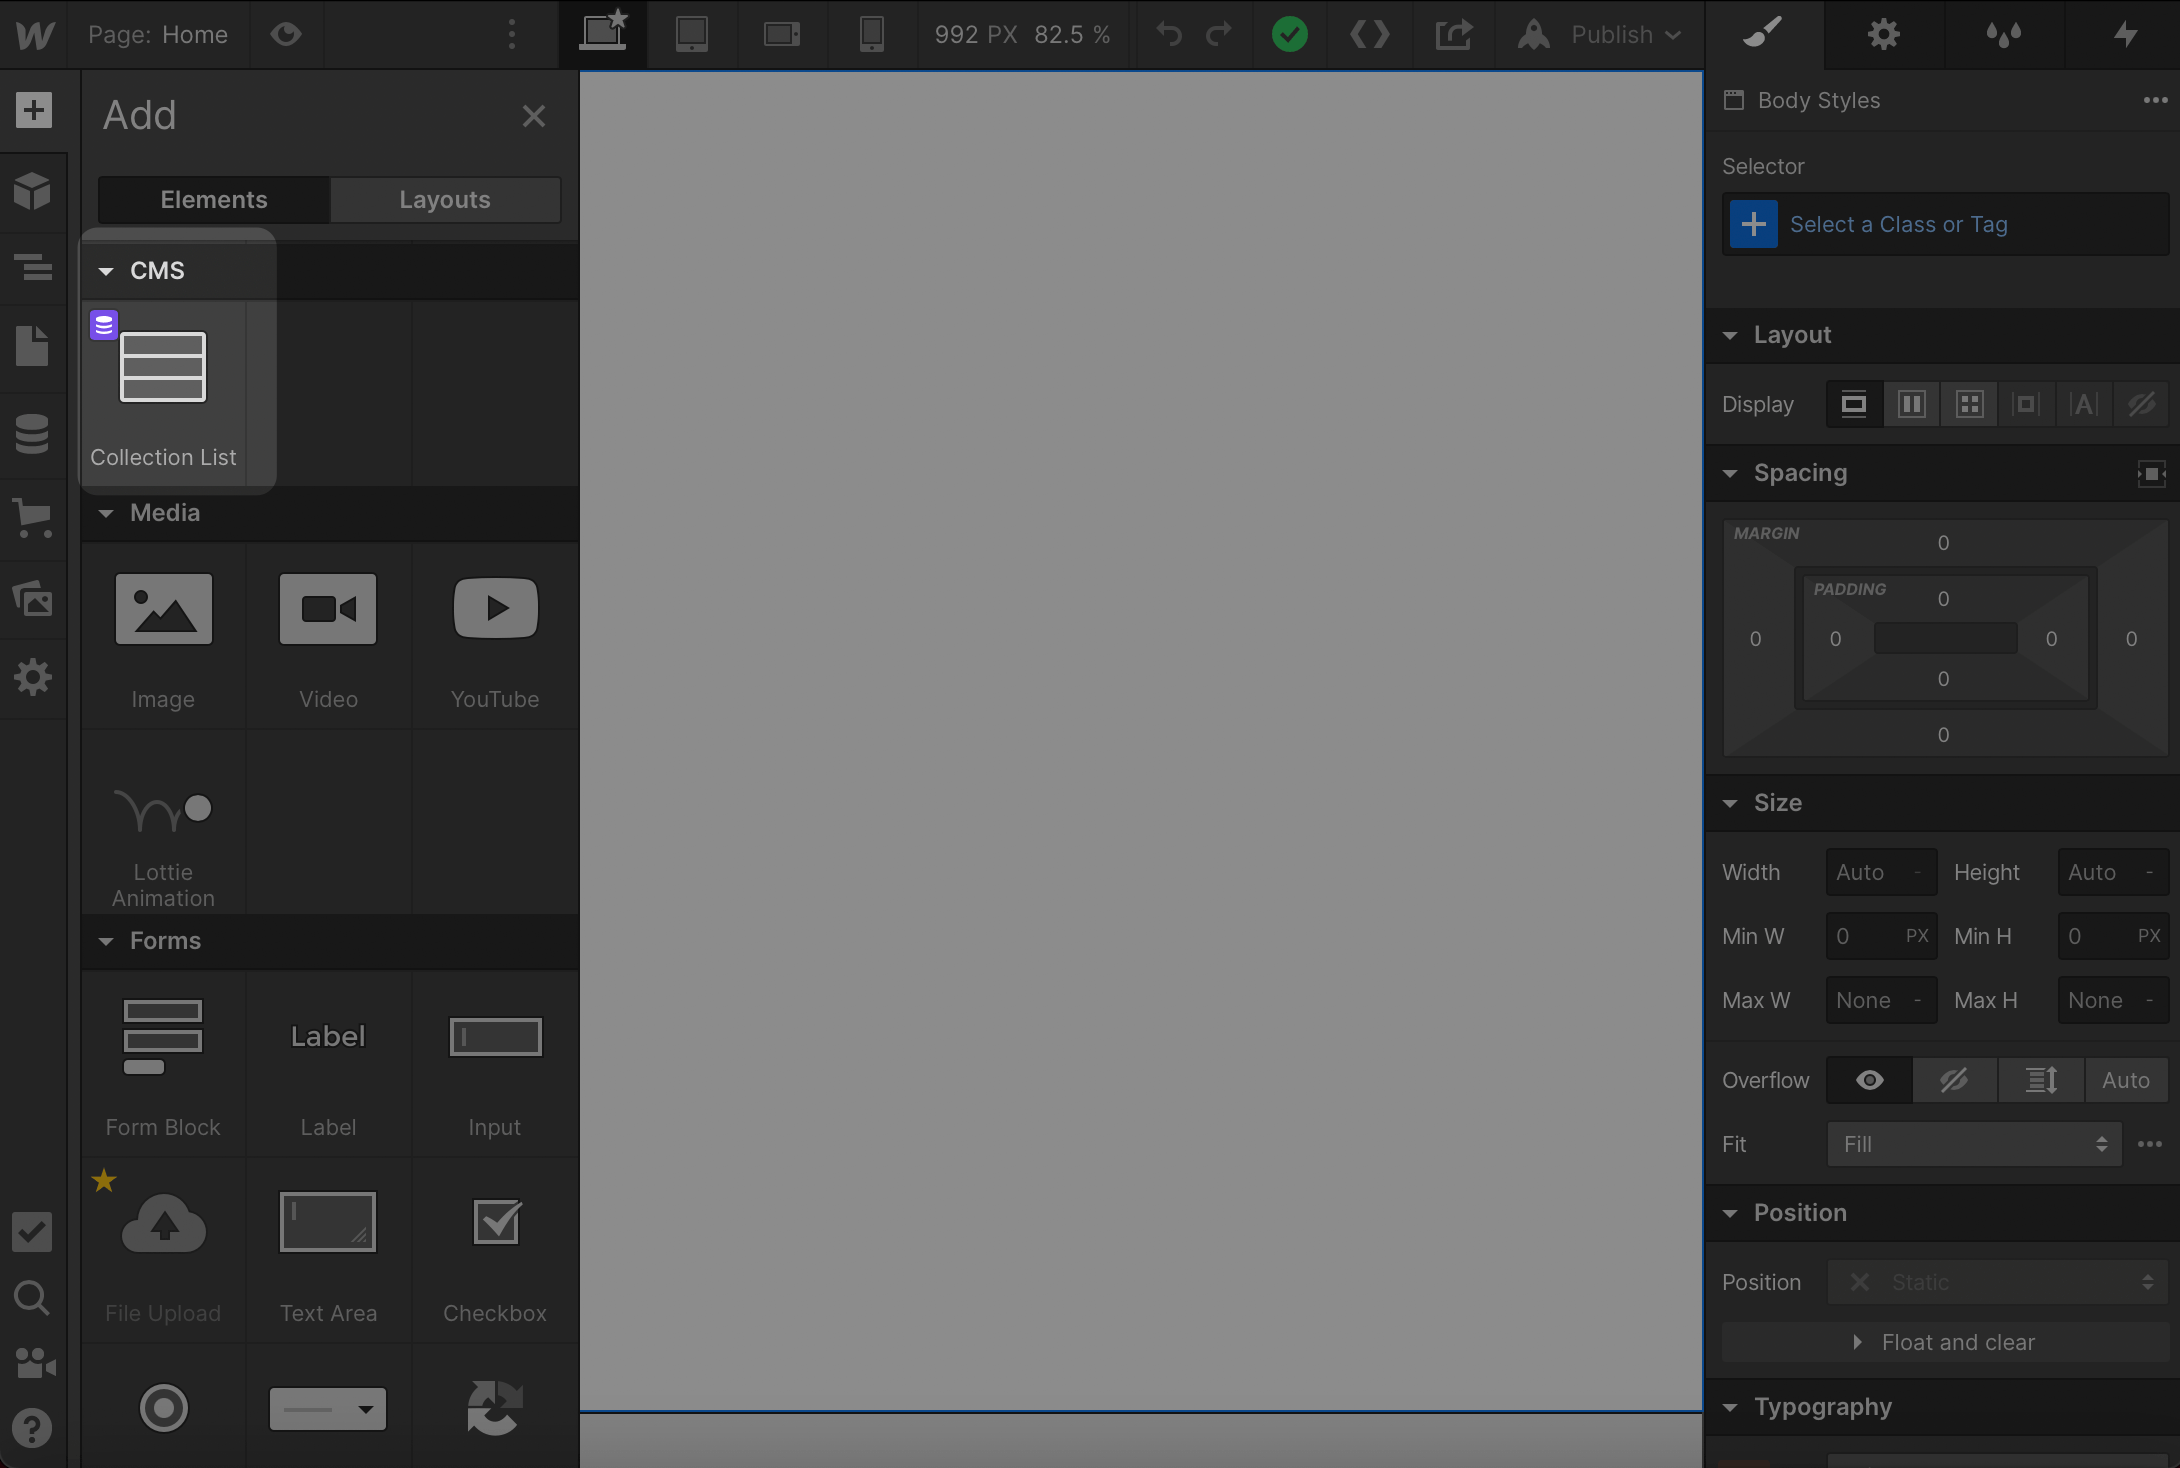
Choose “Resources” as your Source since we want to display our resource list.

Each purple box represents a single resource. Webflow is great because it lets us template and re-use designs for each new resource.
We now need to drag a few elements into the purple boxes to display key information about each resource (eg. name, description, etc.). Using the “+” button again, drag & drop a “Heading” element and a “Text” element into the first purple box.

Click on the heading and then the little settings button.
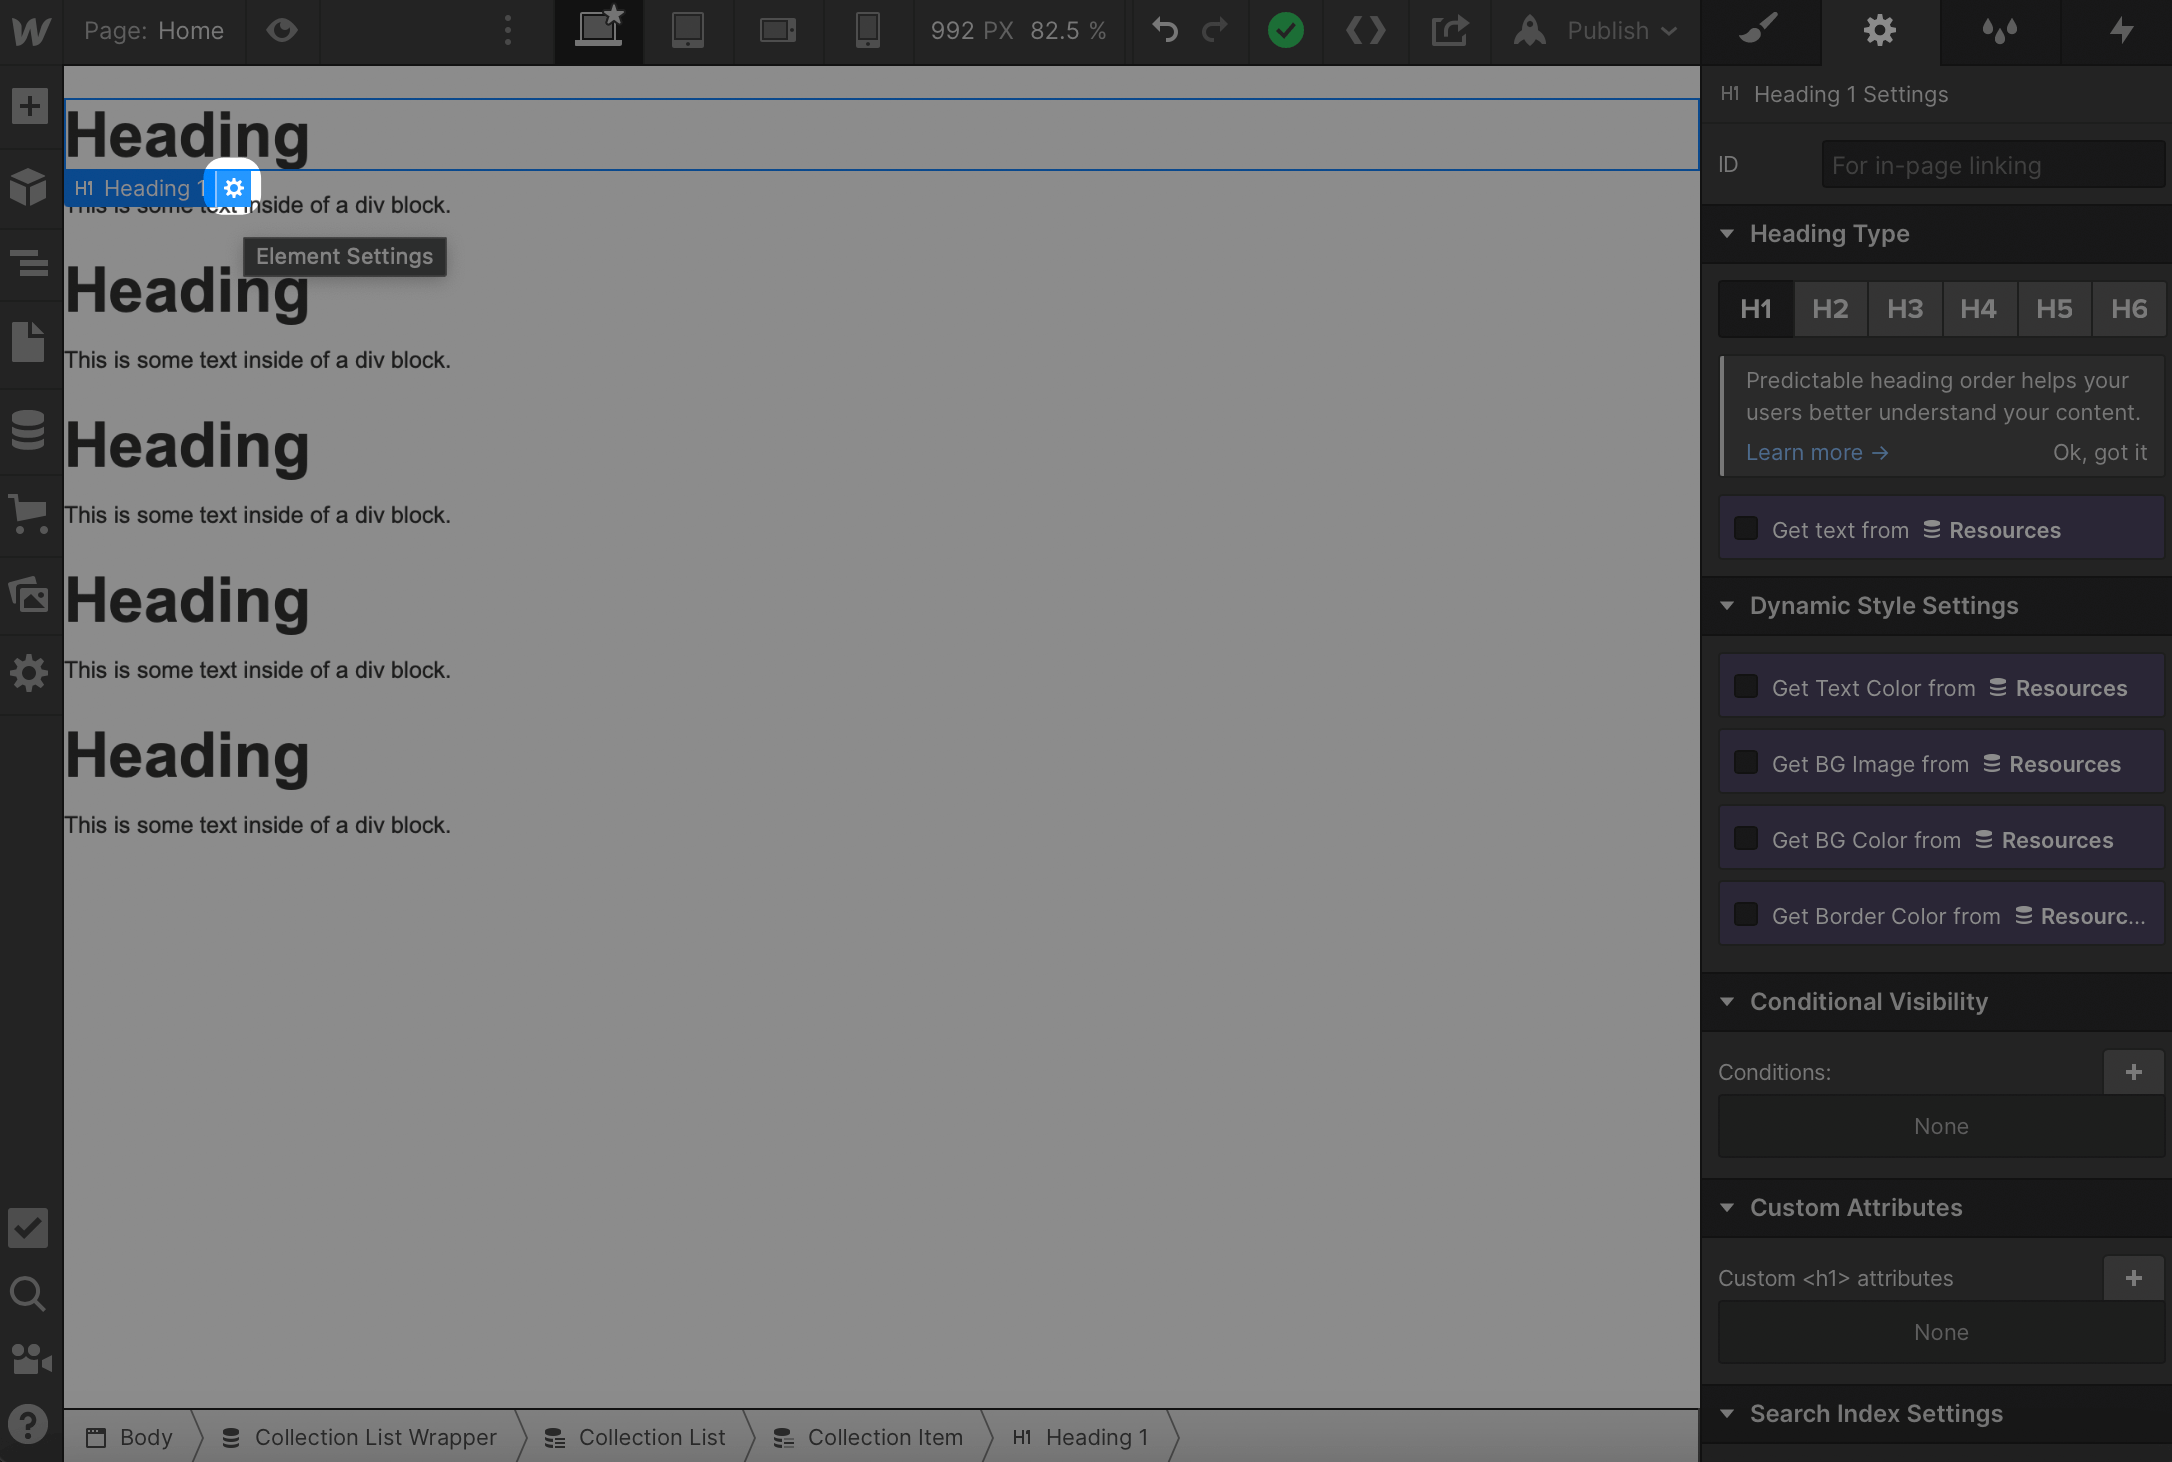
Select “Get text from Resources” and then choose the “Name” field
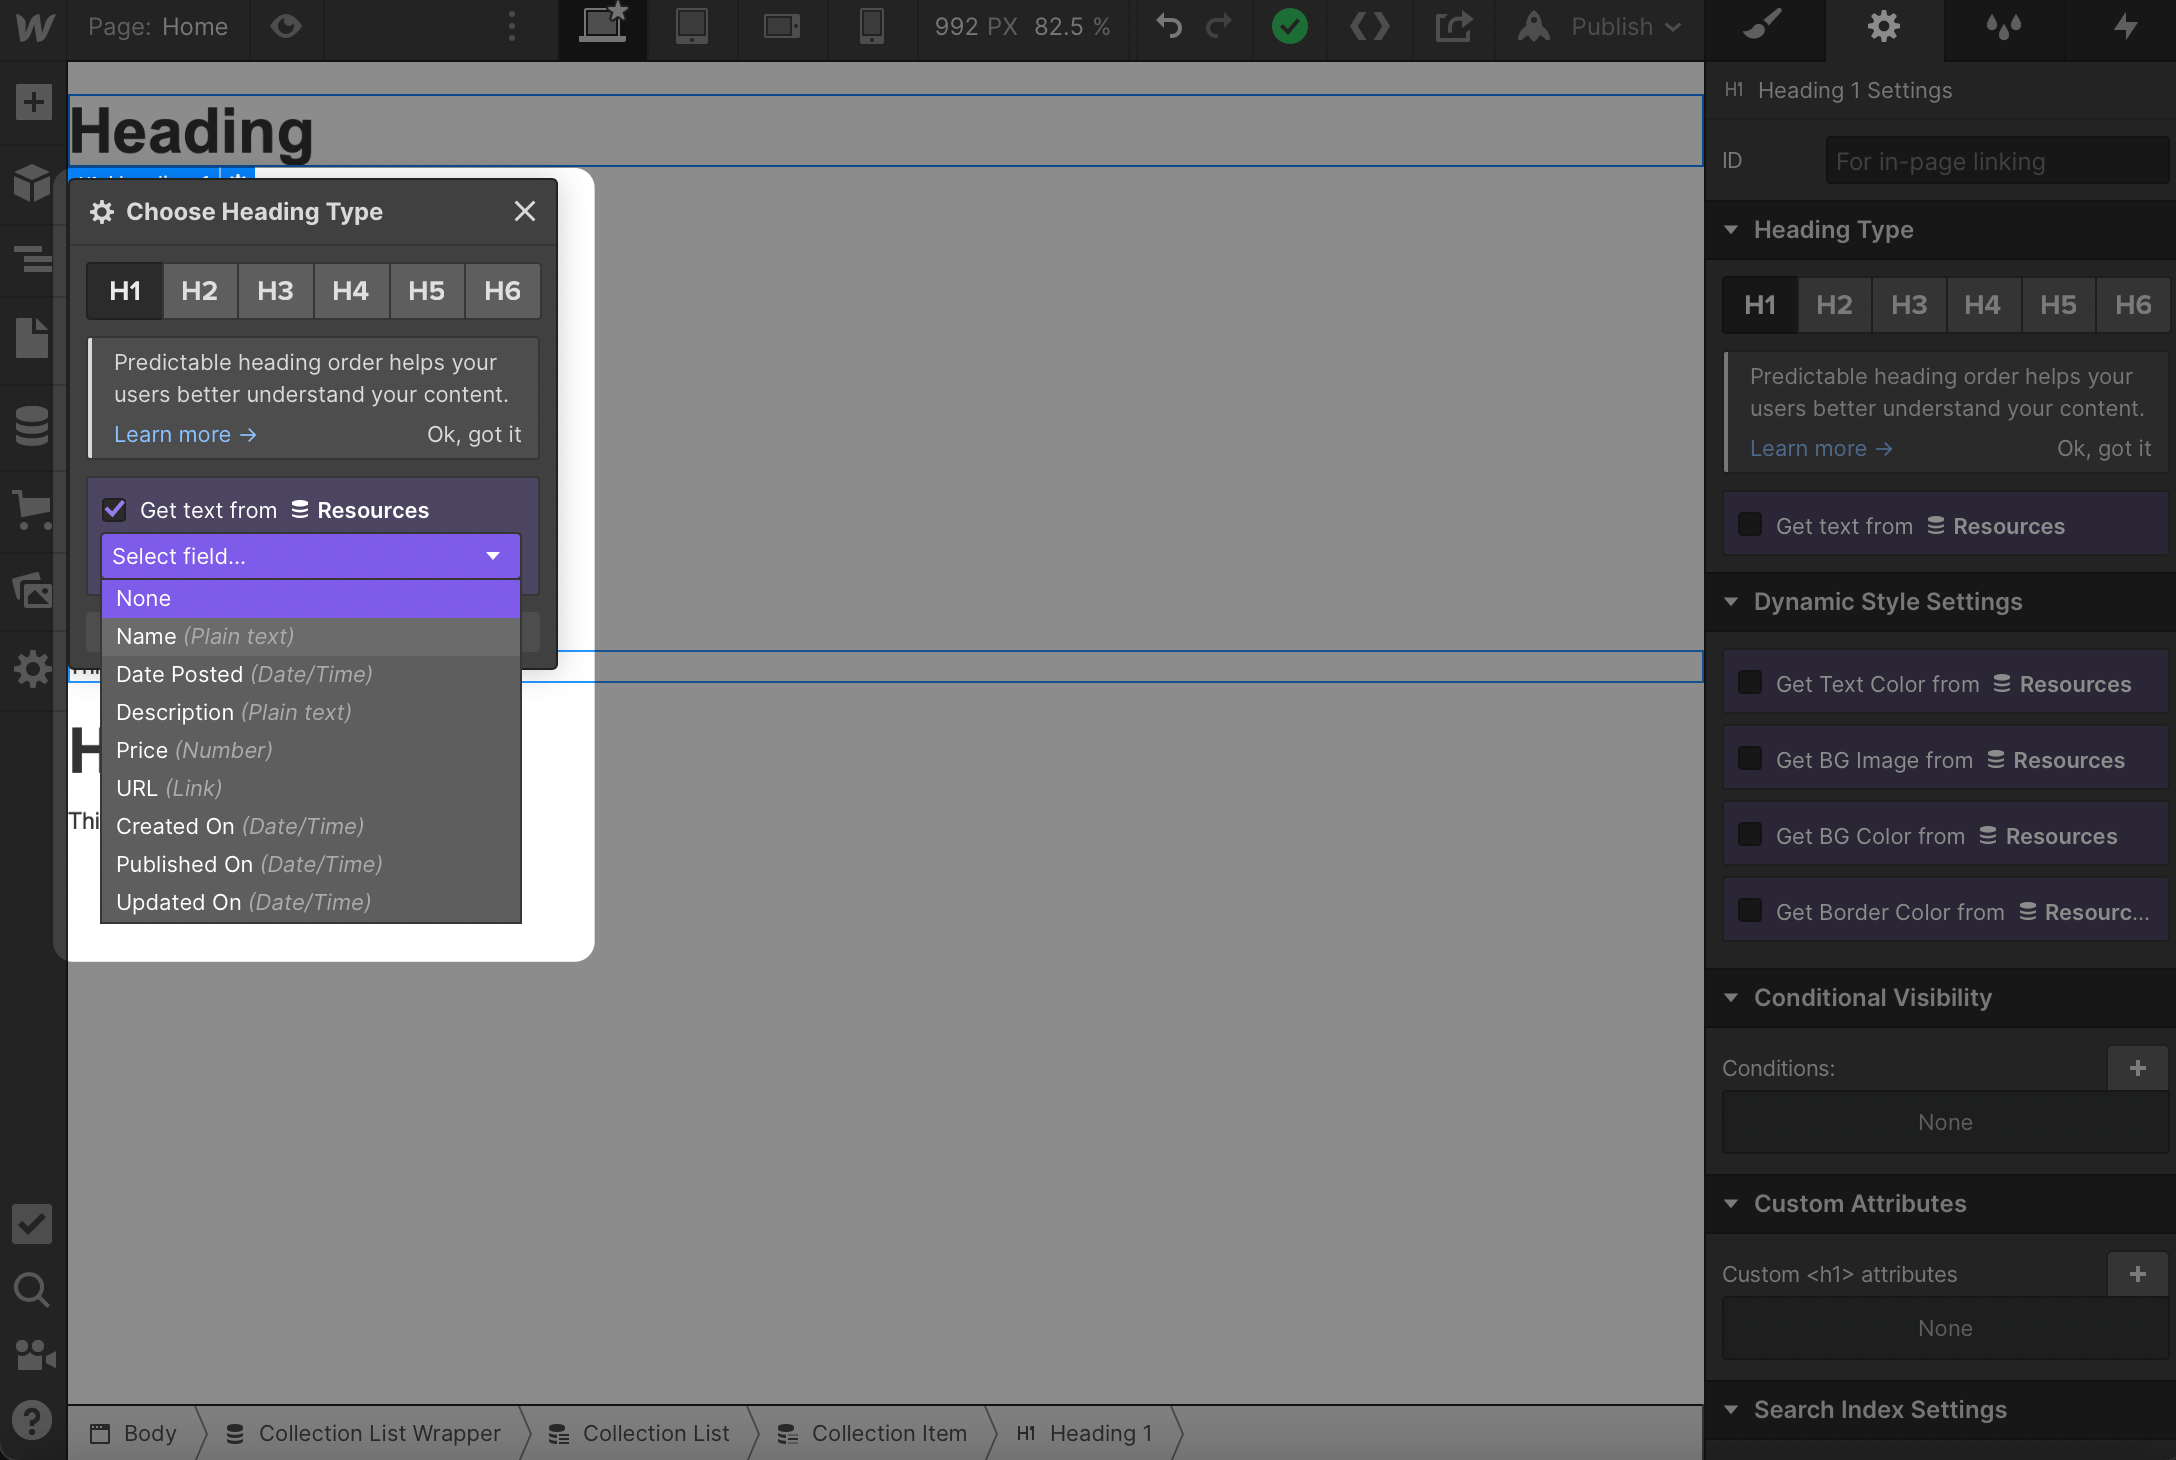
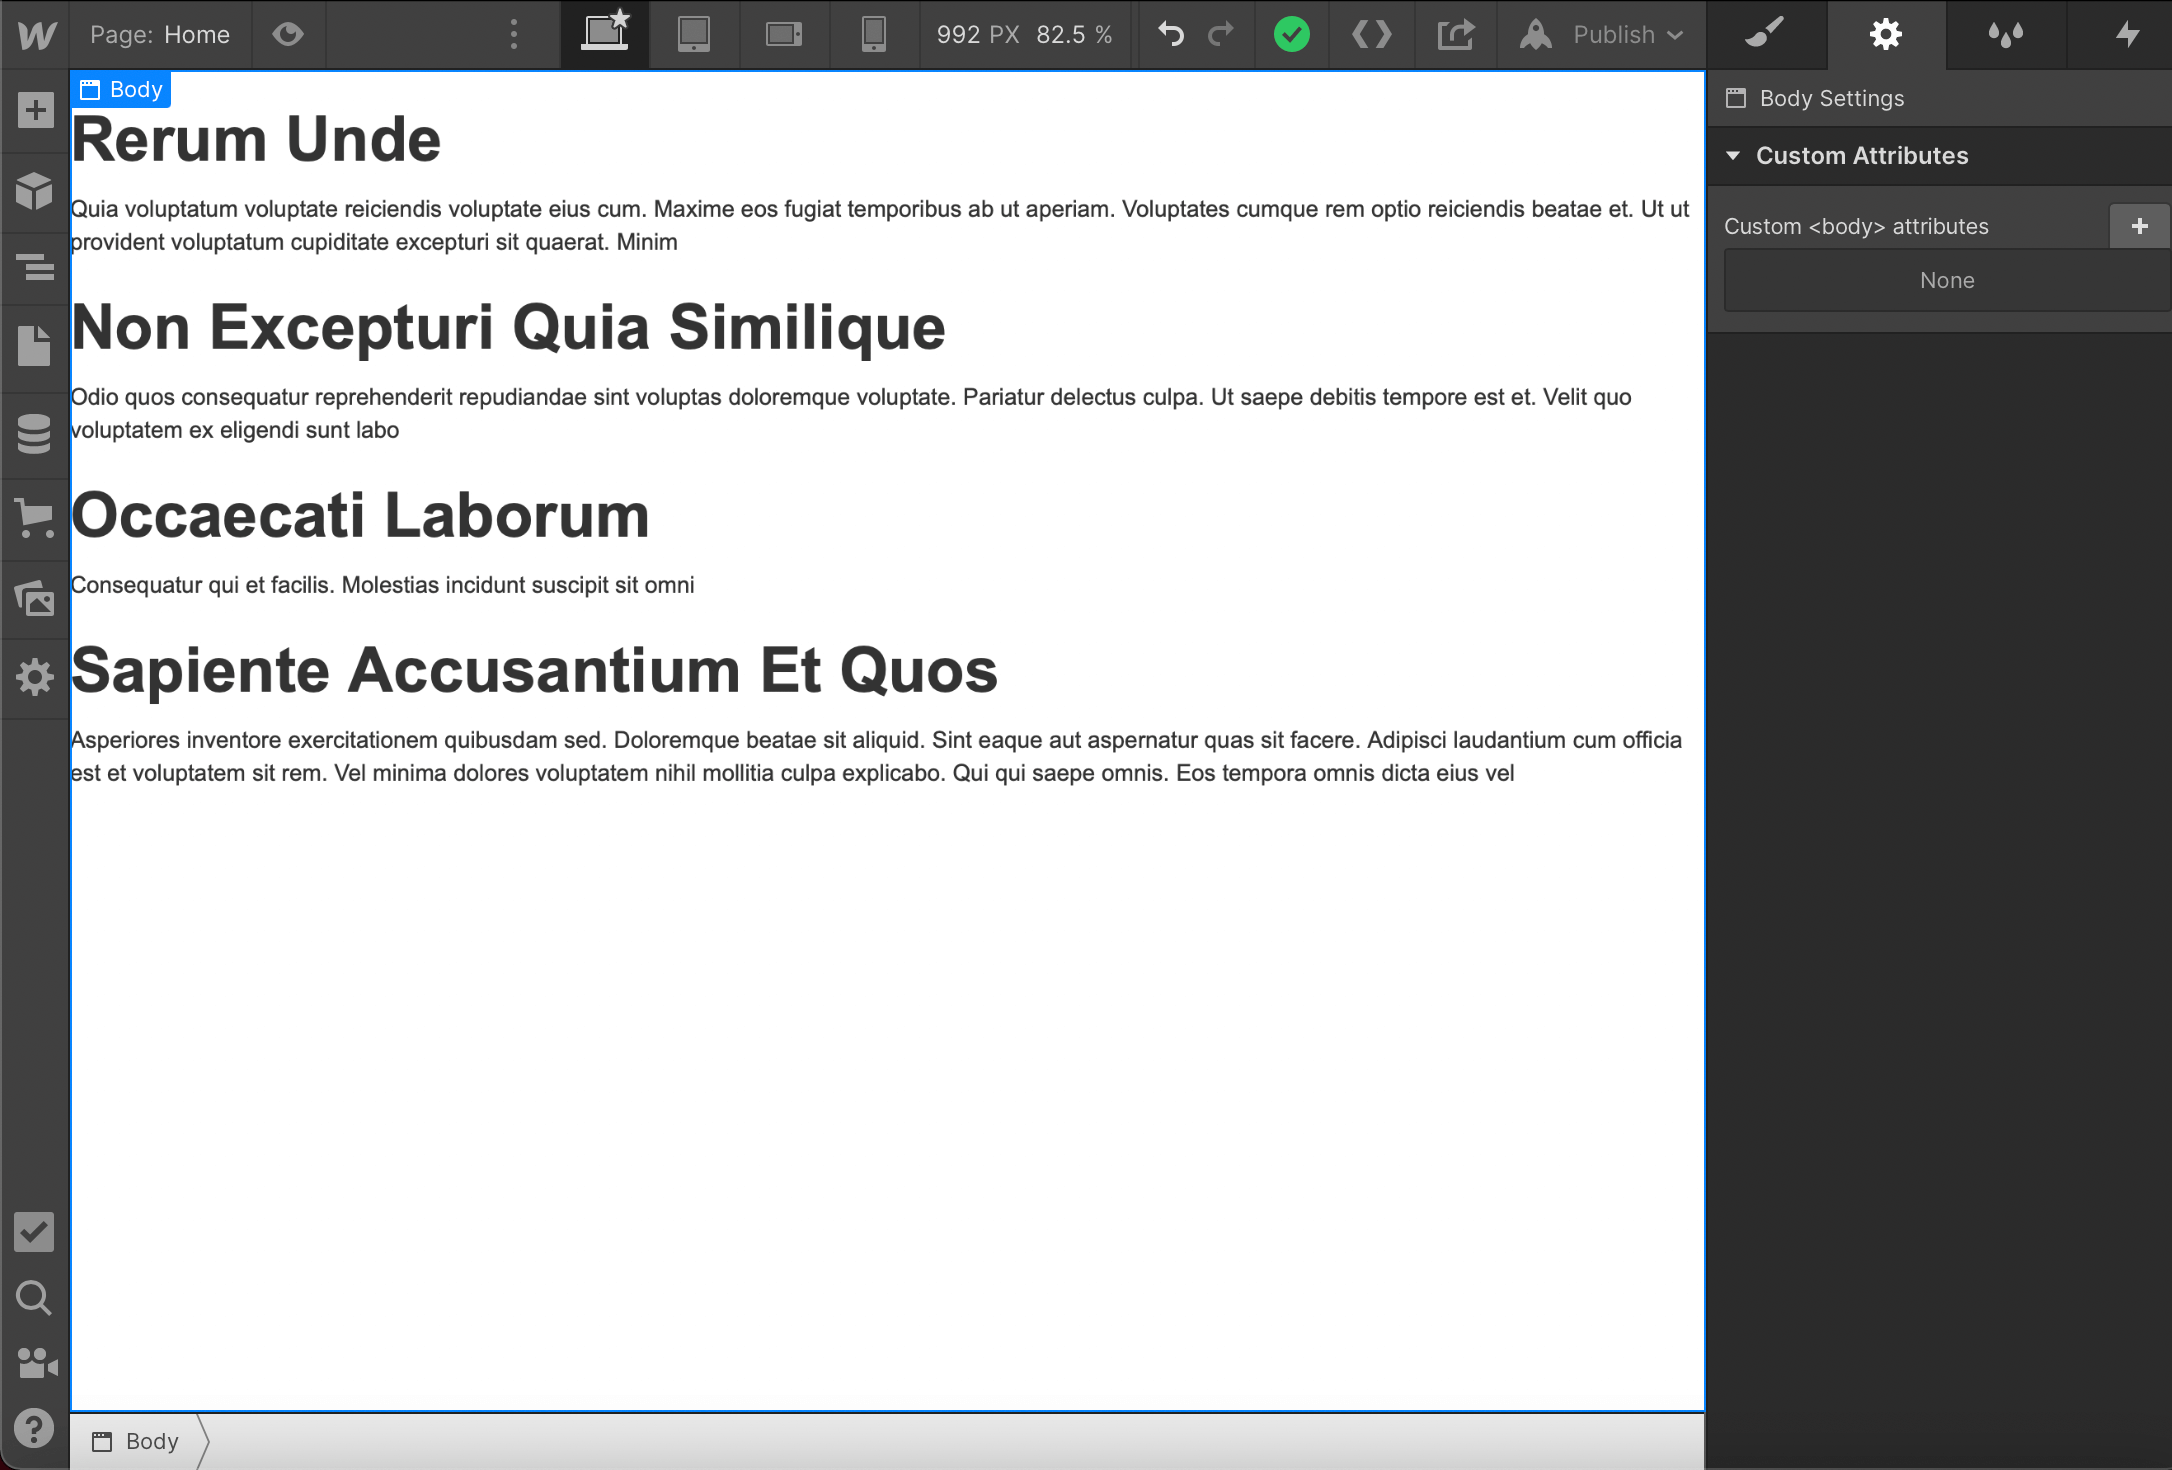
You should see the sample data populate each item in your list. Repeat these steps to bring all of your data onto the page.
4. Design the site
Tool: Webflow
After step 3, you should have a Webflow site that displays the resources in your CMS. Now It’s time to make it look nice. Ideally, each resource should be visual and display the most critical information.
To keep this tutorial a reasonable length, I won’t go into detail about how to design a site in Webflow. If you’re interested in learning more about Webflow design, check out Webflow University for some terrific courses. Alternatively, you can start quickly by choosing a template from Webflow’s Template Gallery.
5. Sync the data
Tool: Whalesync
We’re almost done! We have an Airtable base full of resources and a Webflow site prepped to display those resources. Let’s sync the data from Airtable to Webflow using Whalesync.
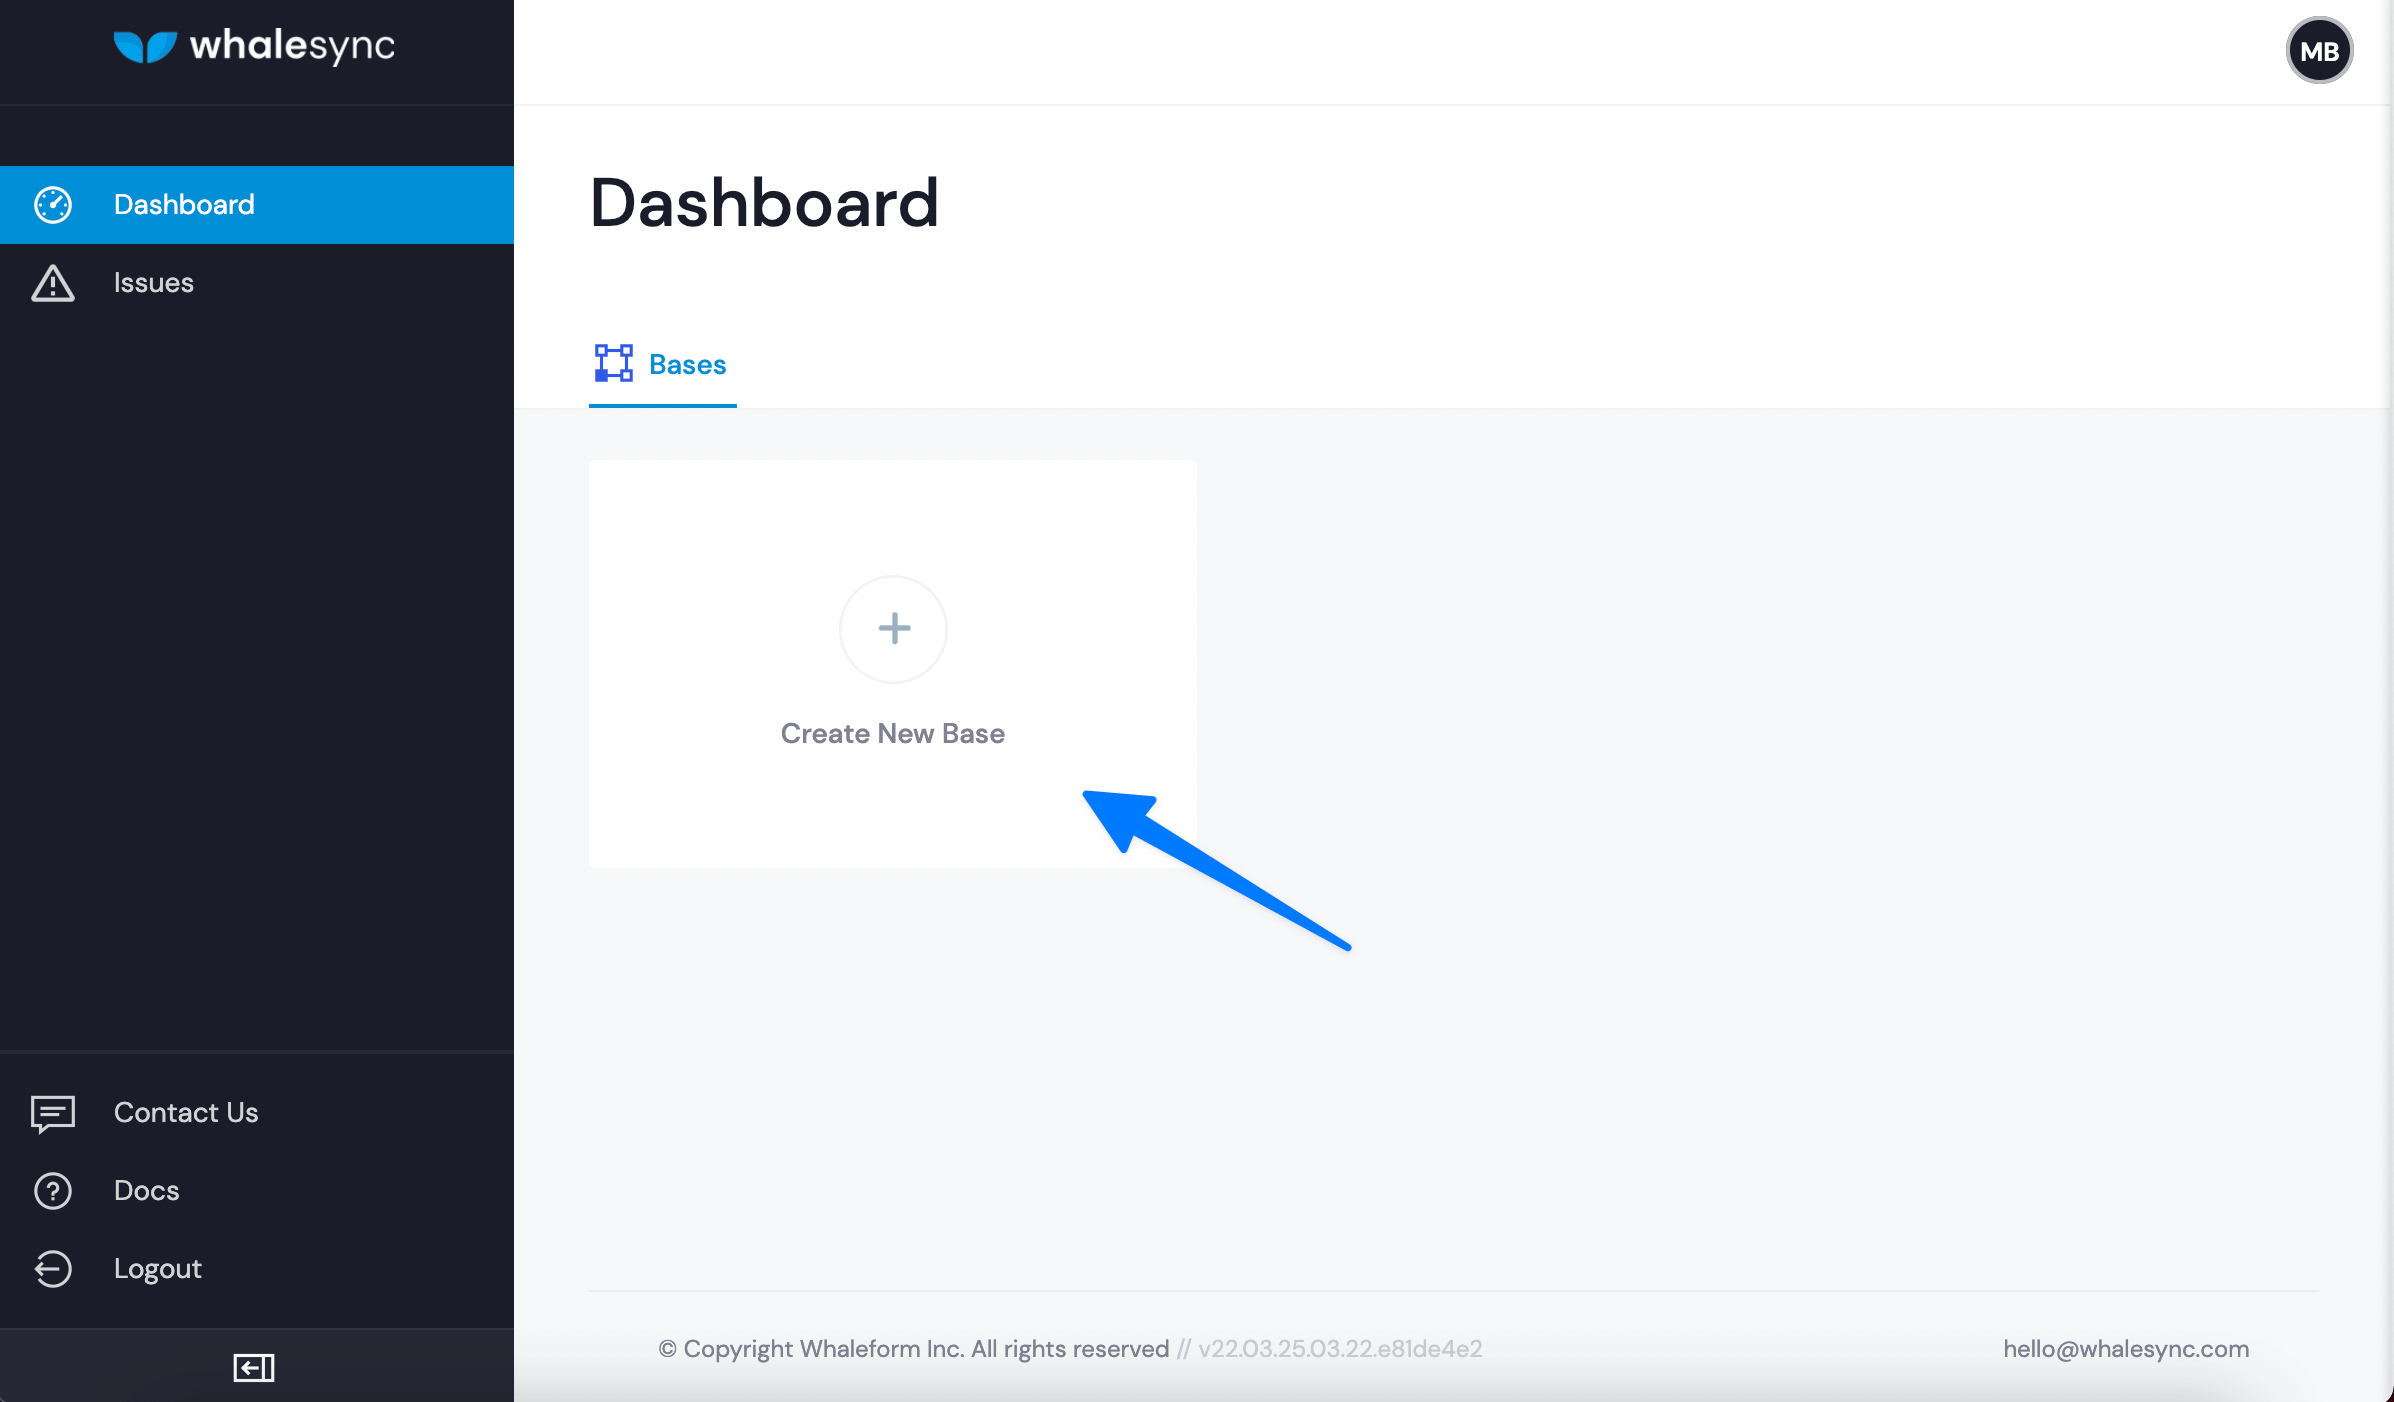
Navigate to app.whalesync.com. From the Dashboard, select “Create New Base.”
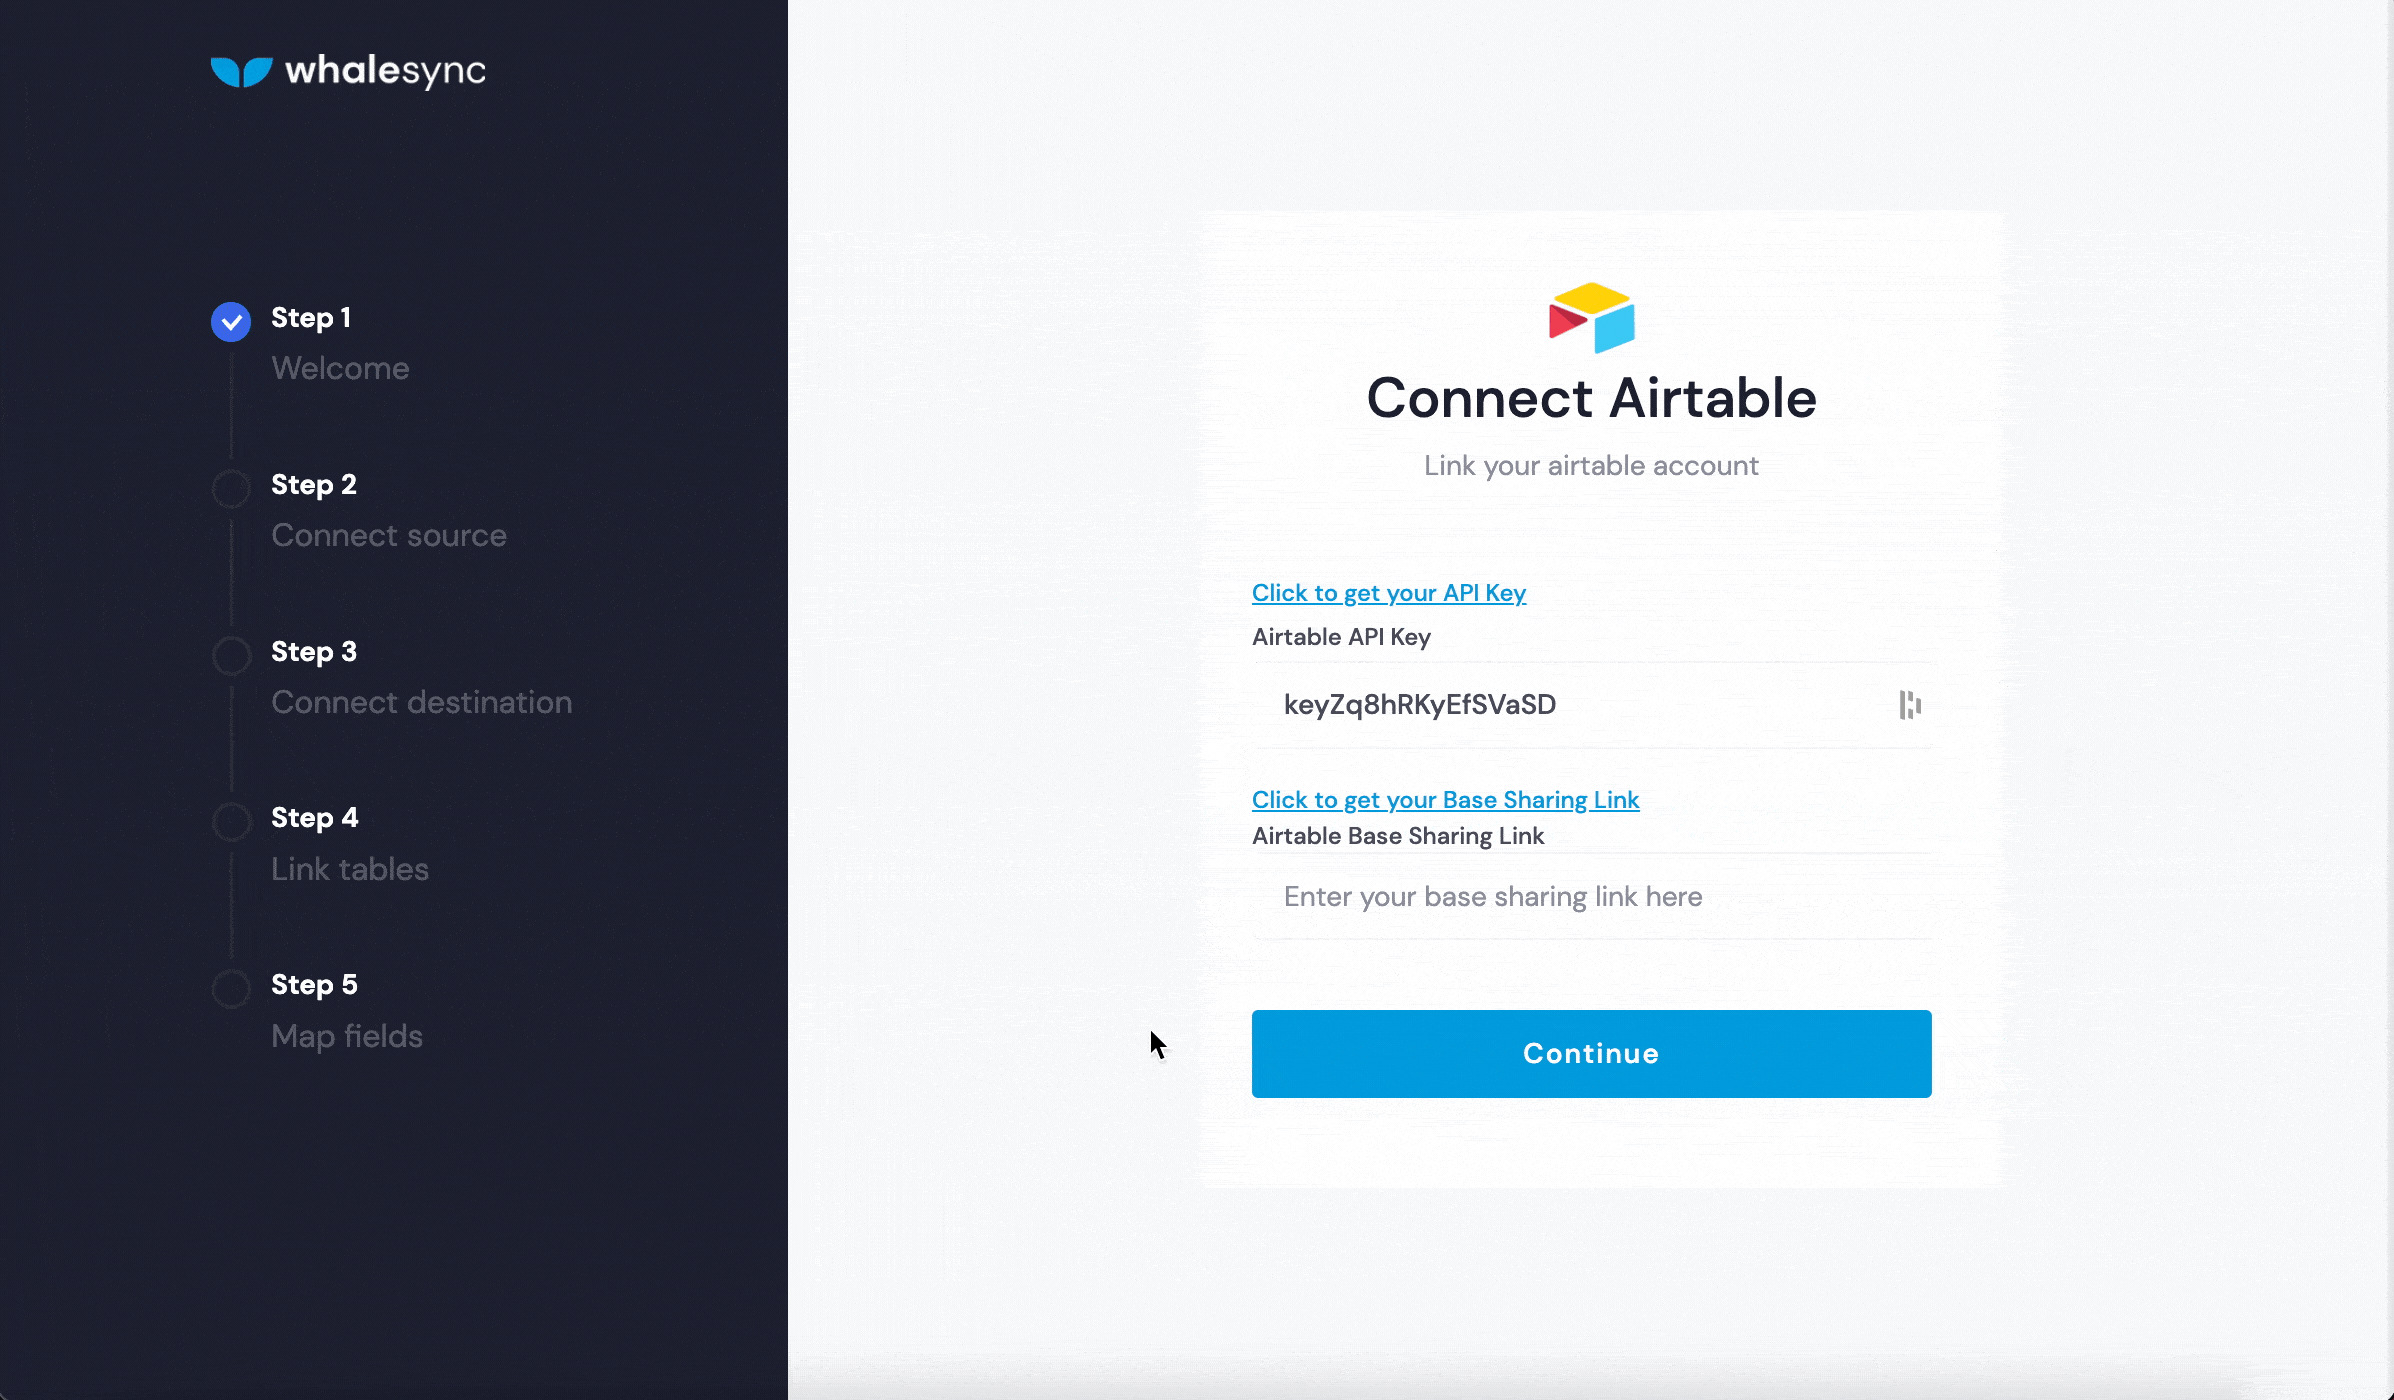
Copy and paste your Airtable and Webflow API keys into Whalesync.
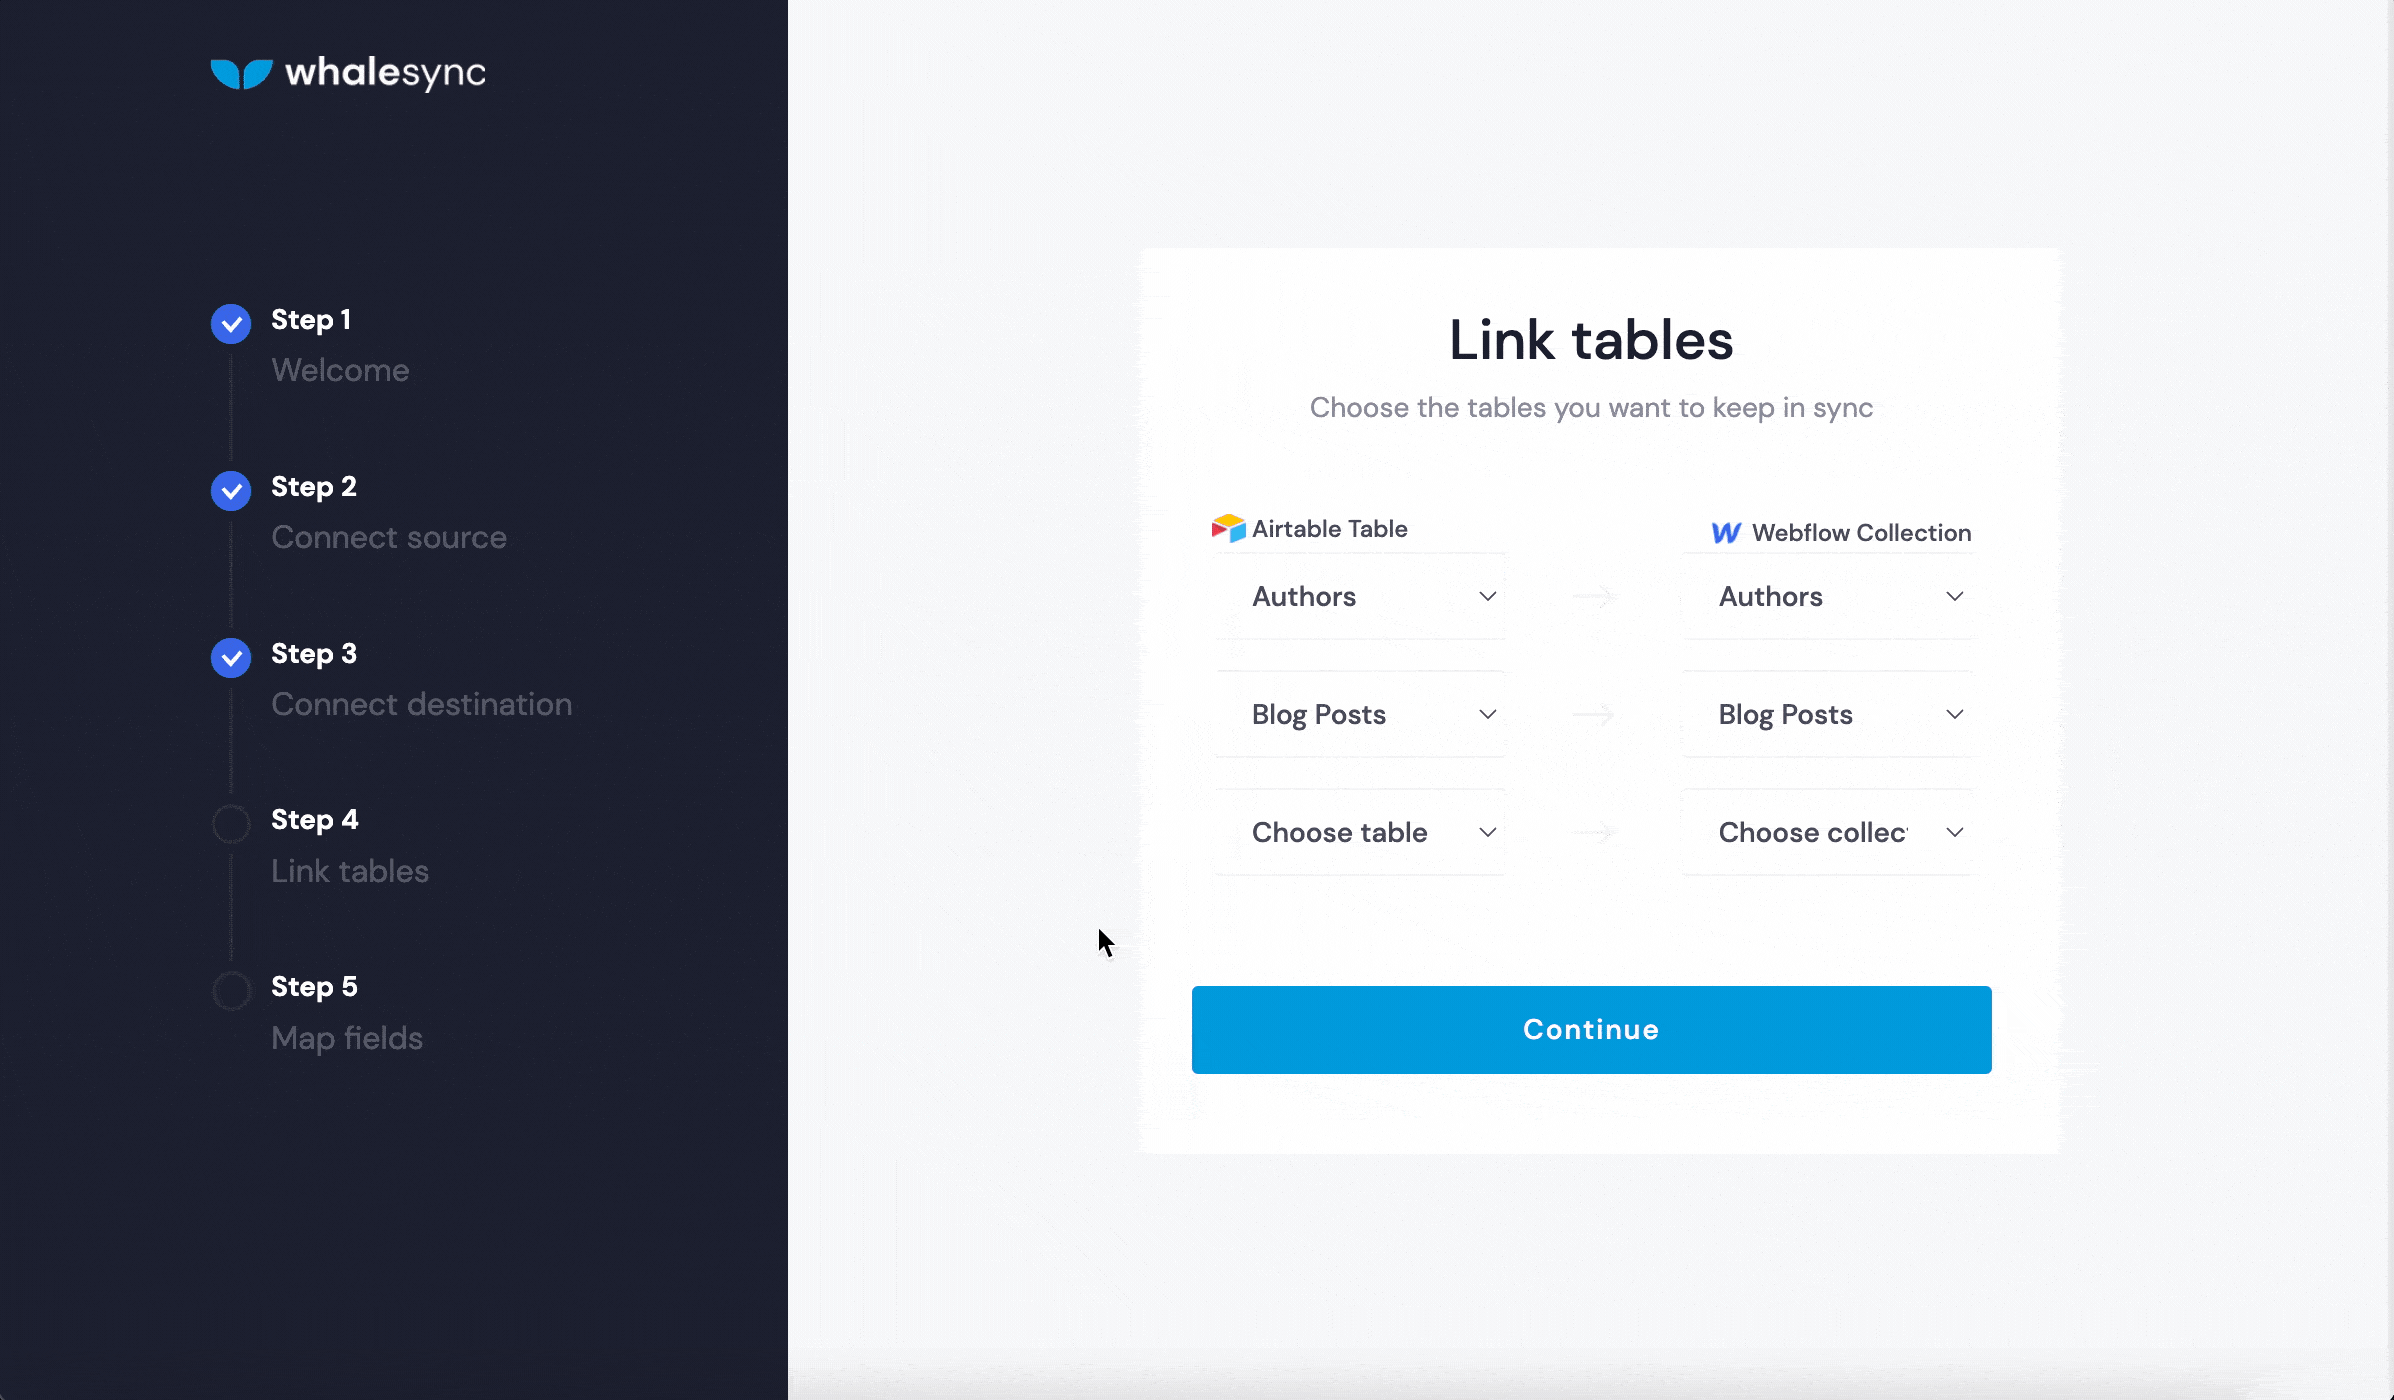
Map the tables and fields together that you would like to sync.
From the Whalesync dashboard, toggle sync on.
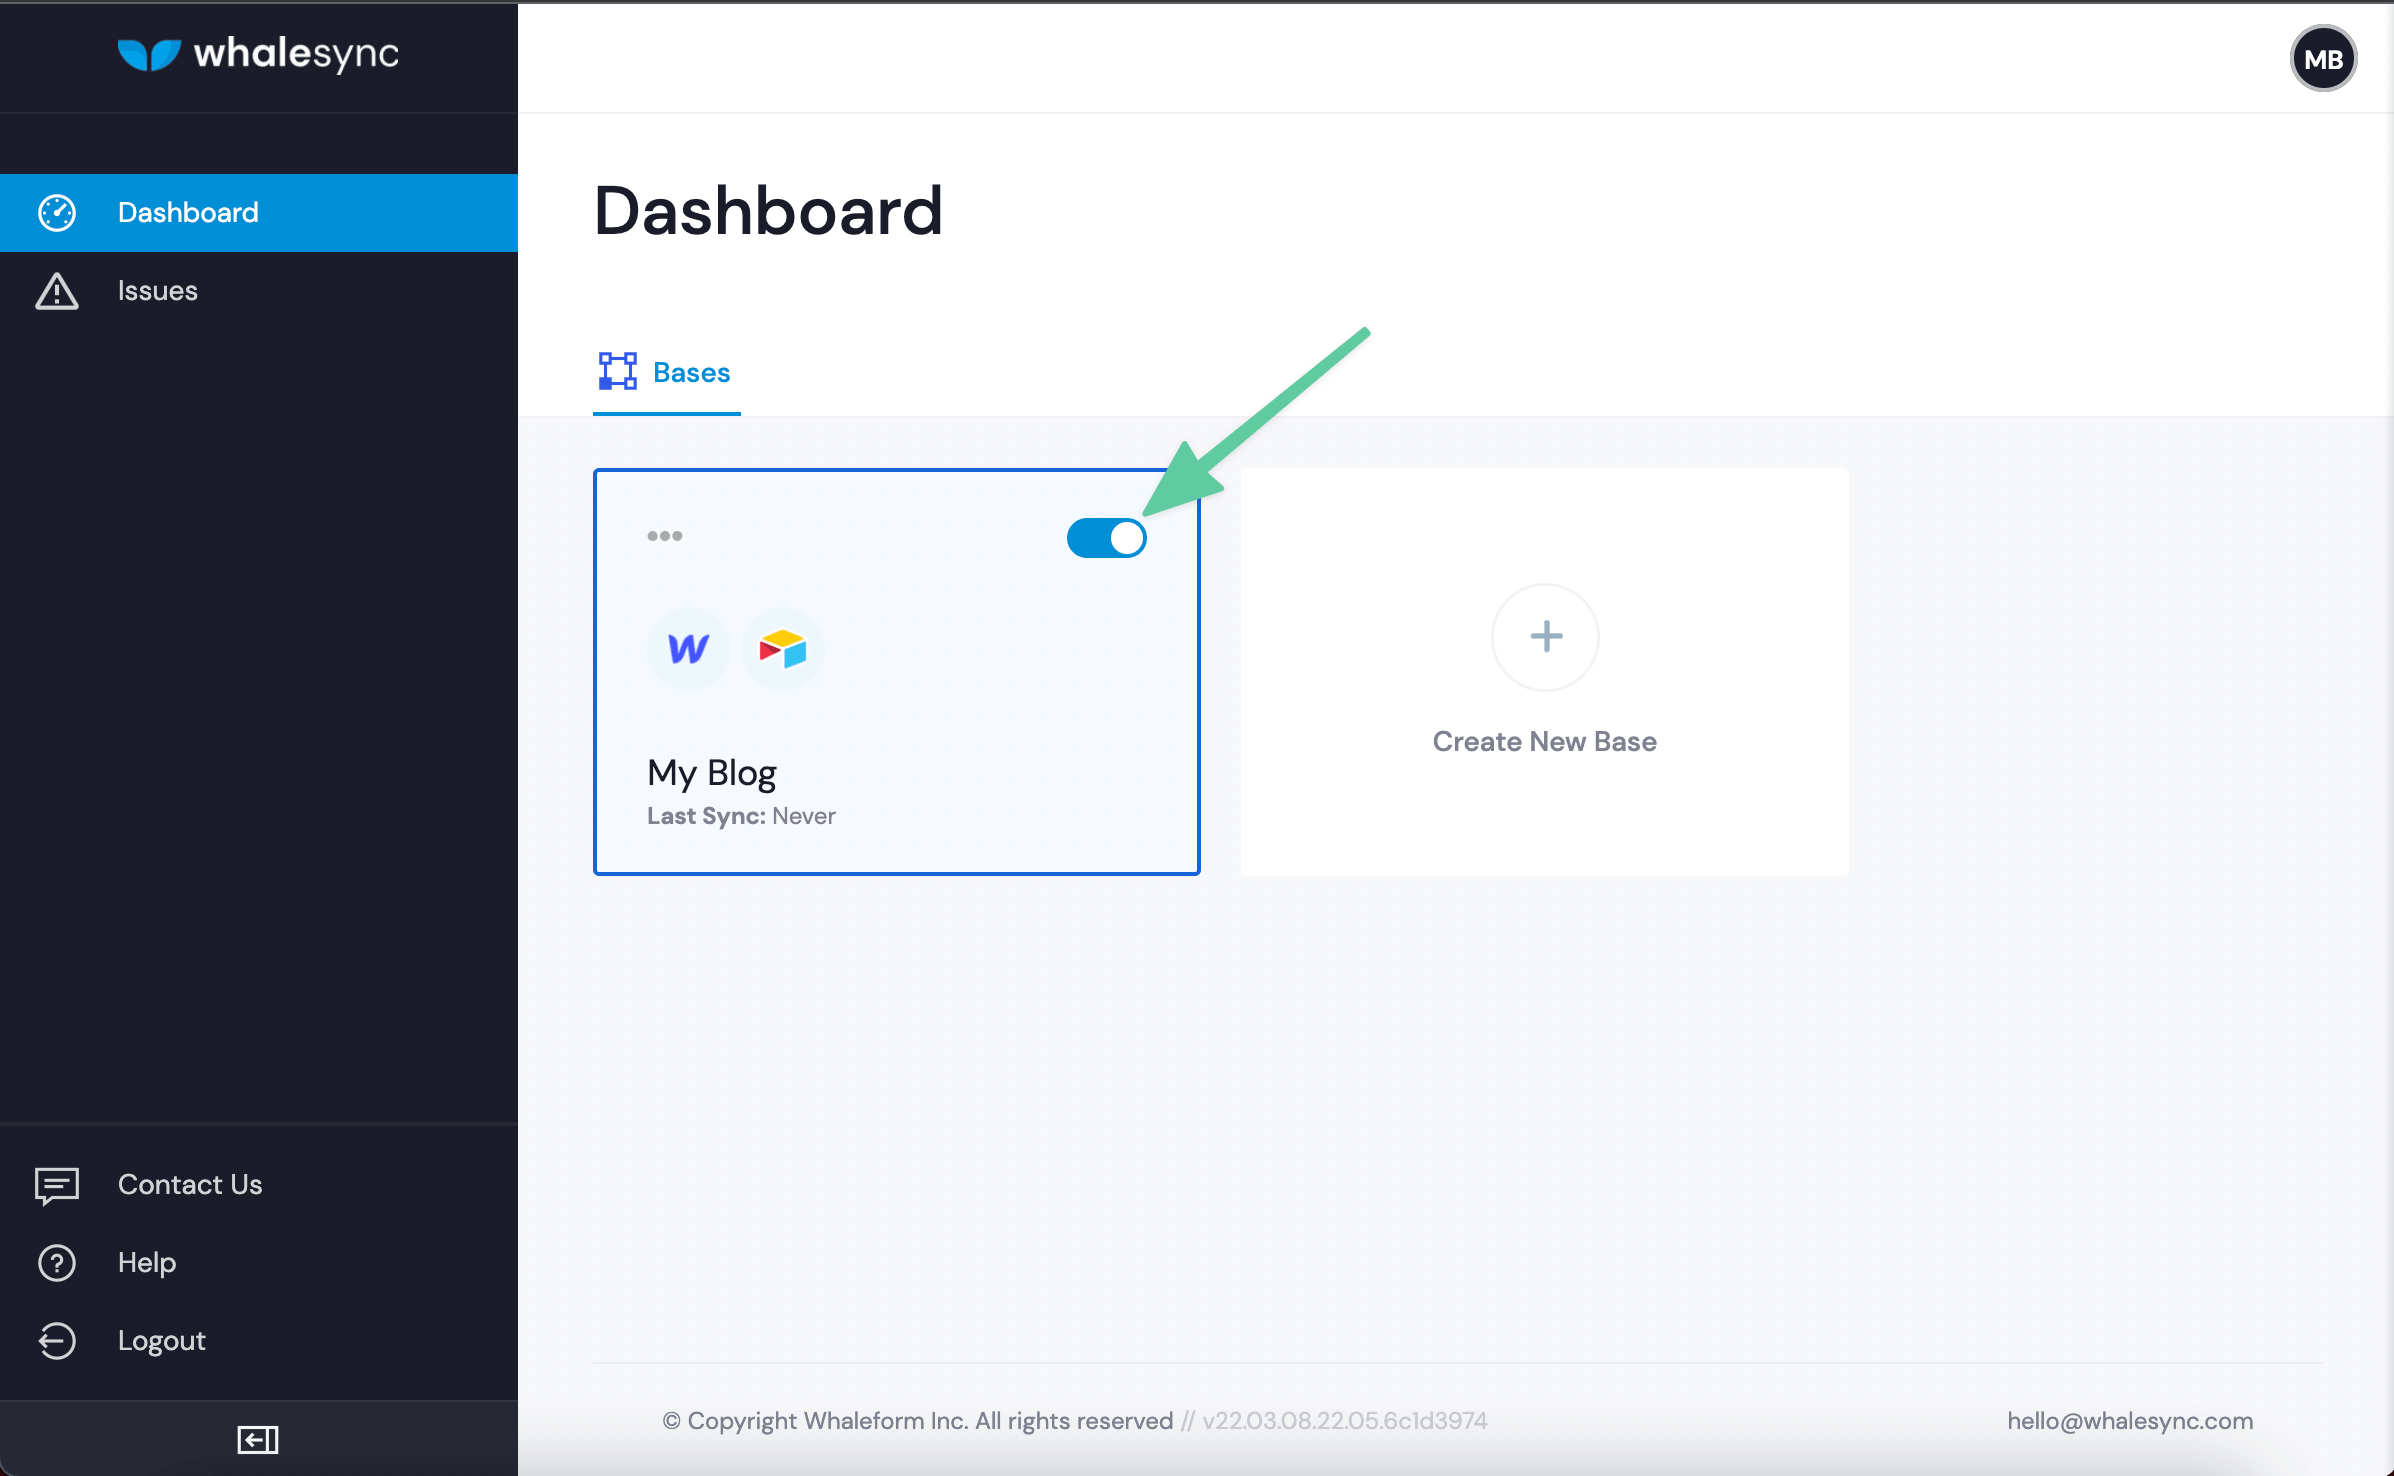
From here on out, Whalesync will keep your Airtable base and Webflow site in sync. Whenever you add a new resource or update a resource in Airtable, it will sync in real-time to Webflow 🎉.
*Note - Webflow’s free plan has a maximum of 50 CMS items. You’ll need to upgrade to a paid account if you want to manage more than 50 resources.
Conclusion
That’s it! With Airtable, Webflow, and Whalesync, you can build a beautiful collection of resources. Resource lists are a great way to provide value by sharing your expertise with others.
🚨 Bonus (Advanced) 🚨
Once you’ve set up your resource list with the steps above, you can take it to the take next level by adding search and filters. This allows your users to find the resources they’re most interested in quickly.
To do this, check out Jetboost - a Webflow plugin specifically built to add real-time filtering, search, and sorting to collection lists.
Subscribe for more
Stay up to date with the latest no-code data news, strategies, and insights sent straight to your inbox!


.svg)


.svg)

