How to connect and sync Sheets to Salesforce in 5 minutes with Whalesync
.png)
How to connect and sync Google Sheets to Salesforce in five minutes.

How to connect and sync Google Sheets to Salesforce in 5 minutes with Whalesync
Google Sheets is one of the easiest ways to manage data, whether you're tracking leads, managing customer lists, or organizing operations. Salesforce is the go-to CRM for thousands of teams, helping them manage everything from pipelines to customer relationships.
If you use Google Sheets to store data and Salesforce to manage your sales or support processes, syncing the two keeps everyone aligned. Let’s connect and sync Google Sheets to Salesforce in 5 minutes.
Why should you connect Google Sheets to Salesforce?
Syncing Google Sheets and Salesforce lets you keep your spreadsheet data and CRM fully up to date. If a team member updates a lead in Salesforce, that change can sync back to your shared spreadsheet. And when someone updates the spreadsheet, Salesforce gets the latest info too.
Whether you’re managing a contact list, logging lead activity, or tracking internal workflows, syncing Sheets with Salesforce helps your team stay in sync without copying and pasting or requesting CRM access.
When should you connect Google Sheets and Salesforce?
Here are a few common scenarios where connecting the two makes sense:
- You manage lead or customer data in Google Sheets: Syncing ensures Salesforce is always updated with the latest info.
- Your team prefers working in Sheets: Sales or operations teams can manage data in the spreadsheet, while Salesforce stays updated in the background.
- You want to avoid manual exports and keep both tools in sync: No more duplicate data entry or miscommunication between teams.
How to sync Google Sheets and Salesforce
Here’s a step by step guide to sync Google Sheets and Salesforce.
Step 1: Create a new sync
Log in to your Whalesync account and click ‘New sync’
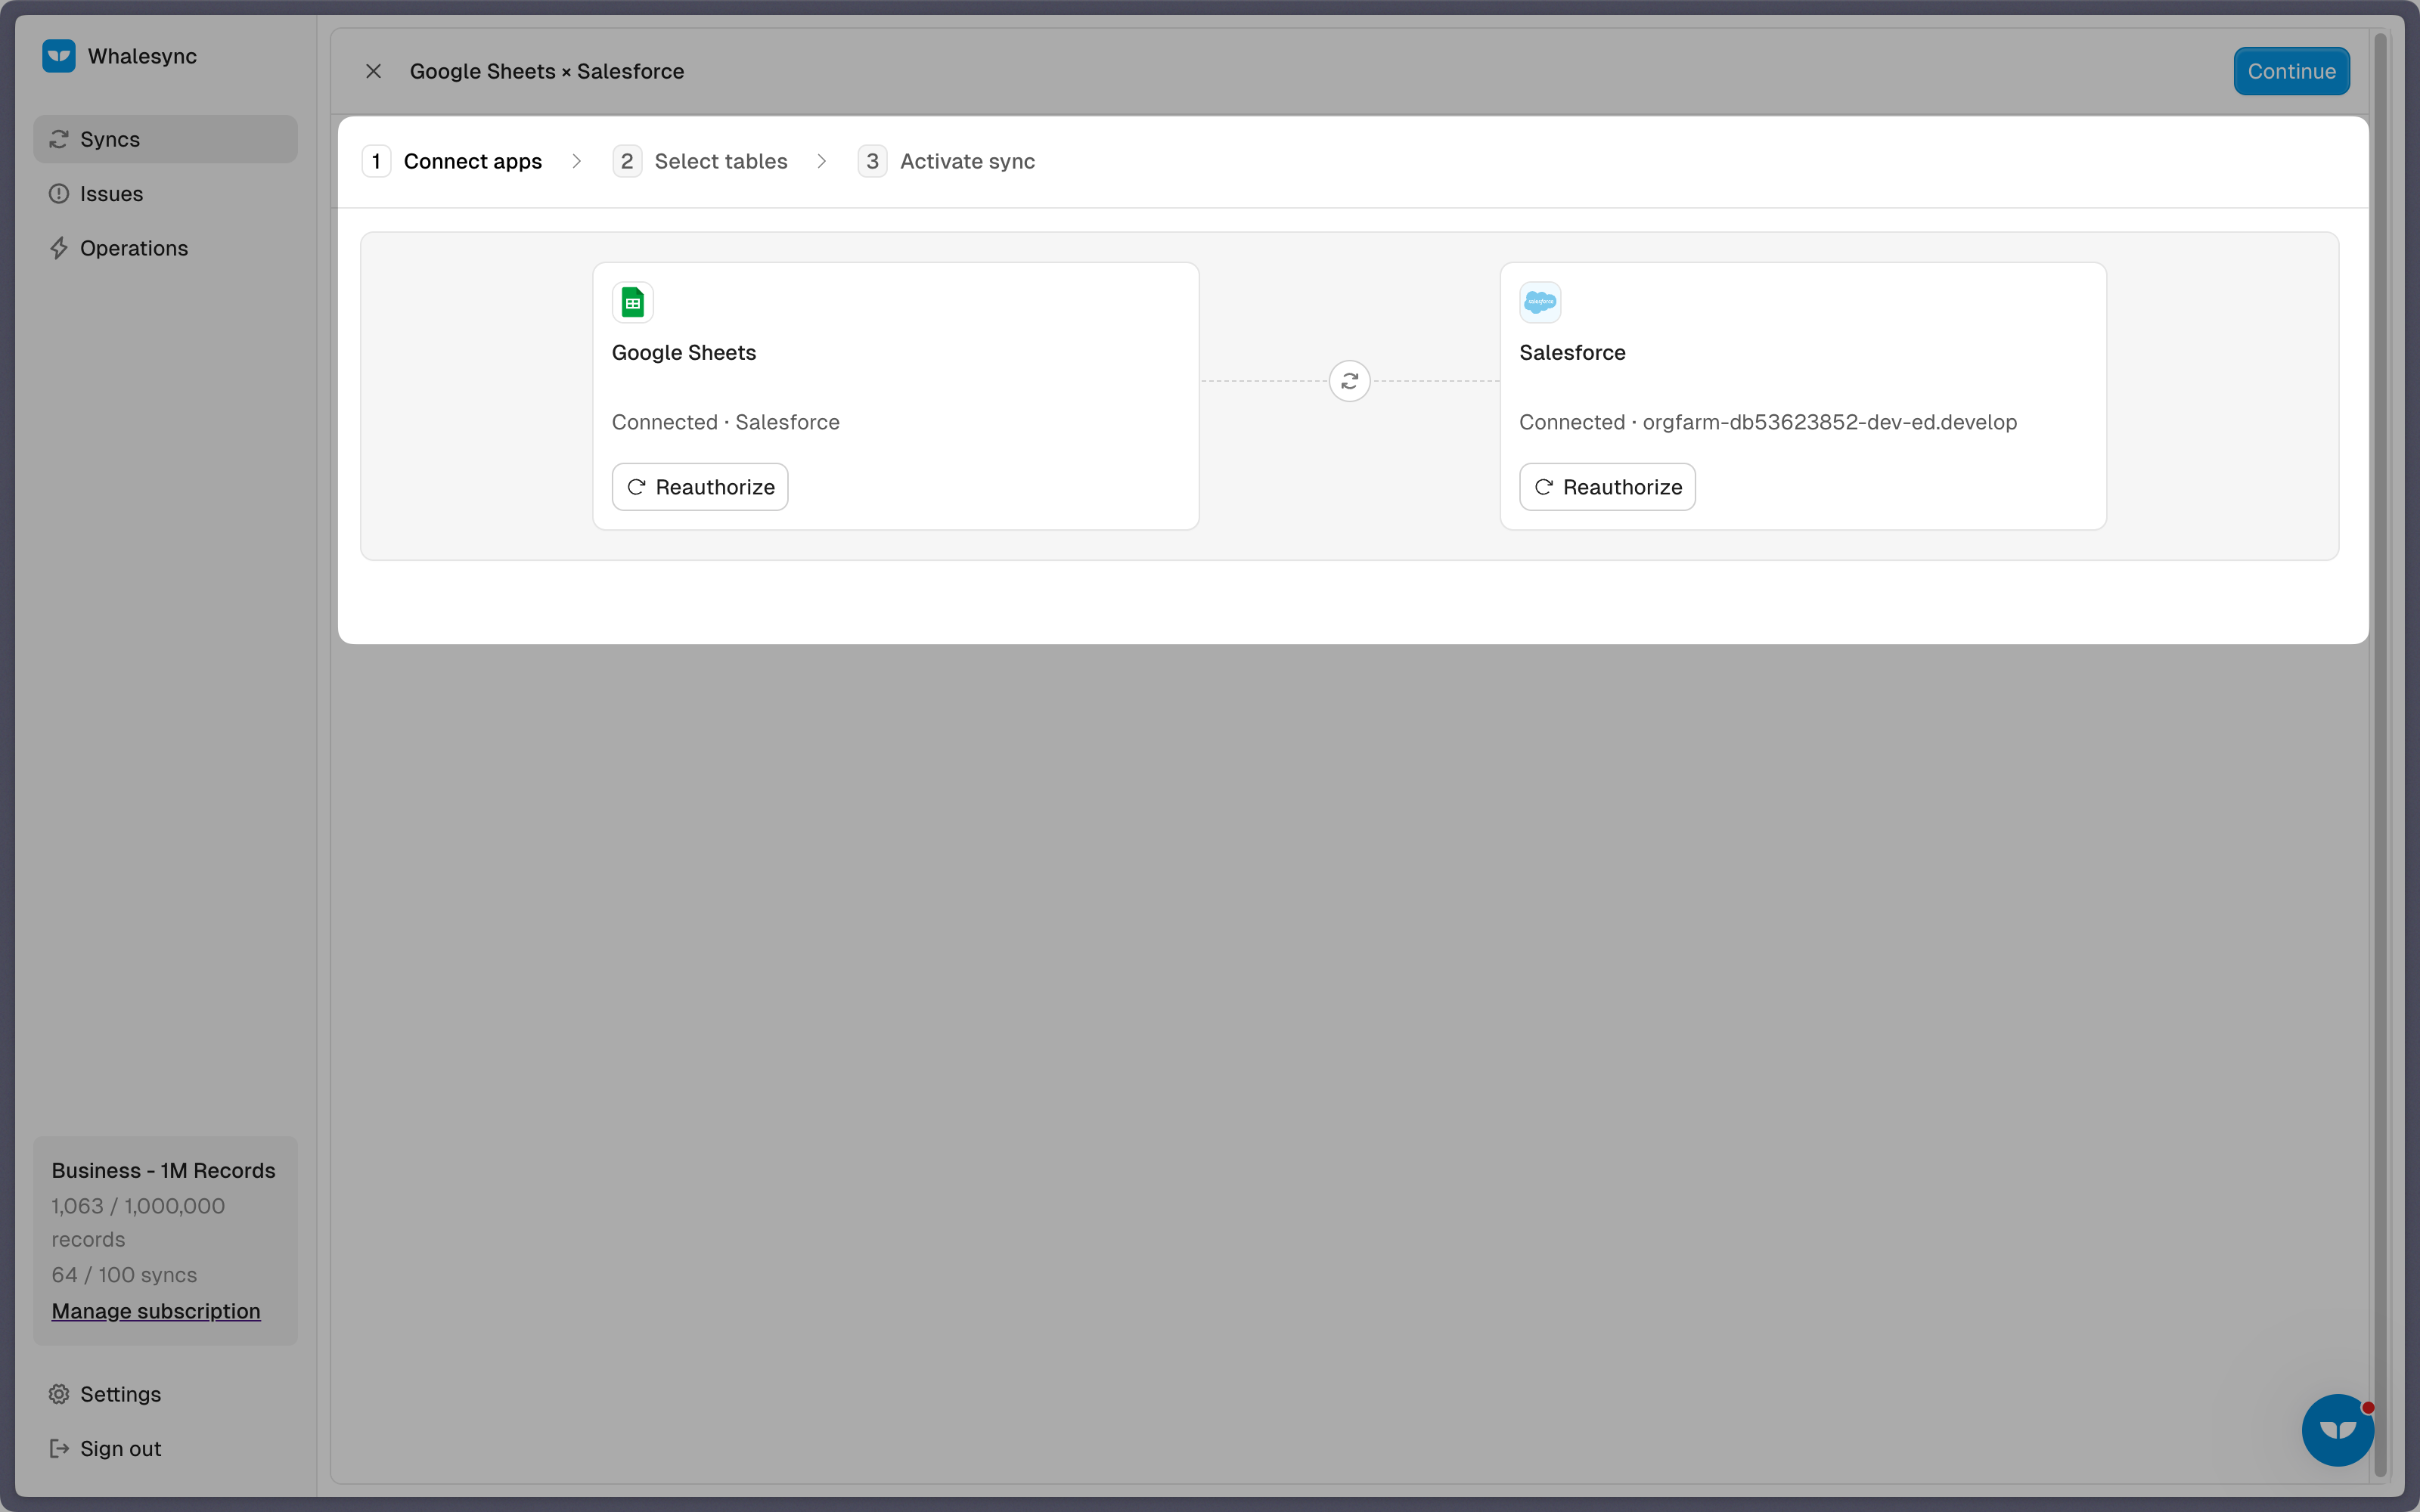
Step 2: Authorize your apps
Select the apps you want to connect. In this case, it’s Google Sheets and Salesforce. Then, authorize these two apps. Authorizing the apps enables Whalesync to have access to your app data in order to complete the syncs.
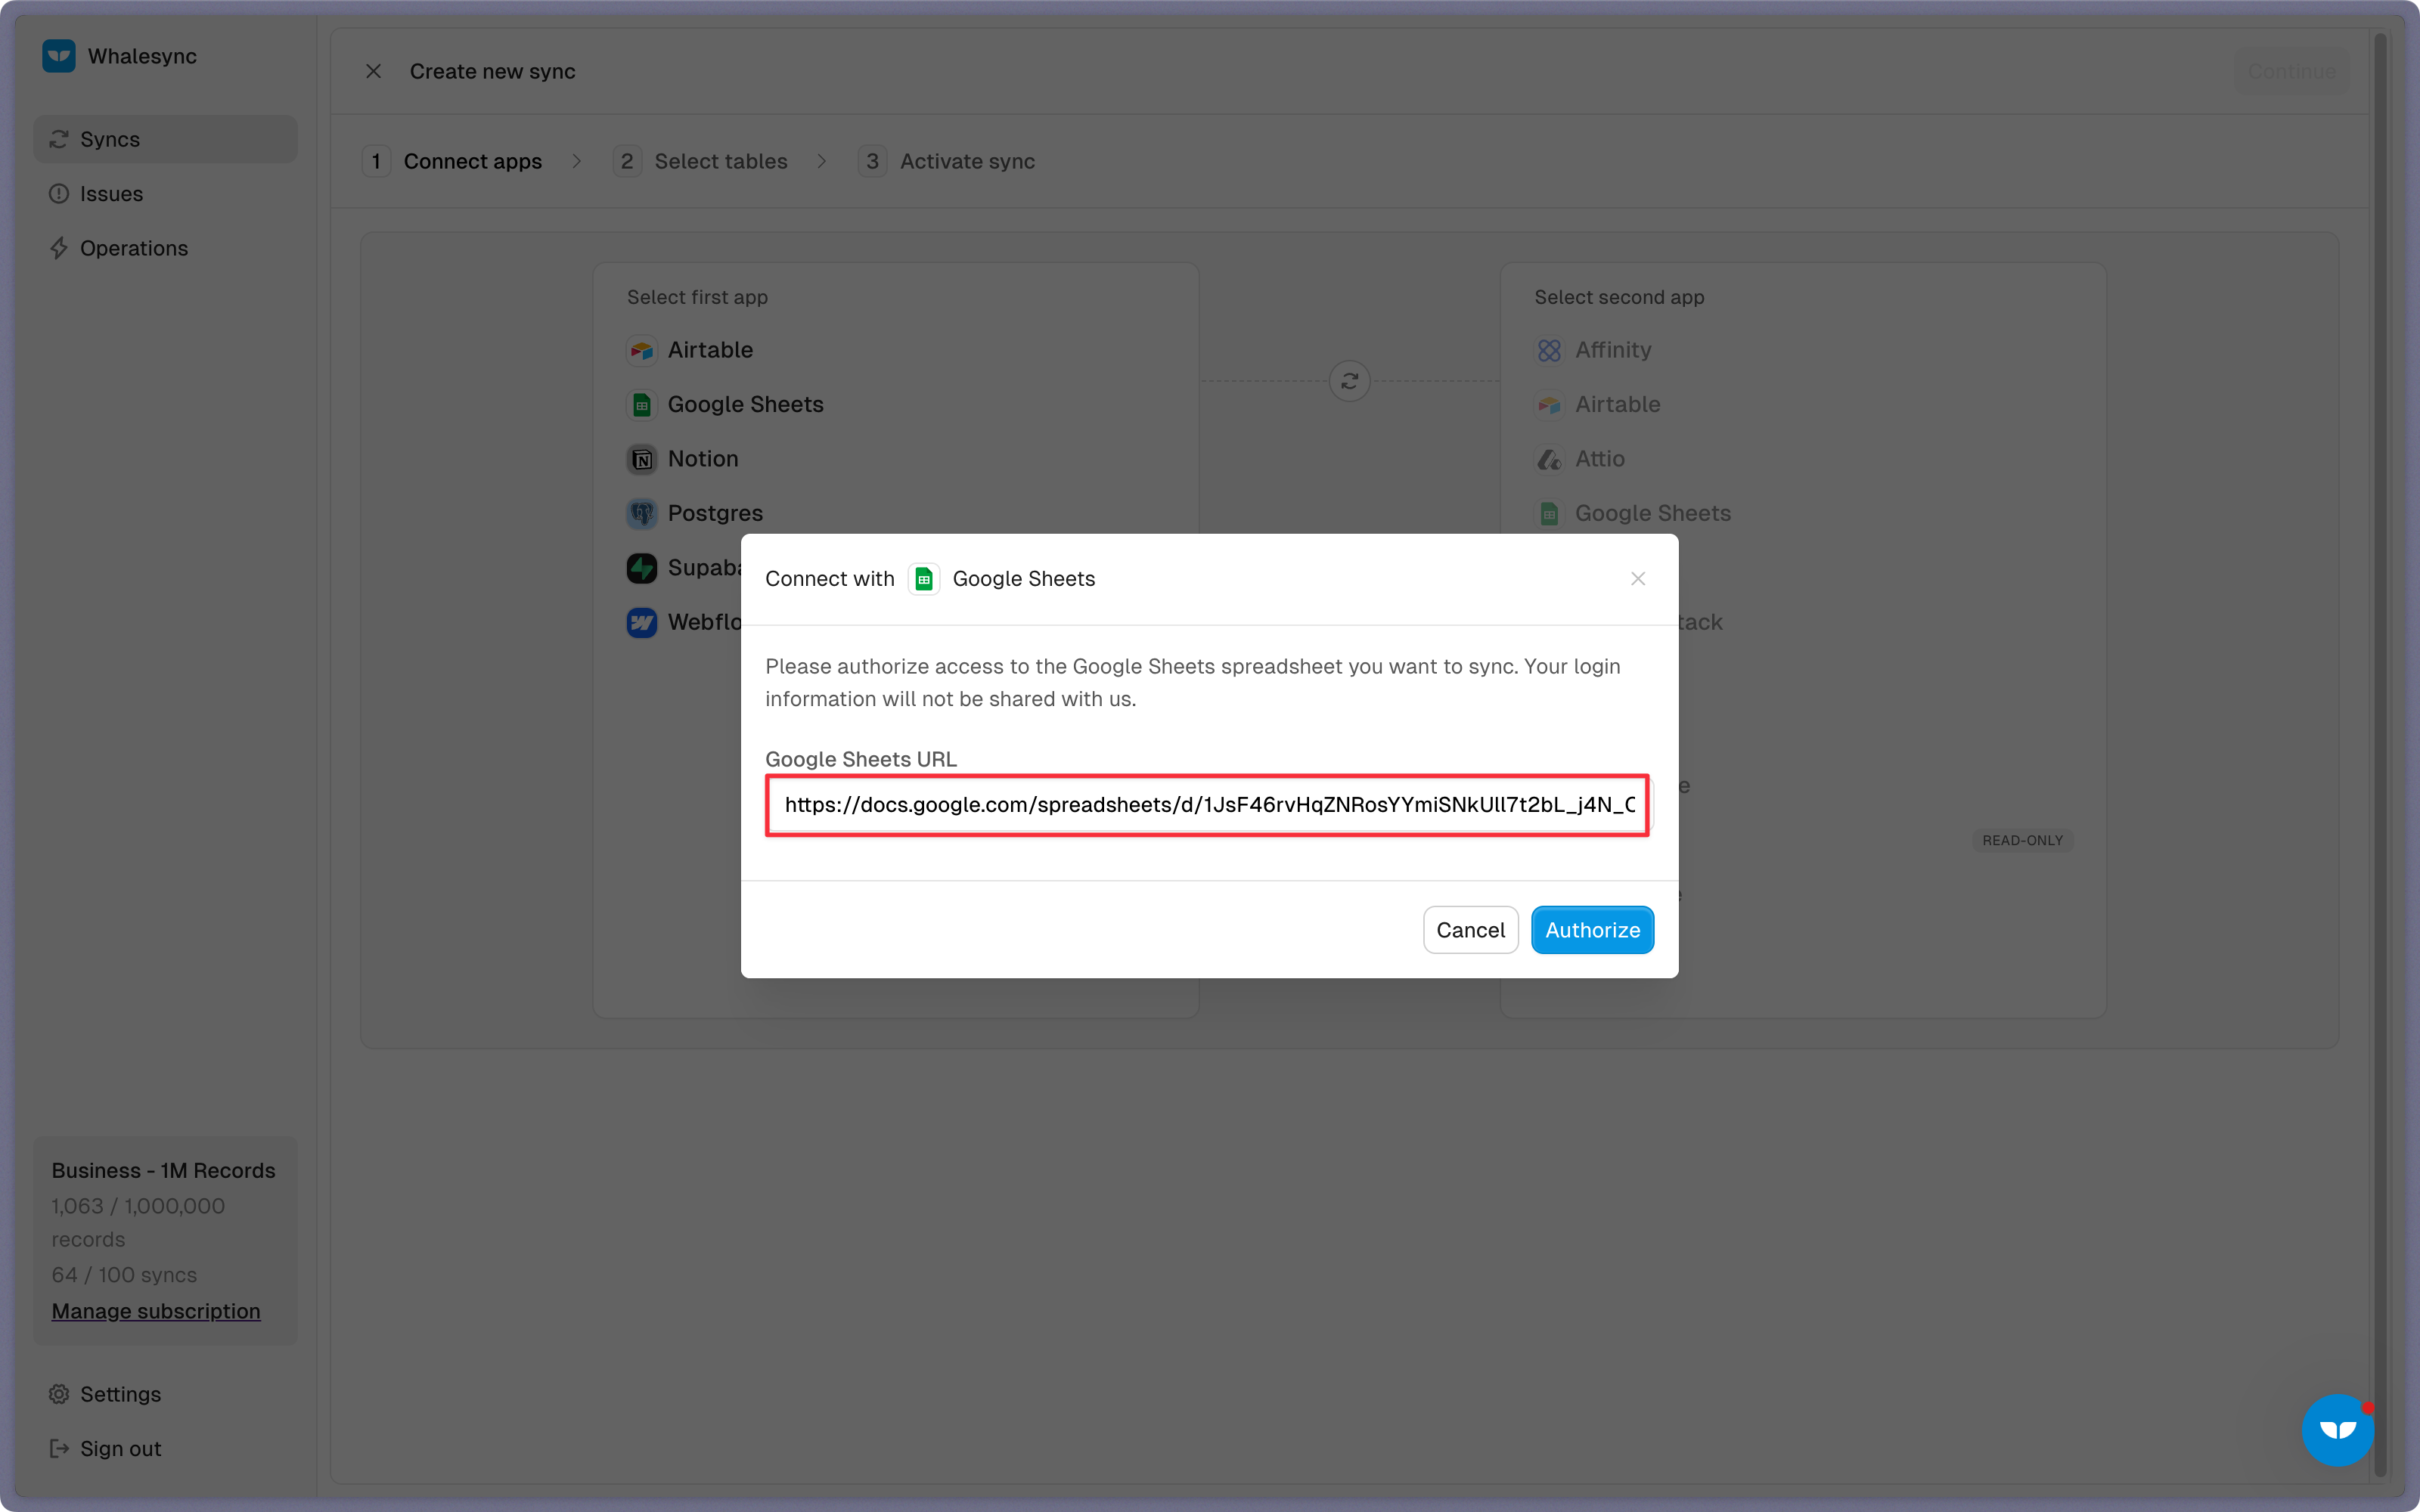
When you’re authorizing the apps, you need to select the Google Sheet you want to sync the data from and the destination within your Salesforce organization where the data should be synced.
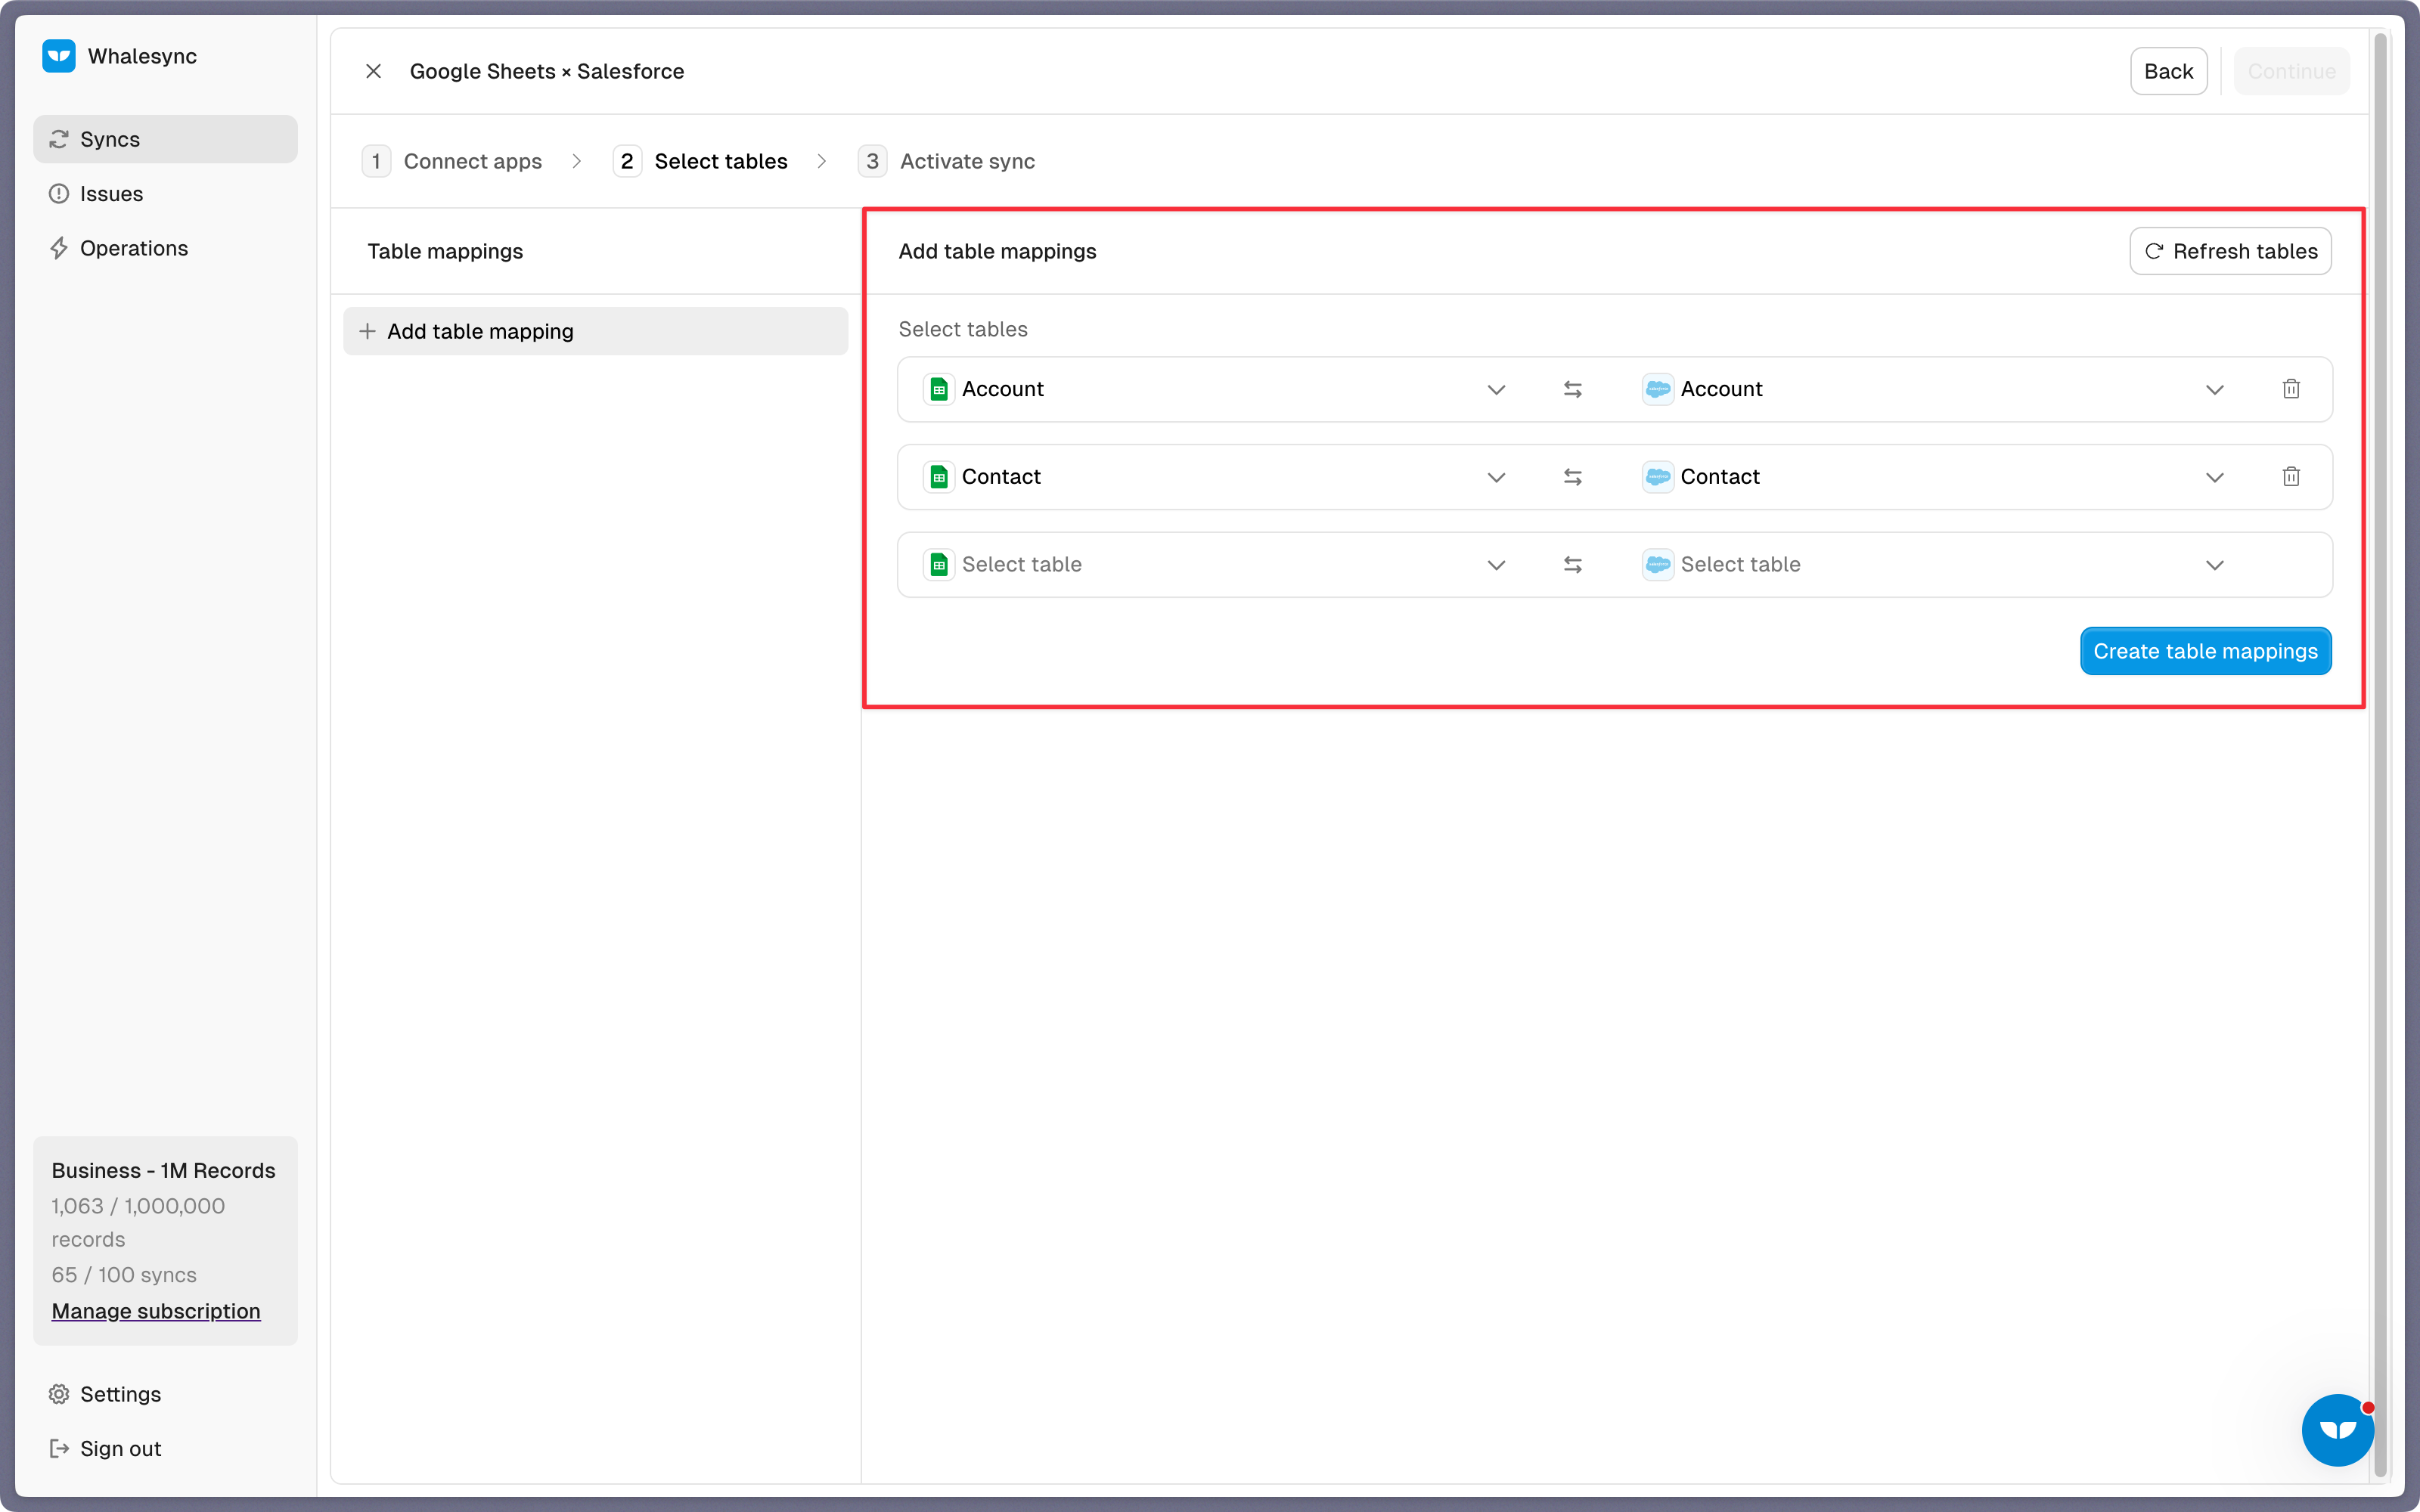
Step 3: Map your tables
Choose the tables that you want to sync from Google Sheets to Salesforce. You can add multiple table mappings to a sync and related fields. You can also create the tables you want to map from Whalesync’s user interface, making it much faster to get started with your syncing.
Step 4: Map your fields
You can choose how many fields you want to map, whether you want to map all of the fields or just a few.
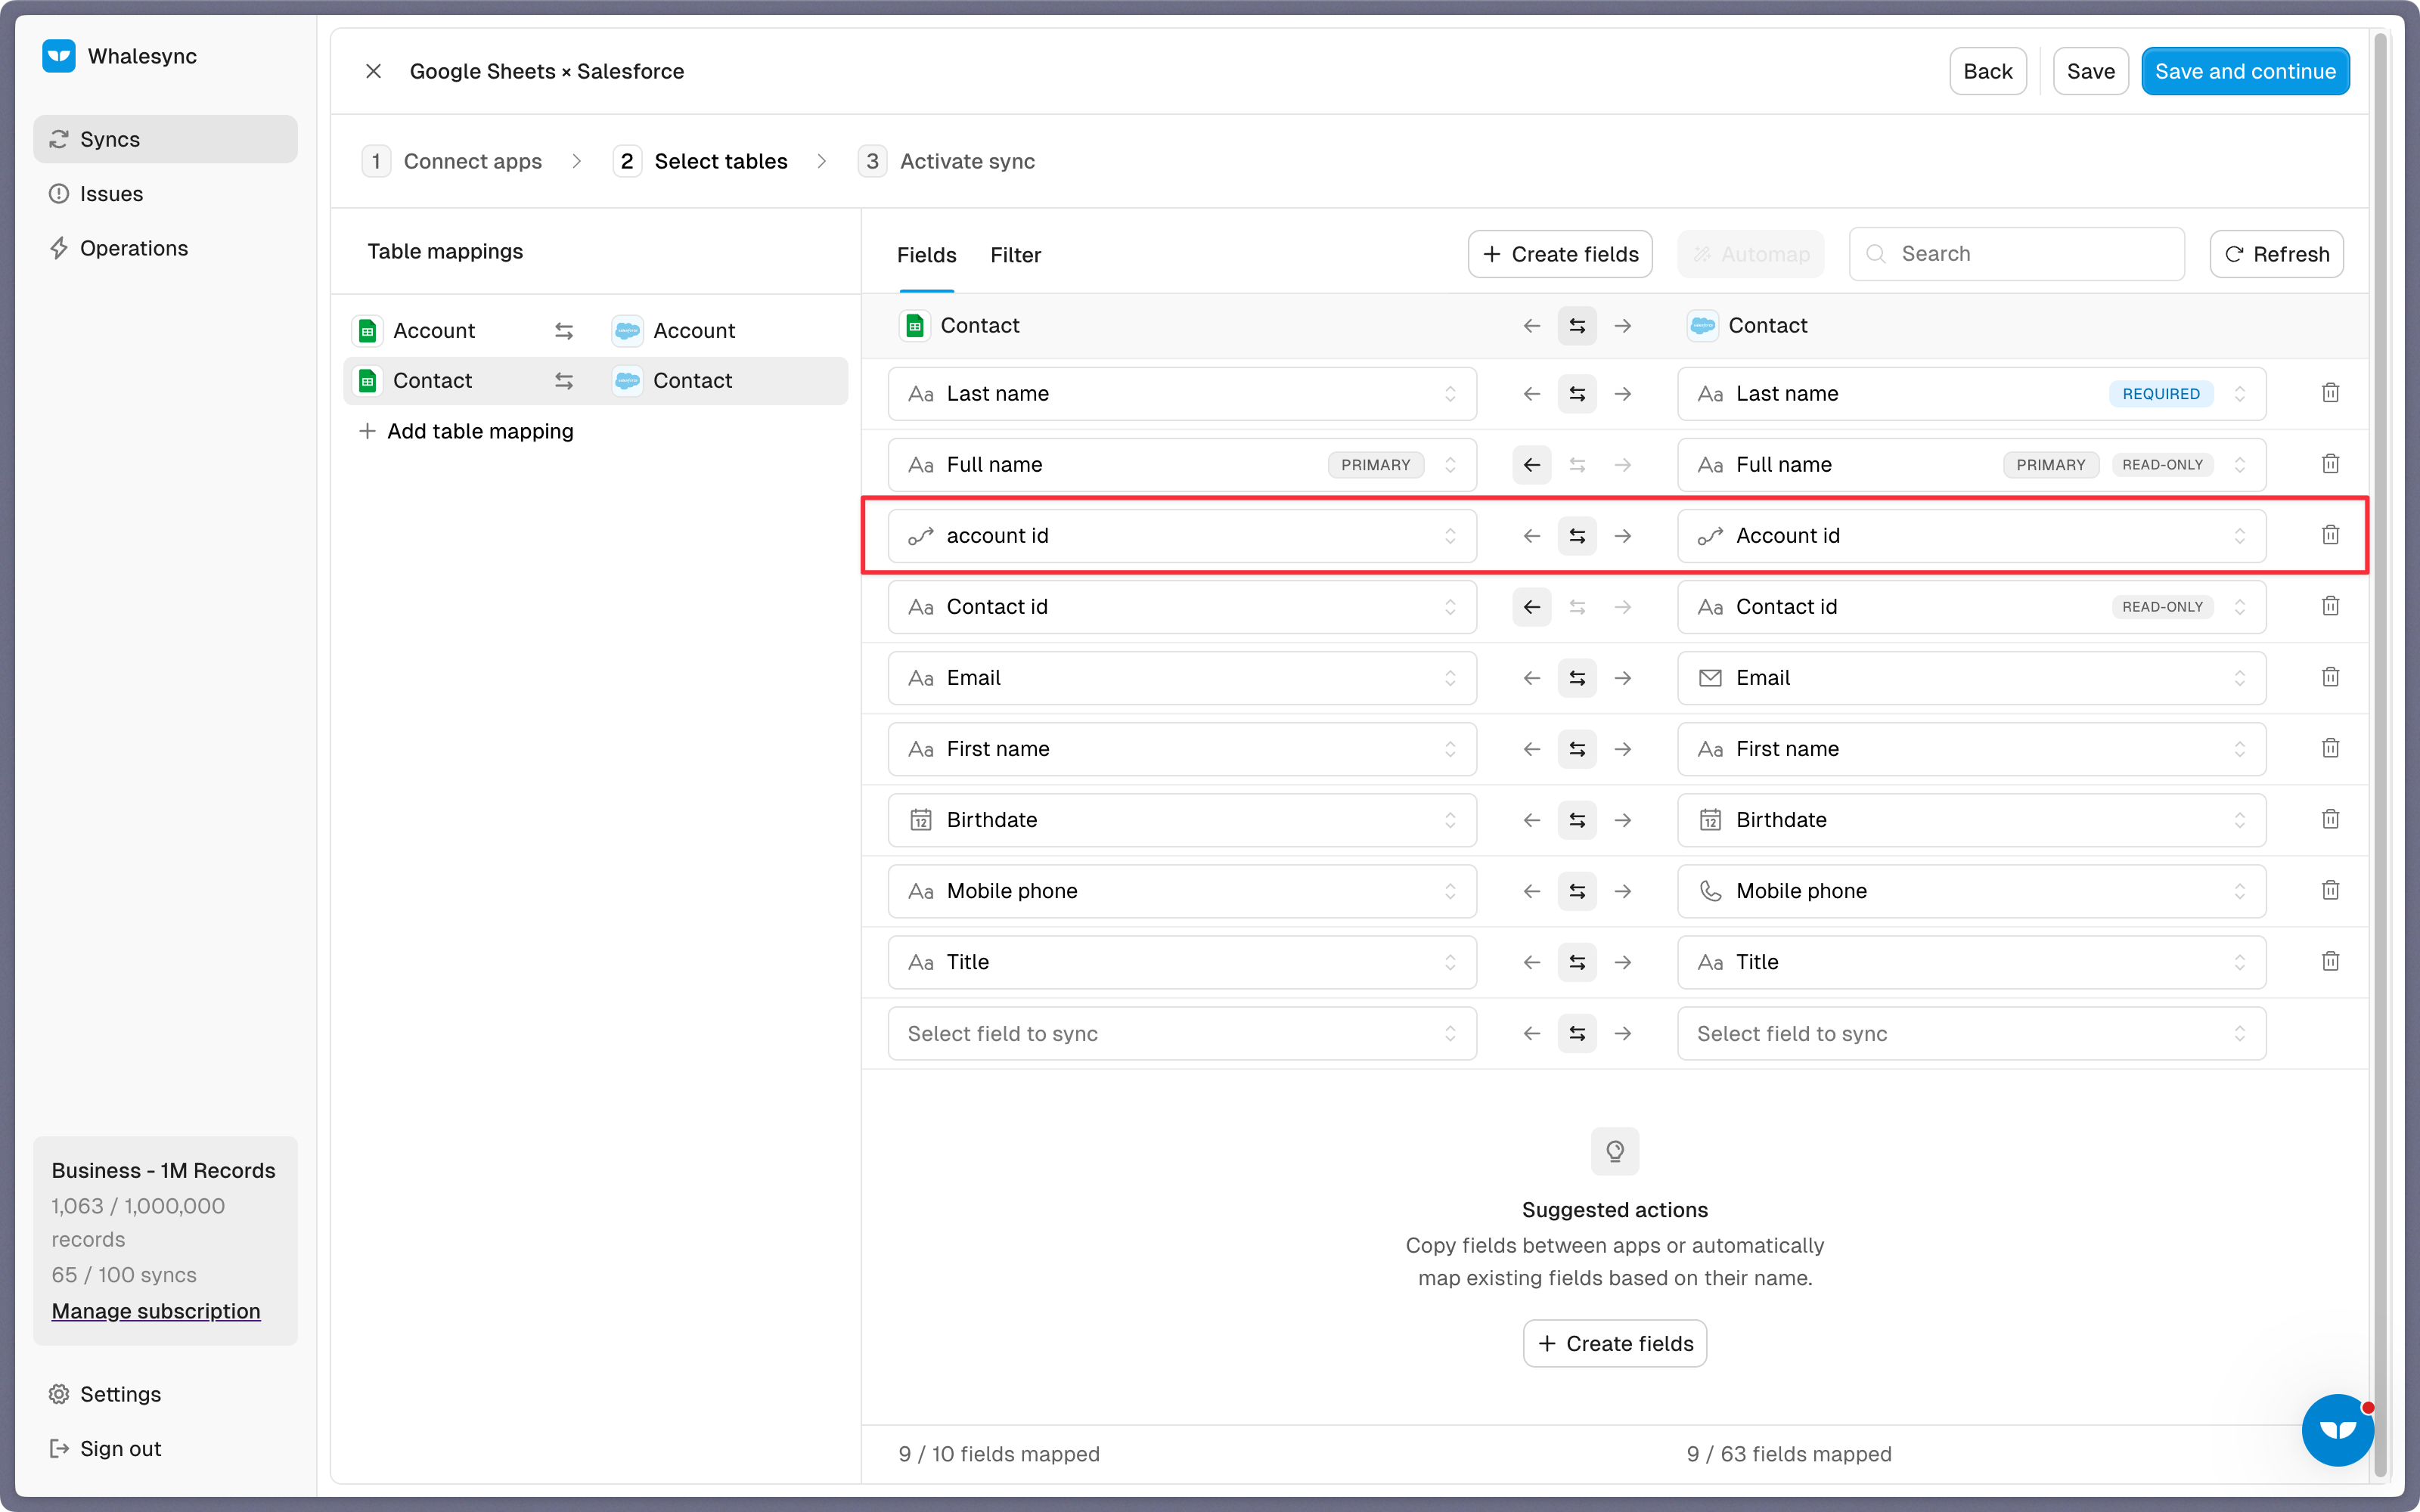
You can also create fields here.
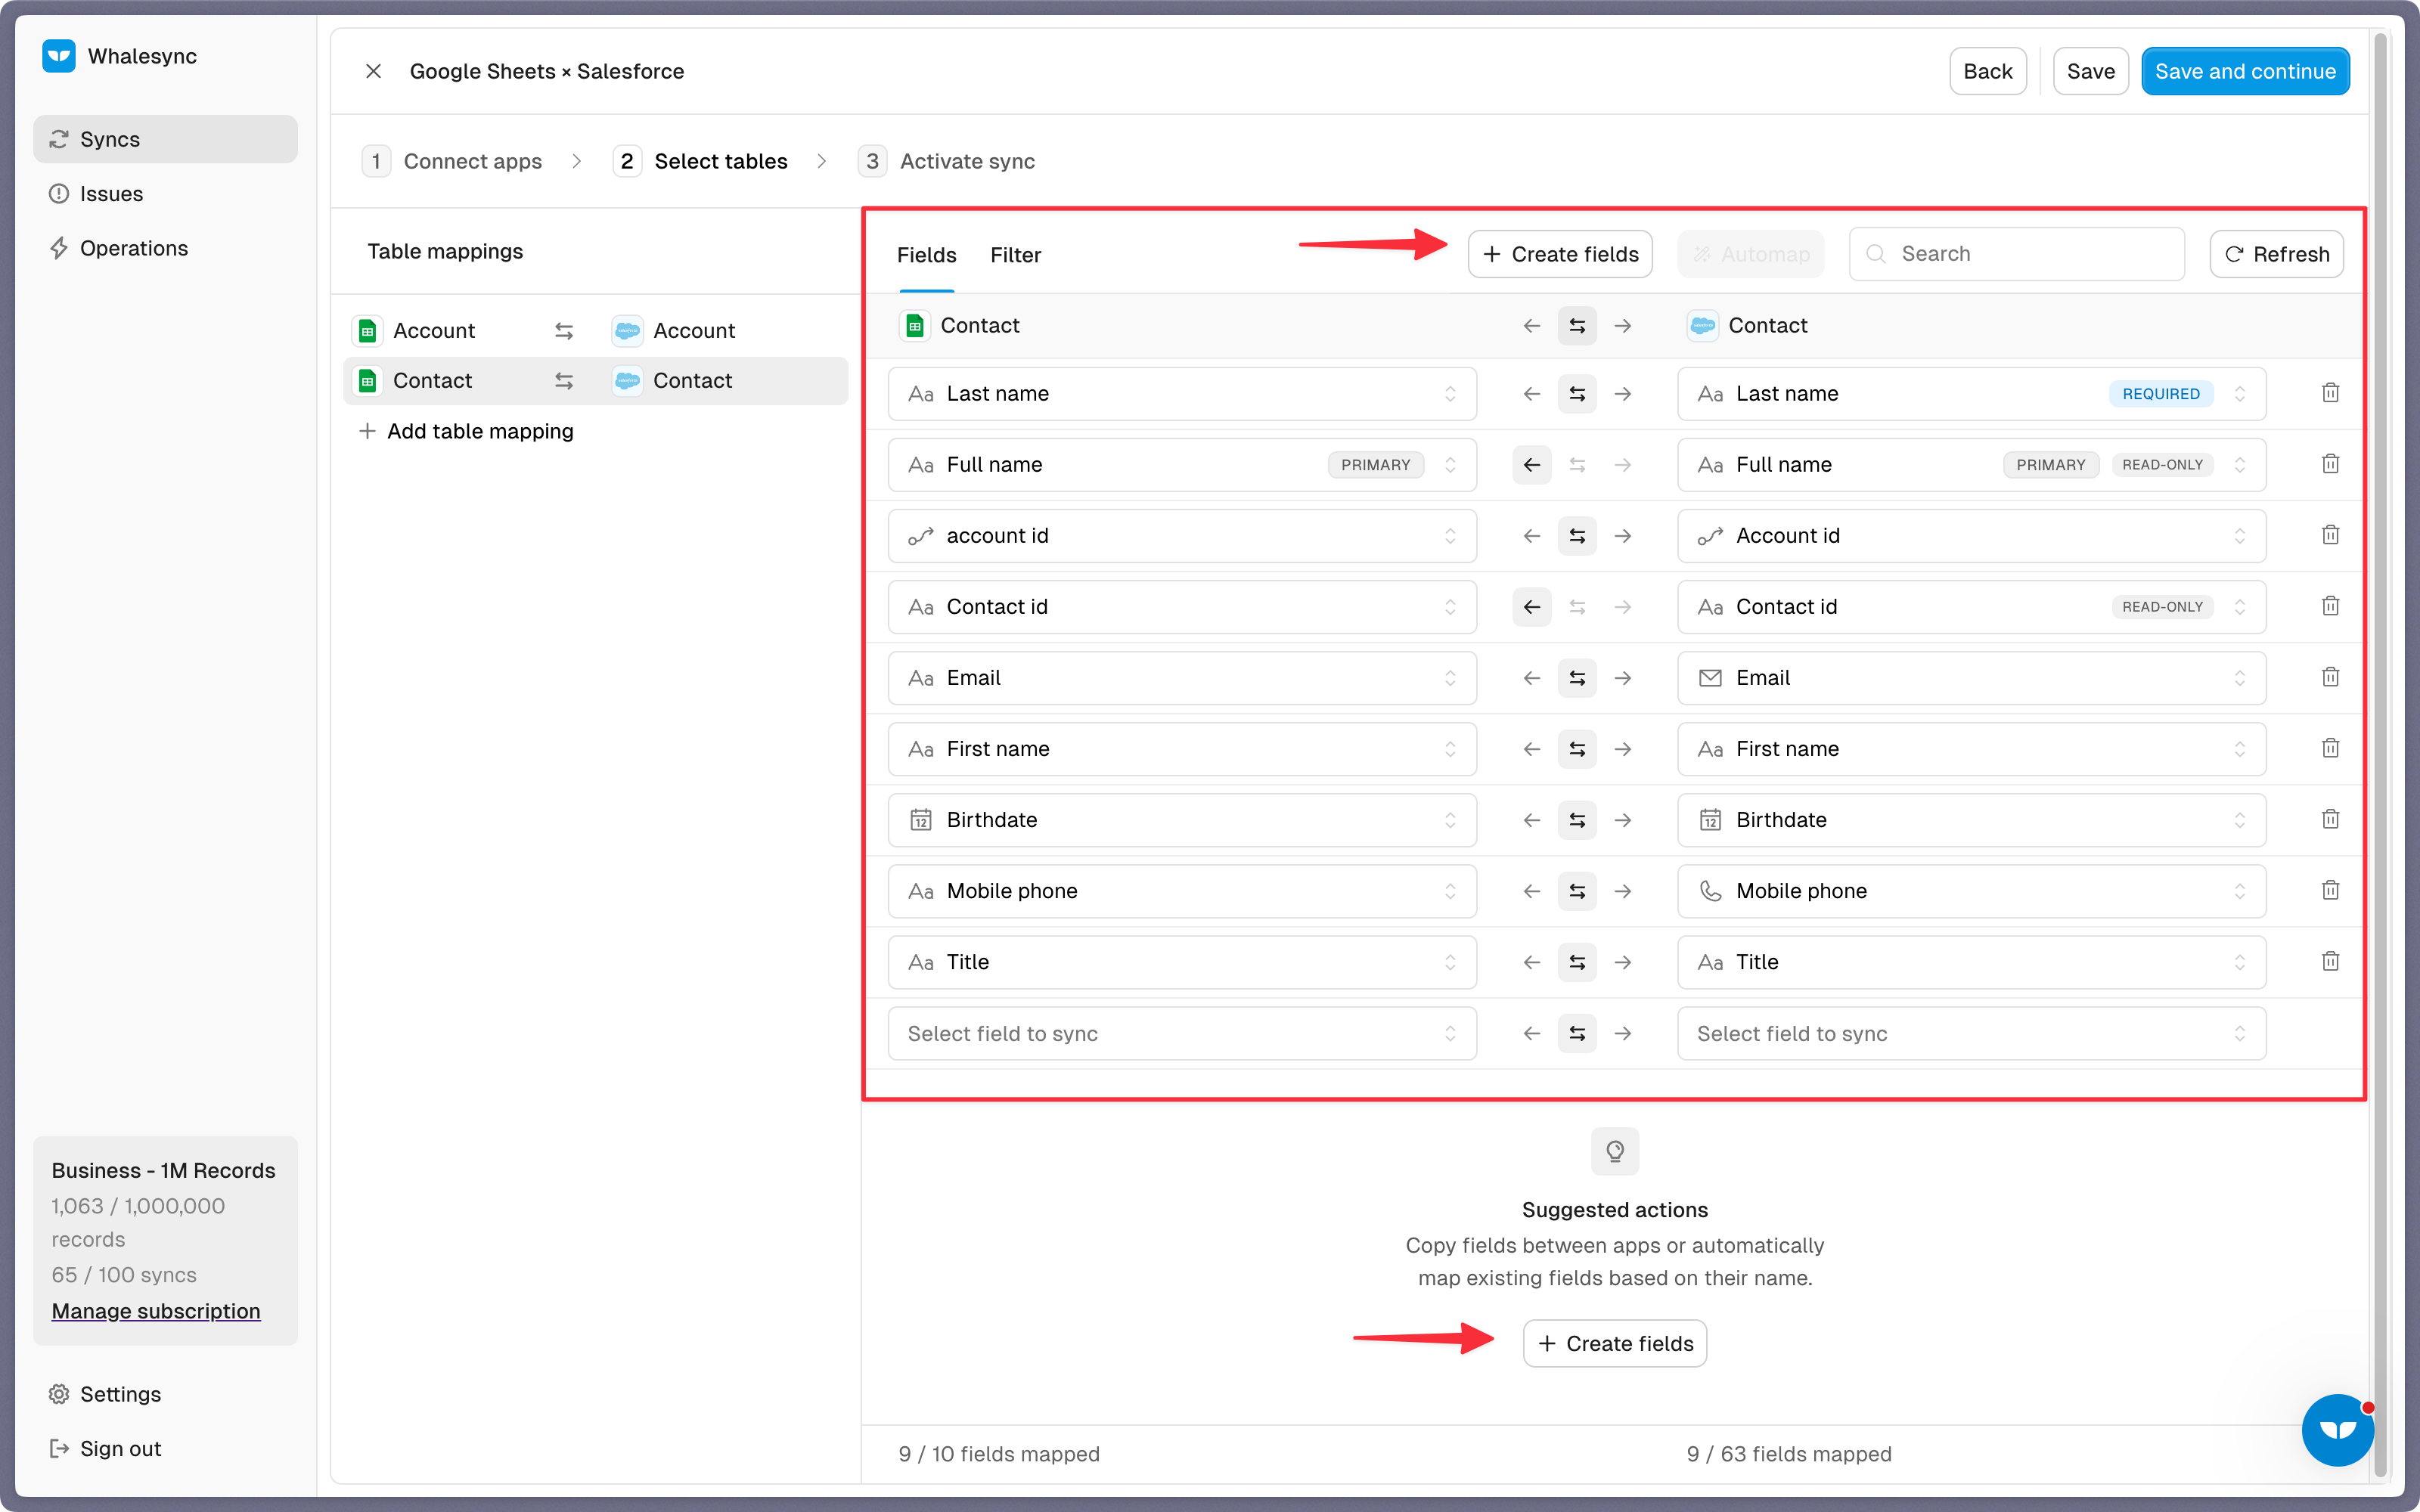
If you have existing data in your Google Sheet, Whalesync will match the records according to the fields you mapped.
If you are starting from a new sheet that doesn’t have any data, once you start entering data into your sheet, the data will automatically sync to Salesforce.
Step 5: Activate sync
The final step is to activate your sync! Before you activate your sync, you’ll see a preview that shows you how many records will be added to each tool.
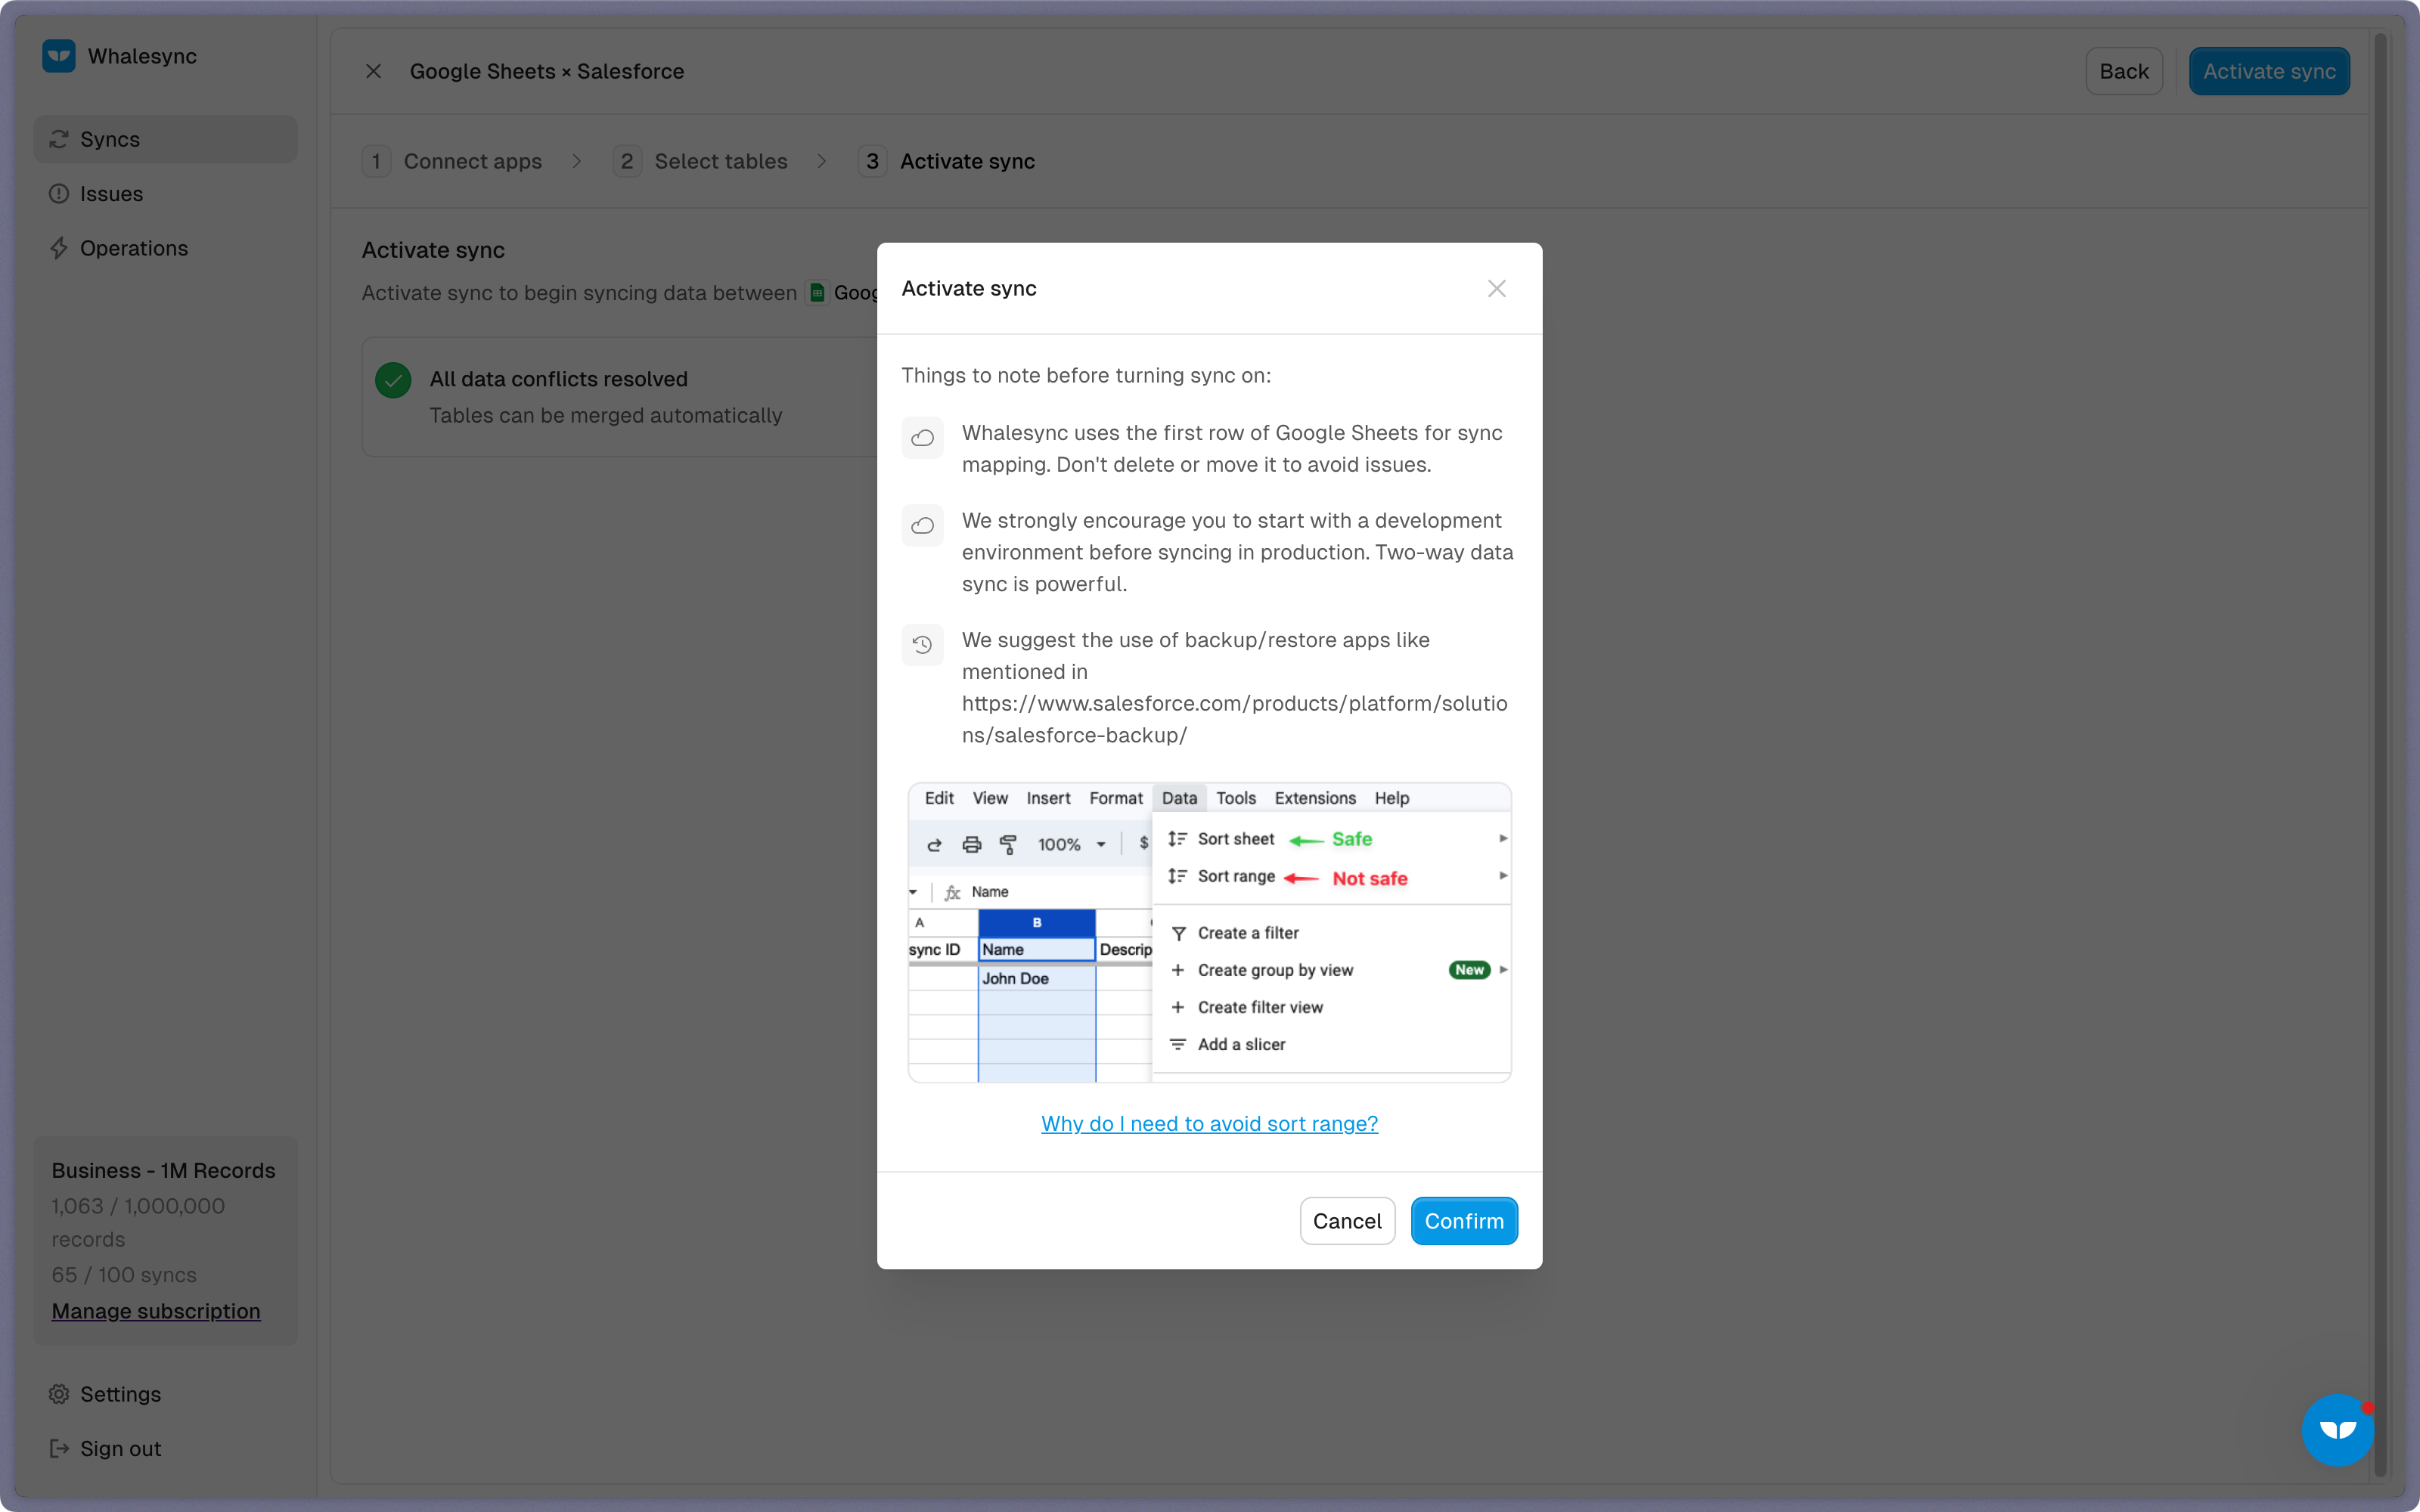
Done! Google Sheets and Salesforce is synced 🤝
Now it’s time to start adding to your Google Sheet and view your data across both tools.
Start syncing today
You can connect Google Sheets and Salesforce in just a few minutes. Whether your team lives in spreadsheets or your data starts in Salesforce, Whalesync makes sure both stay updated automatically.
Ready to connect Google Sheets and Salesforce? Get syncing today
Subscribe for more
Stay up to date with the latest no-code data news, strategies, and insights sent straight to your inbox!
.png)


.png)


.svg)


.svg)


