How to Import and Export CSV to Webflow
Here’s a quick tutorial on how to import and export CSV to Webflow

How to Import CSV into Webflow
Webflow is an excellent choice of CMS, offering powerful design flexibility without requiring code. Whether you're setting up a new project, migrating content, or managing large datasets, importing and exporting CSV files allows you to efficiently move data in and out of Webflow.
With CSV imports, you can bulk-add content like blog posts, product listings, or CMS collections, while exports let you back up your data or transfer it to other tools. In this guide, we’ll walk you through how to import and export CSV files in Webflow.
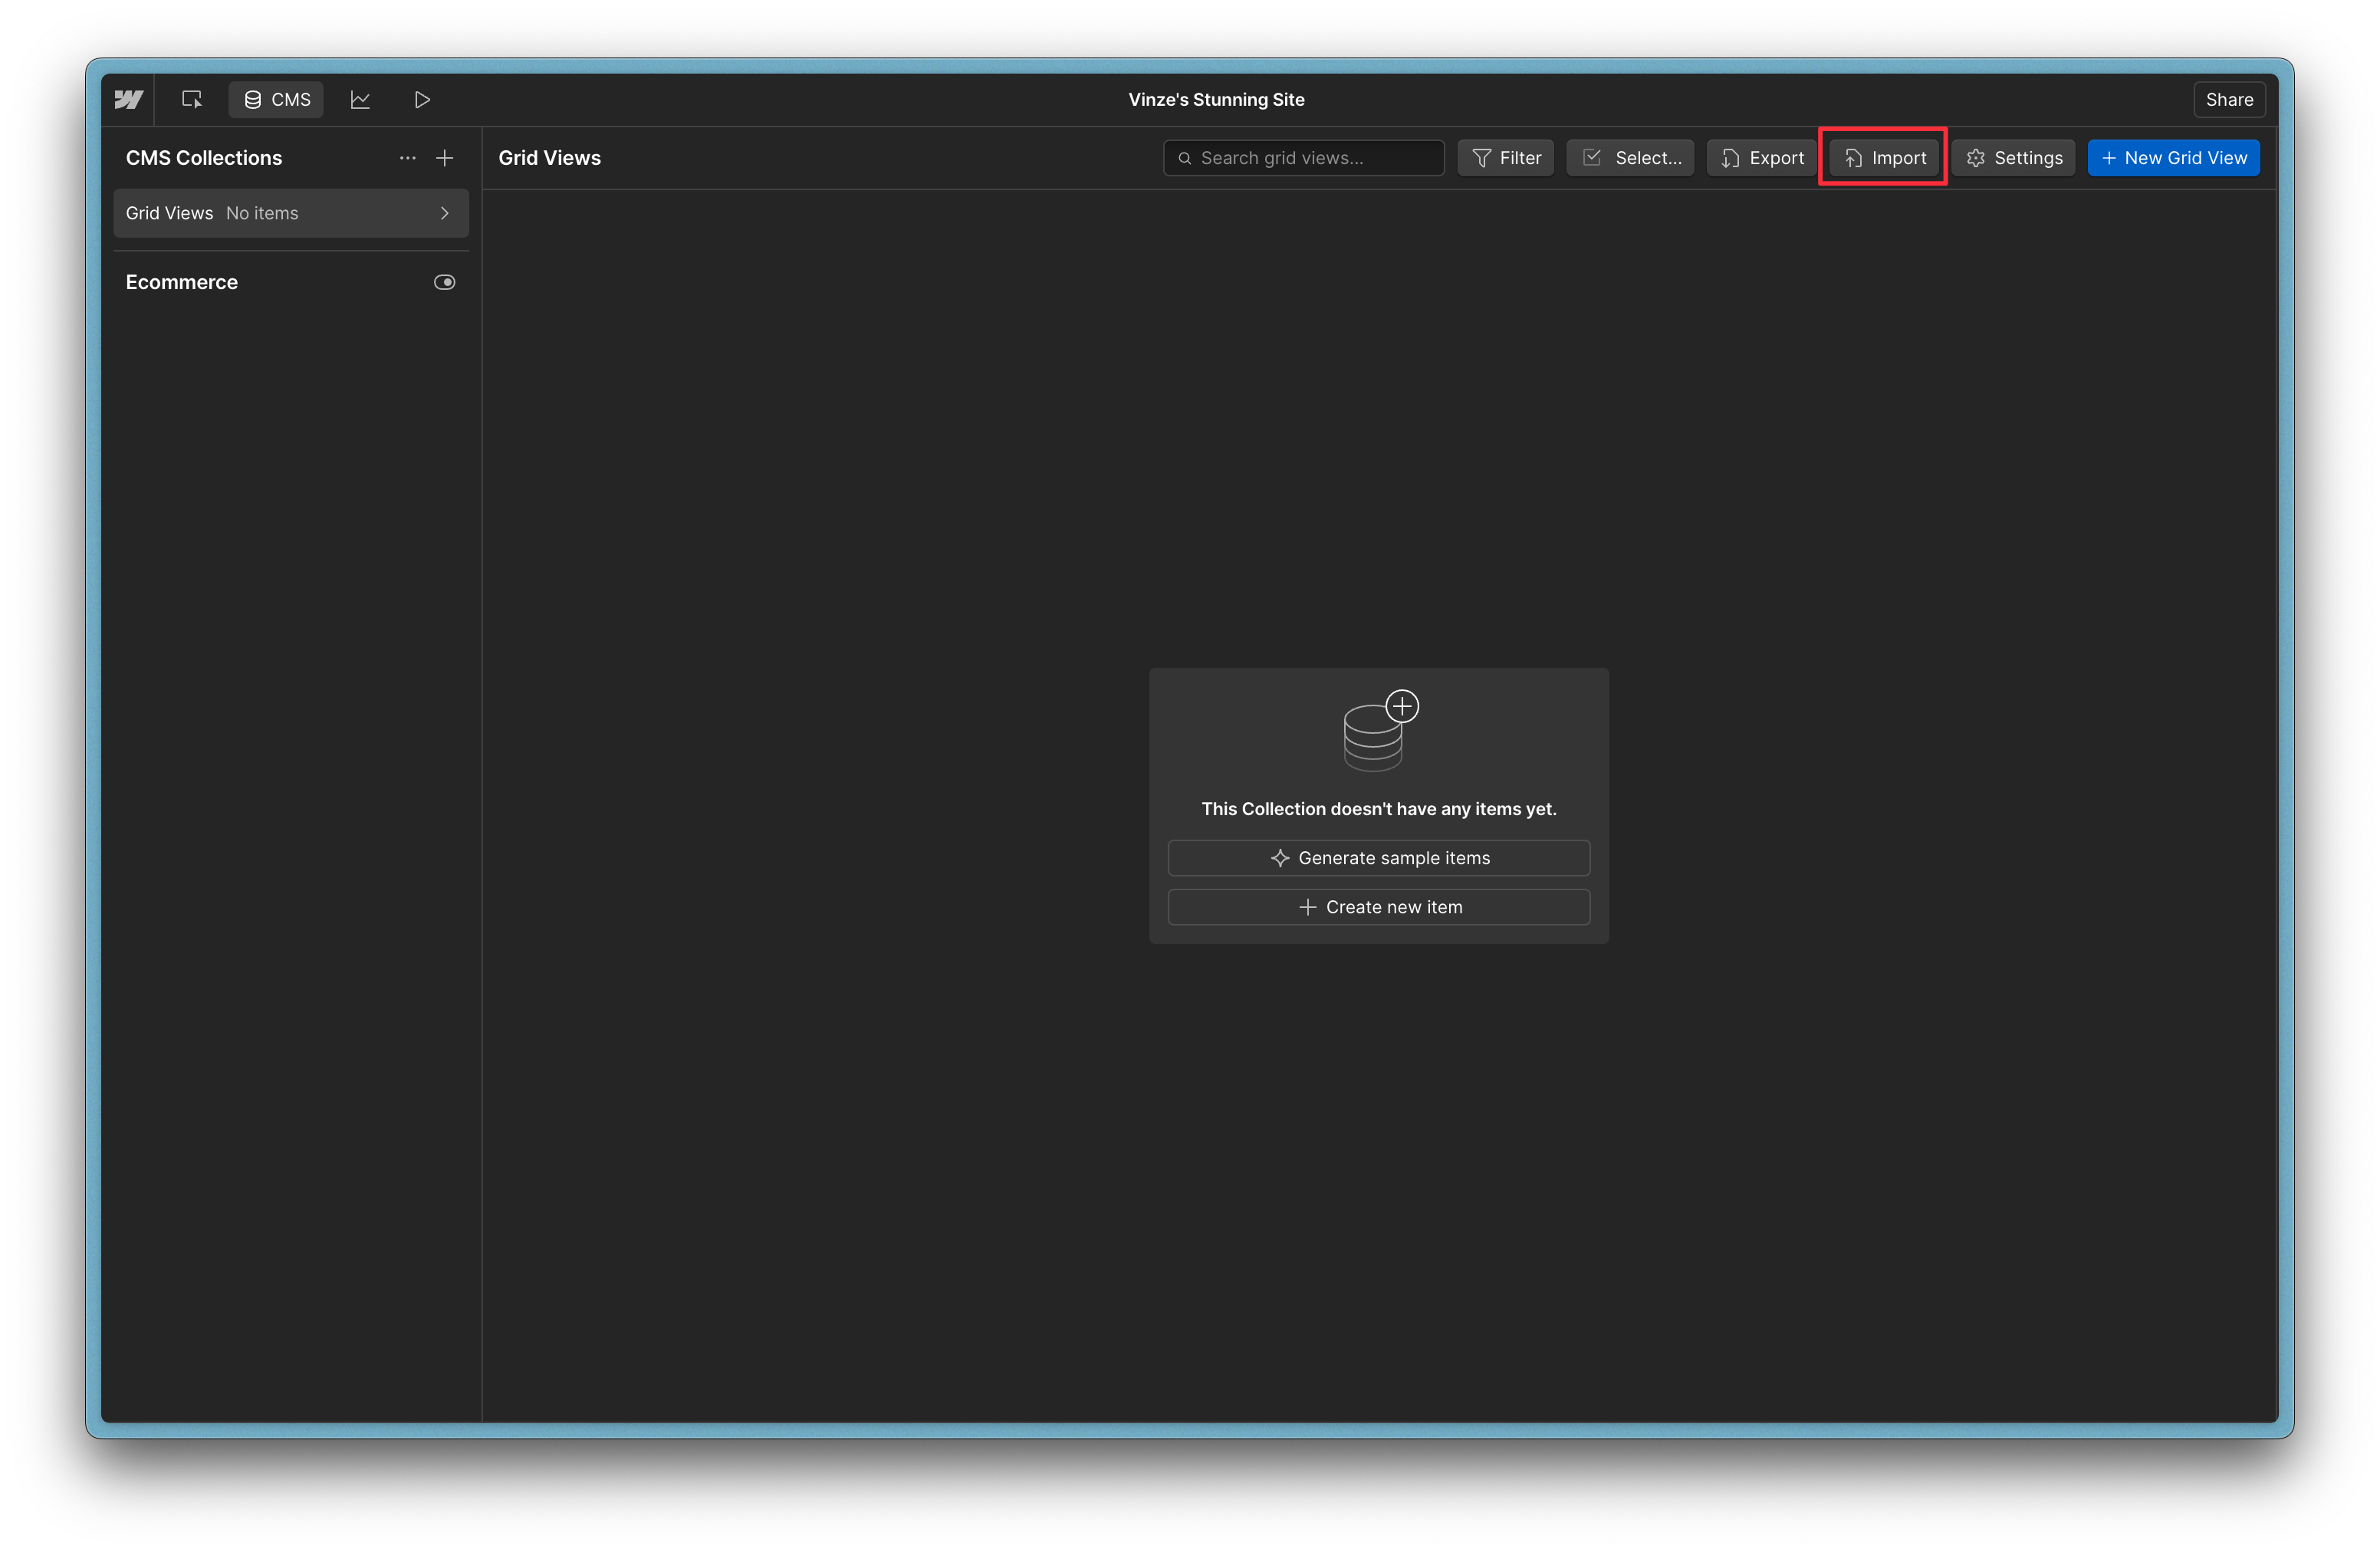
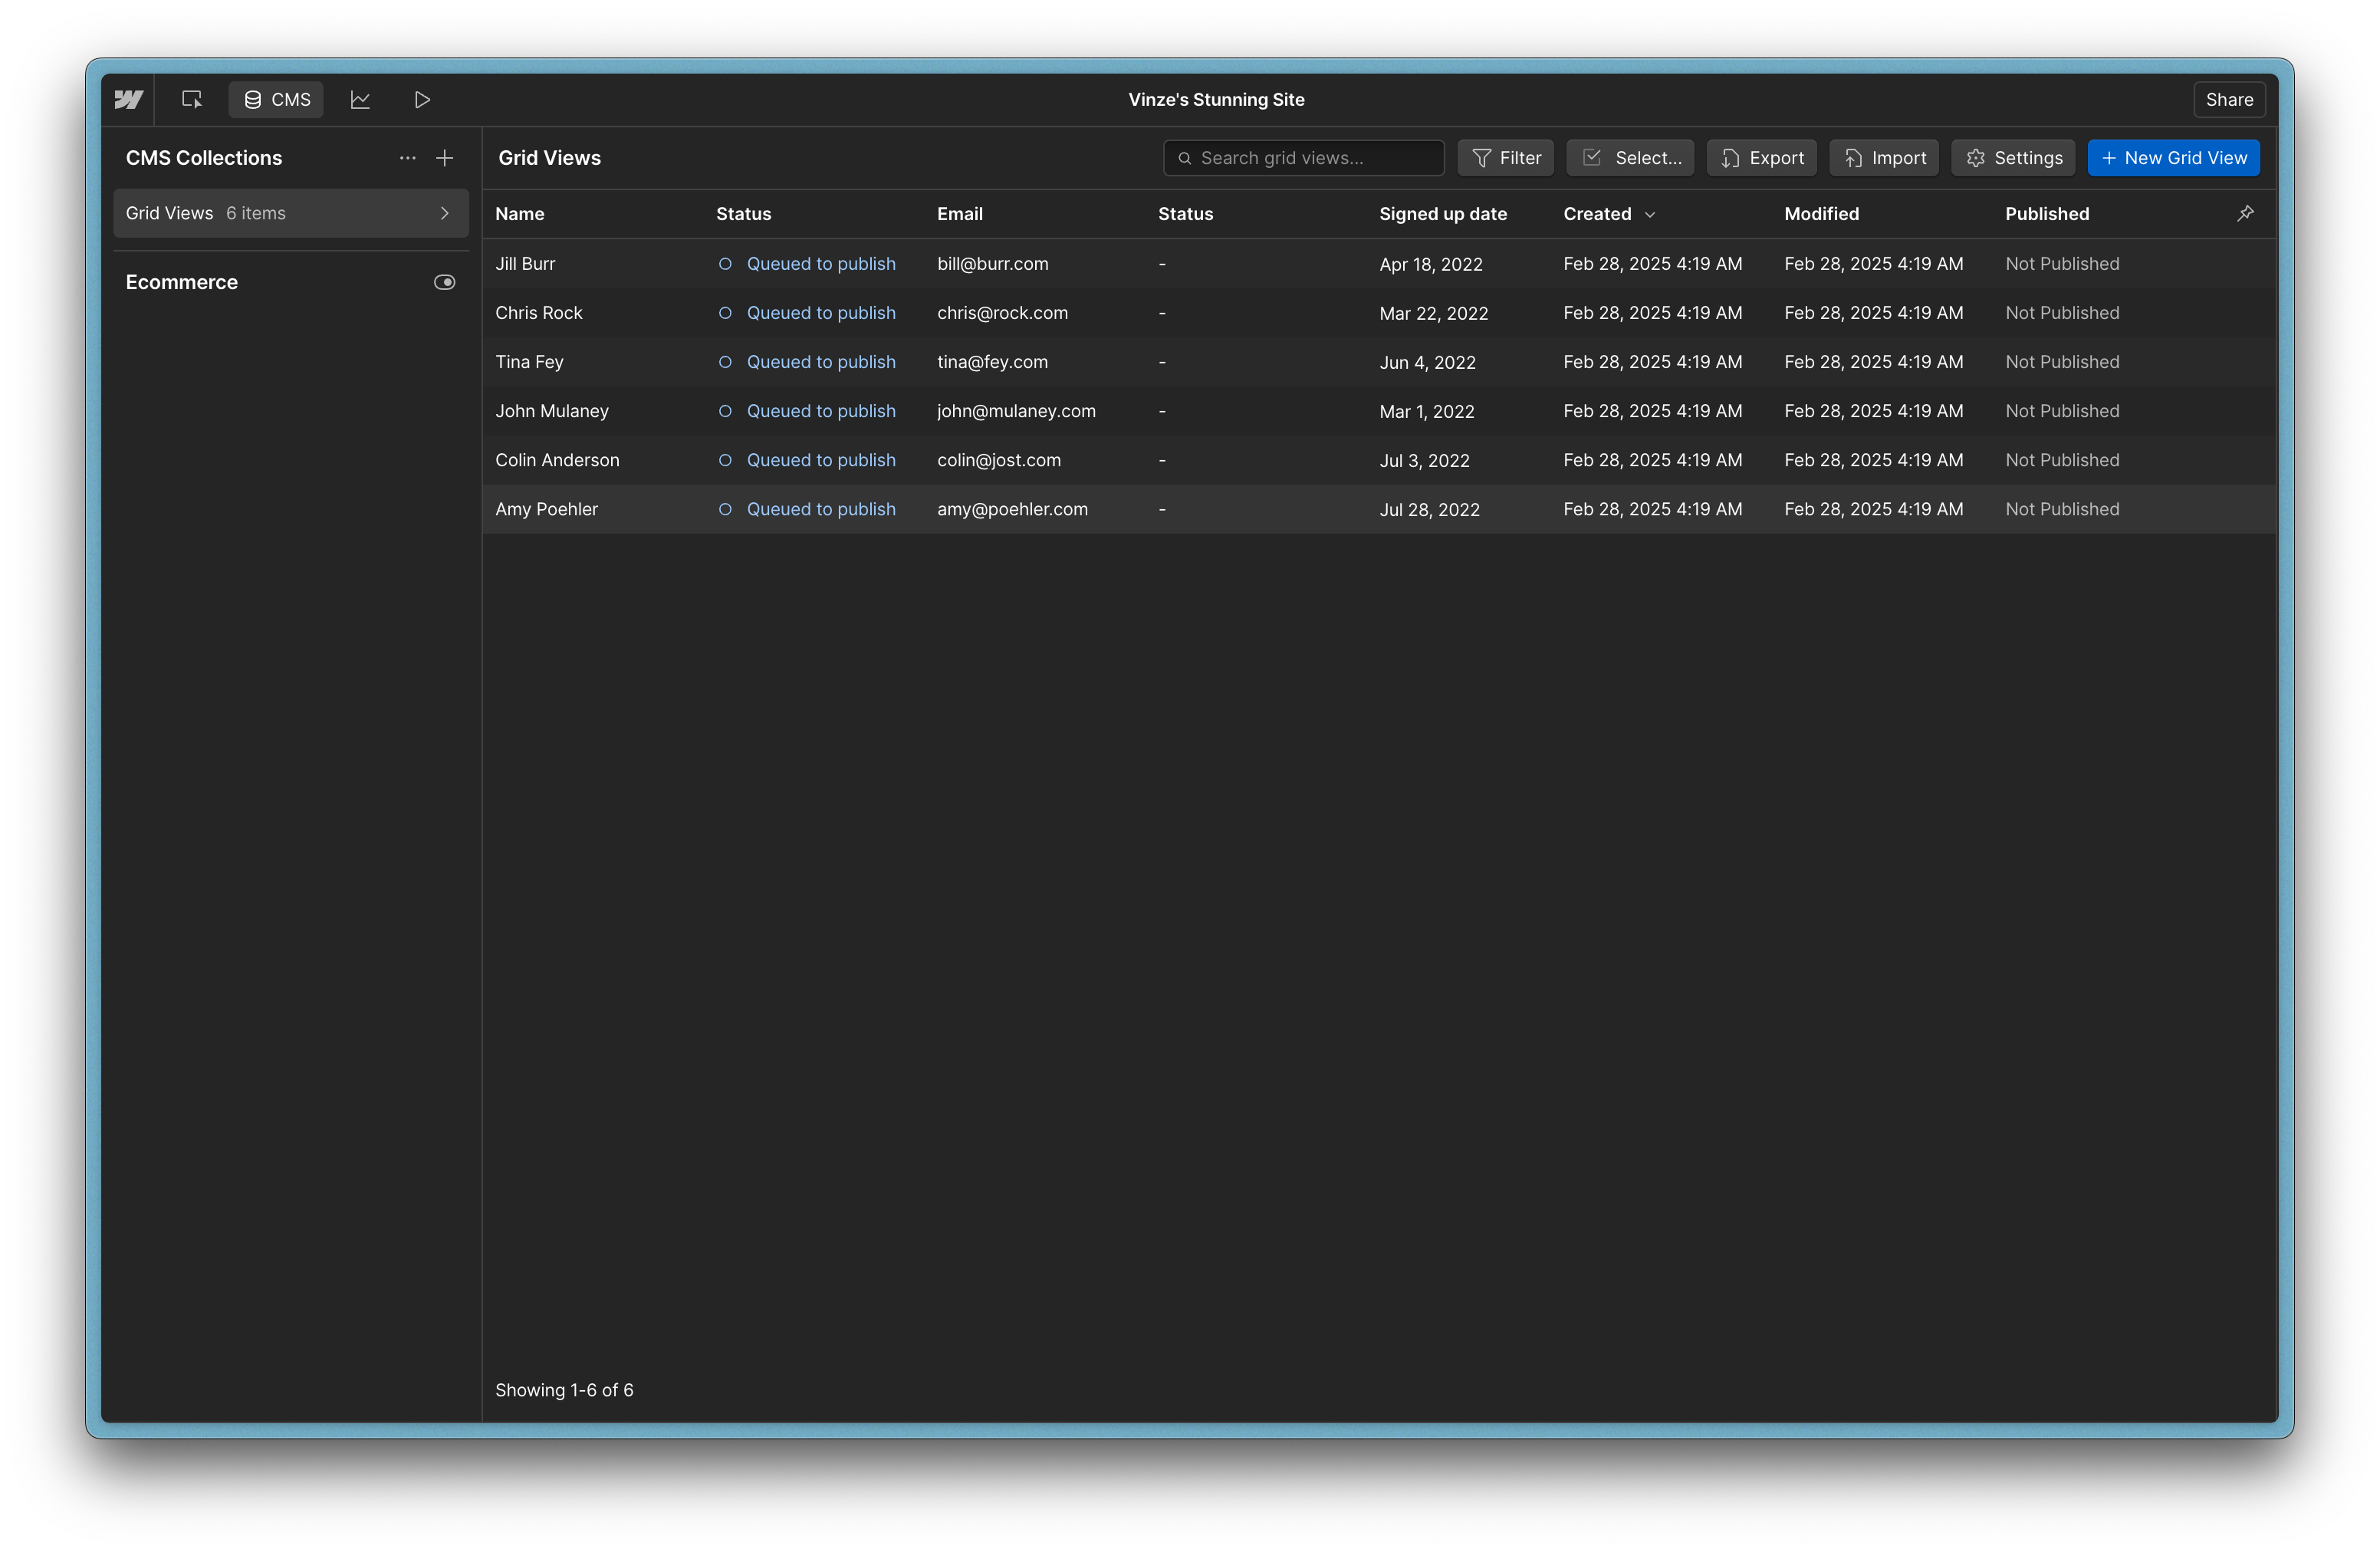
1. Go to the Collections page you want to import your CSV into the hit ‘Import’
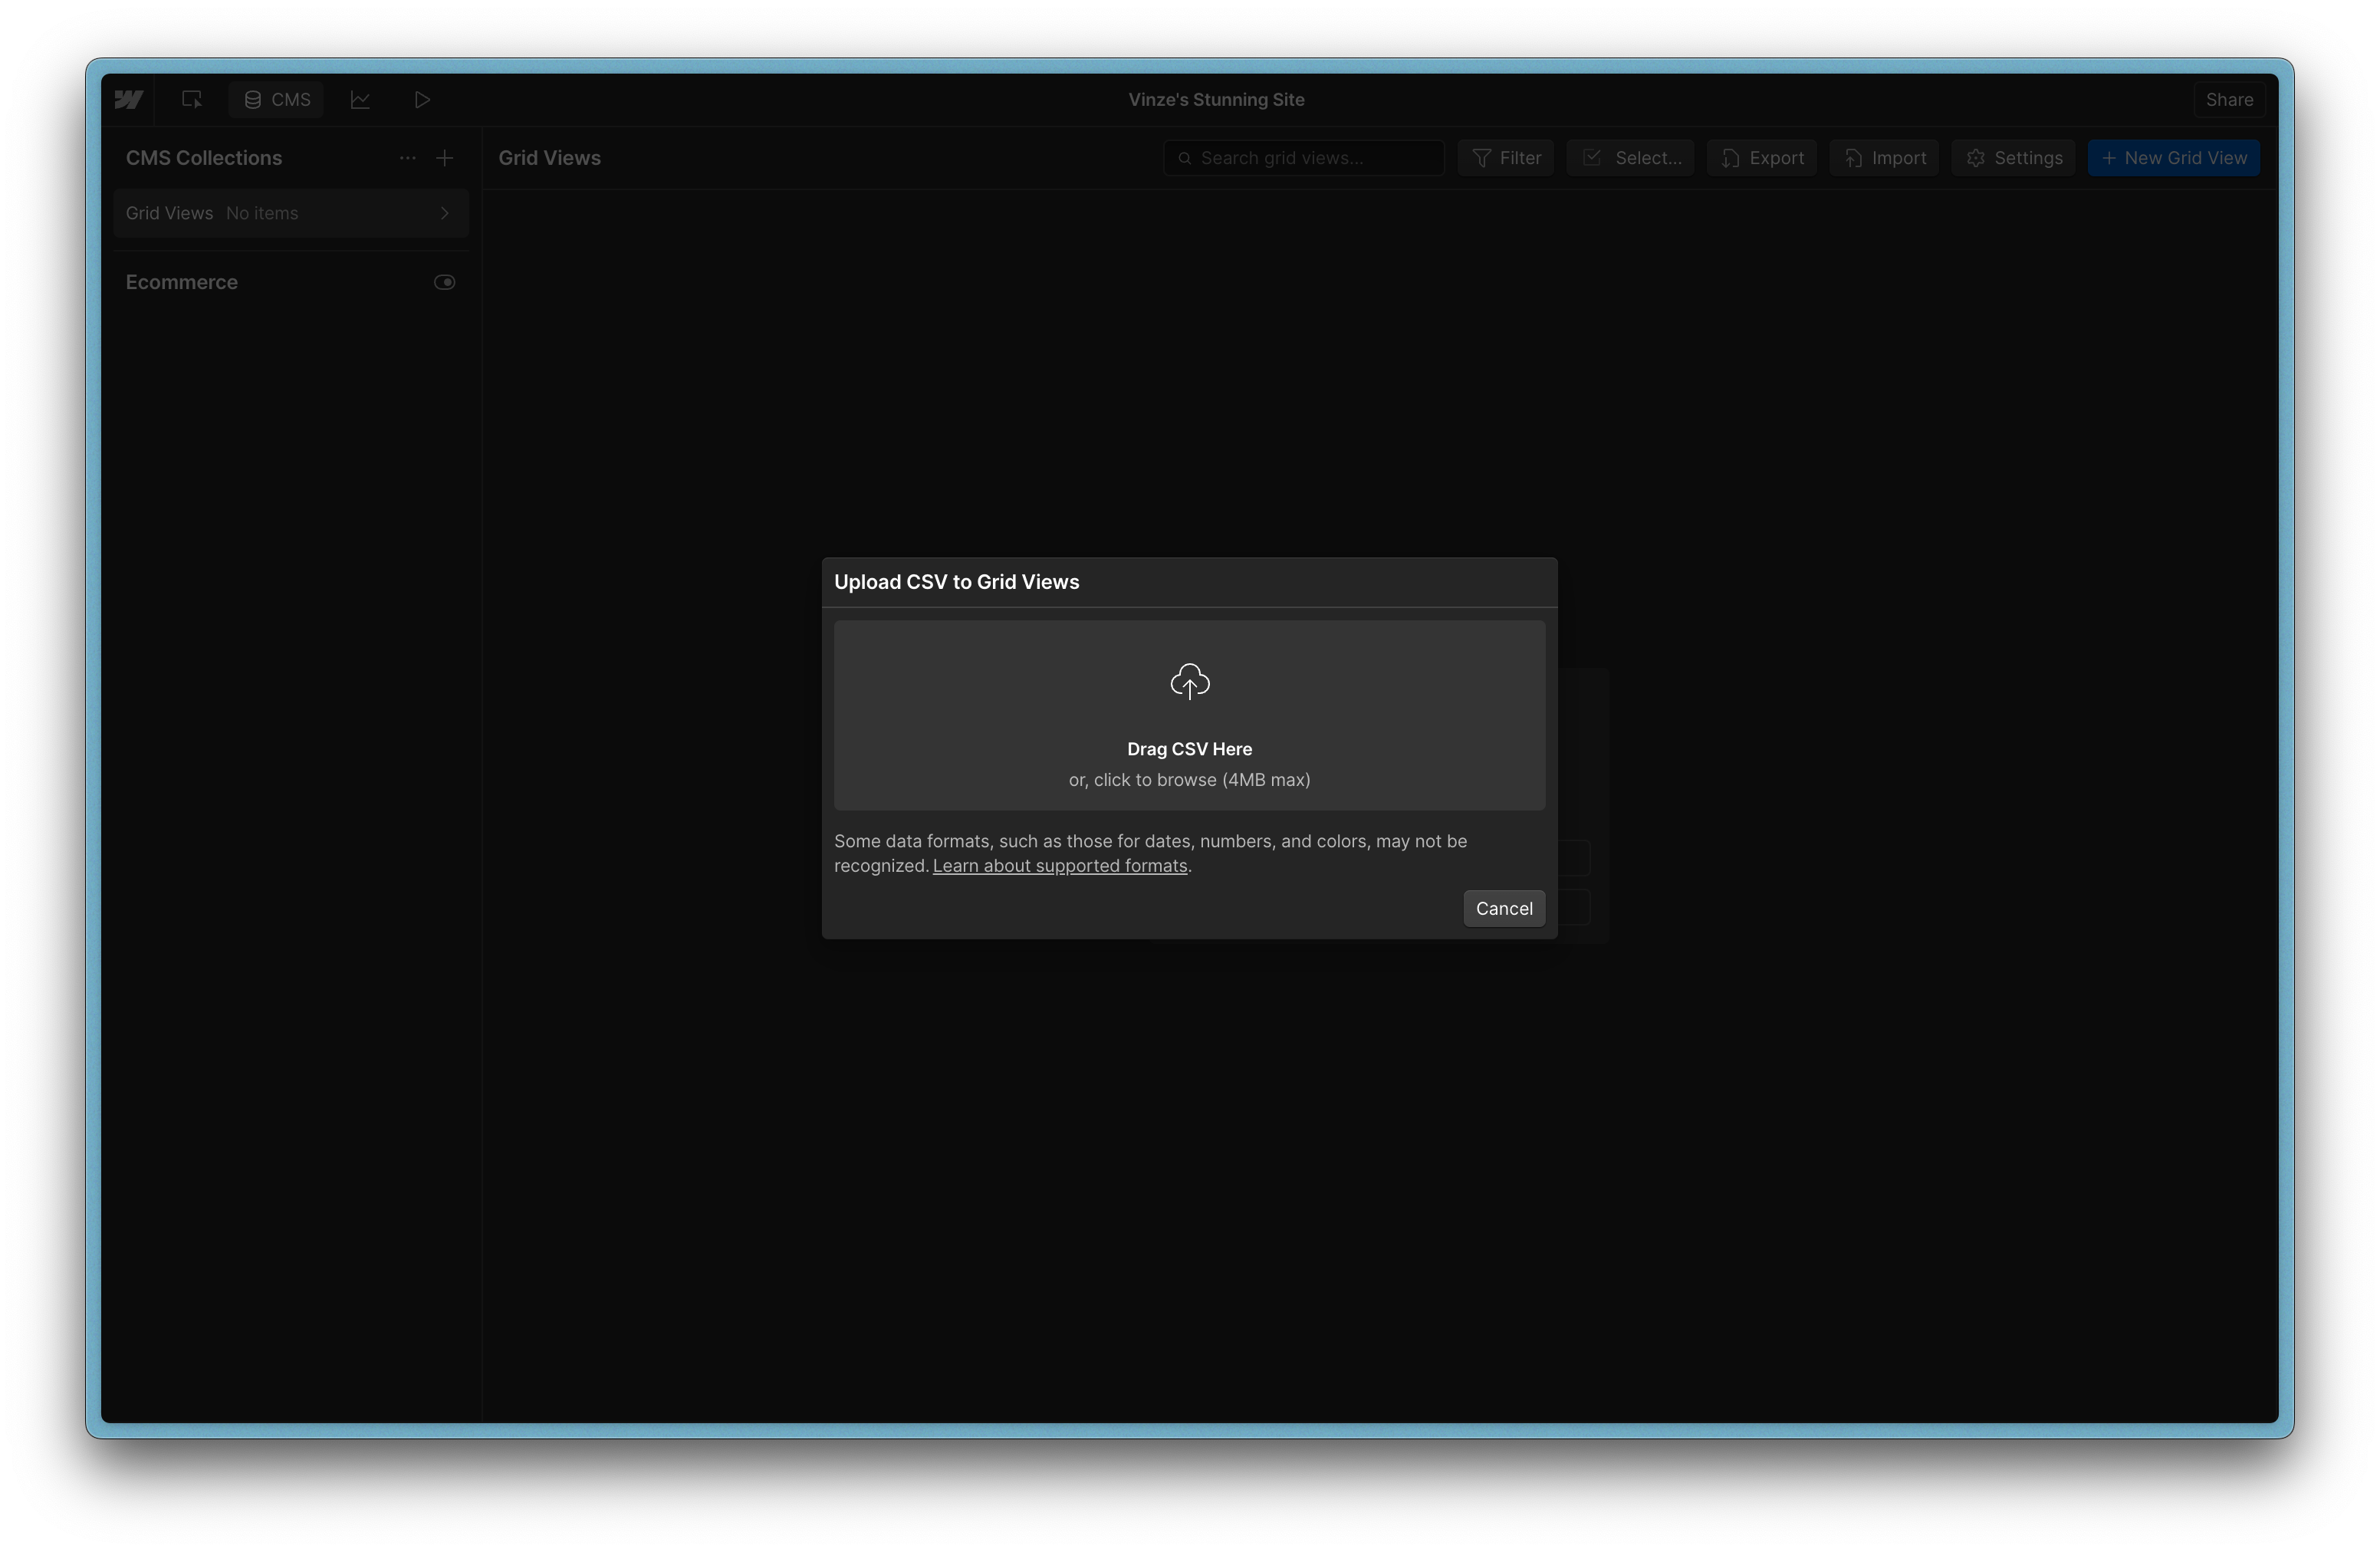
2. Upload your CSV
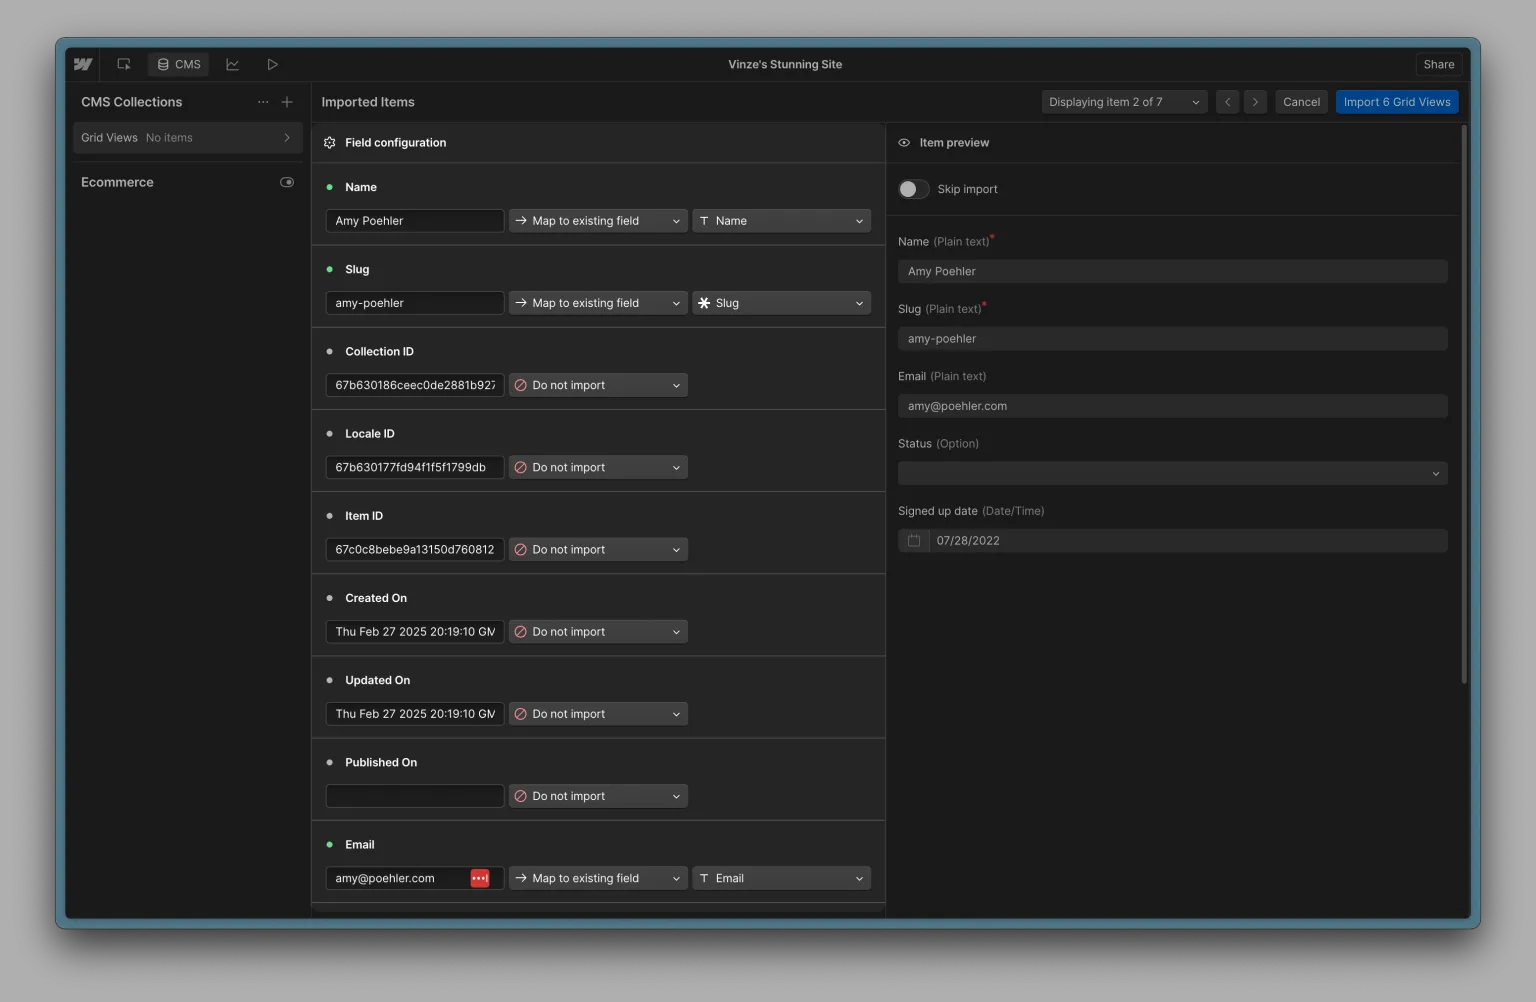
3. Map the columns you want to import with the right fields from Webflow
4. Your done! You just imported your CSV into Webflow. 🎉
How to export your Webflow collection as a CSV
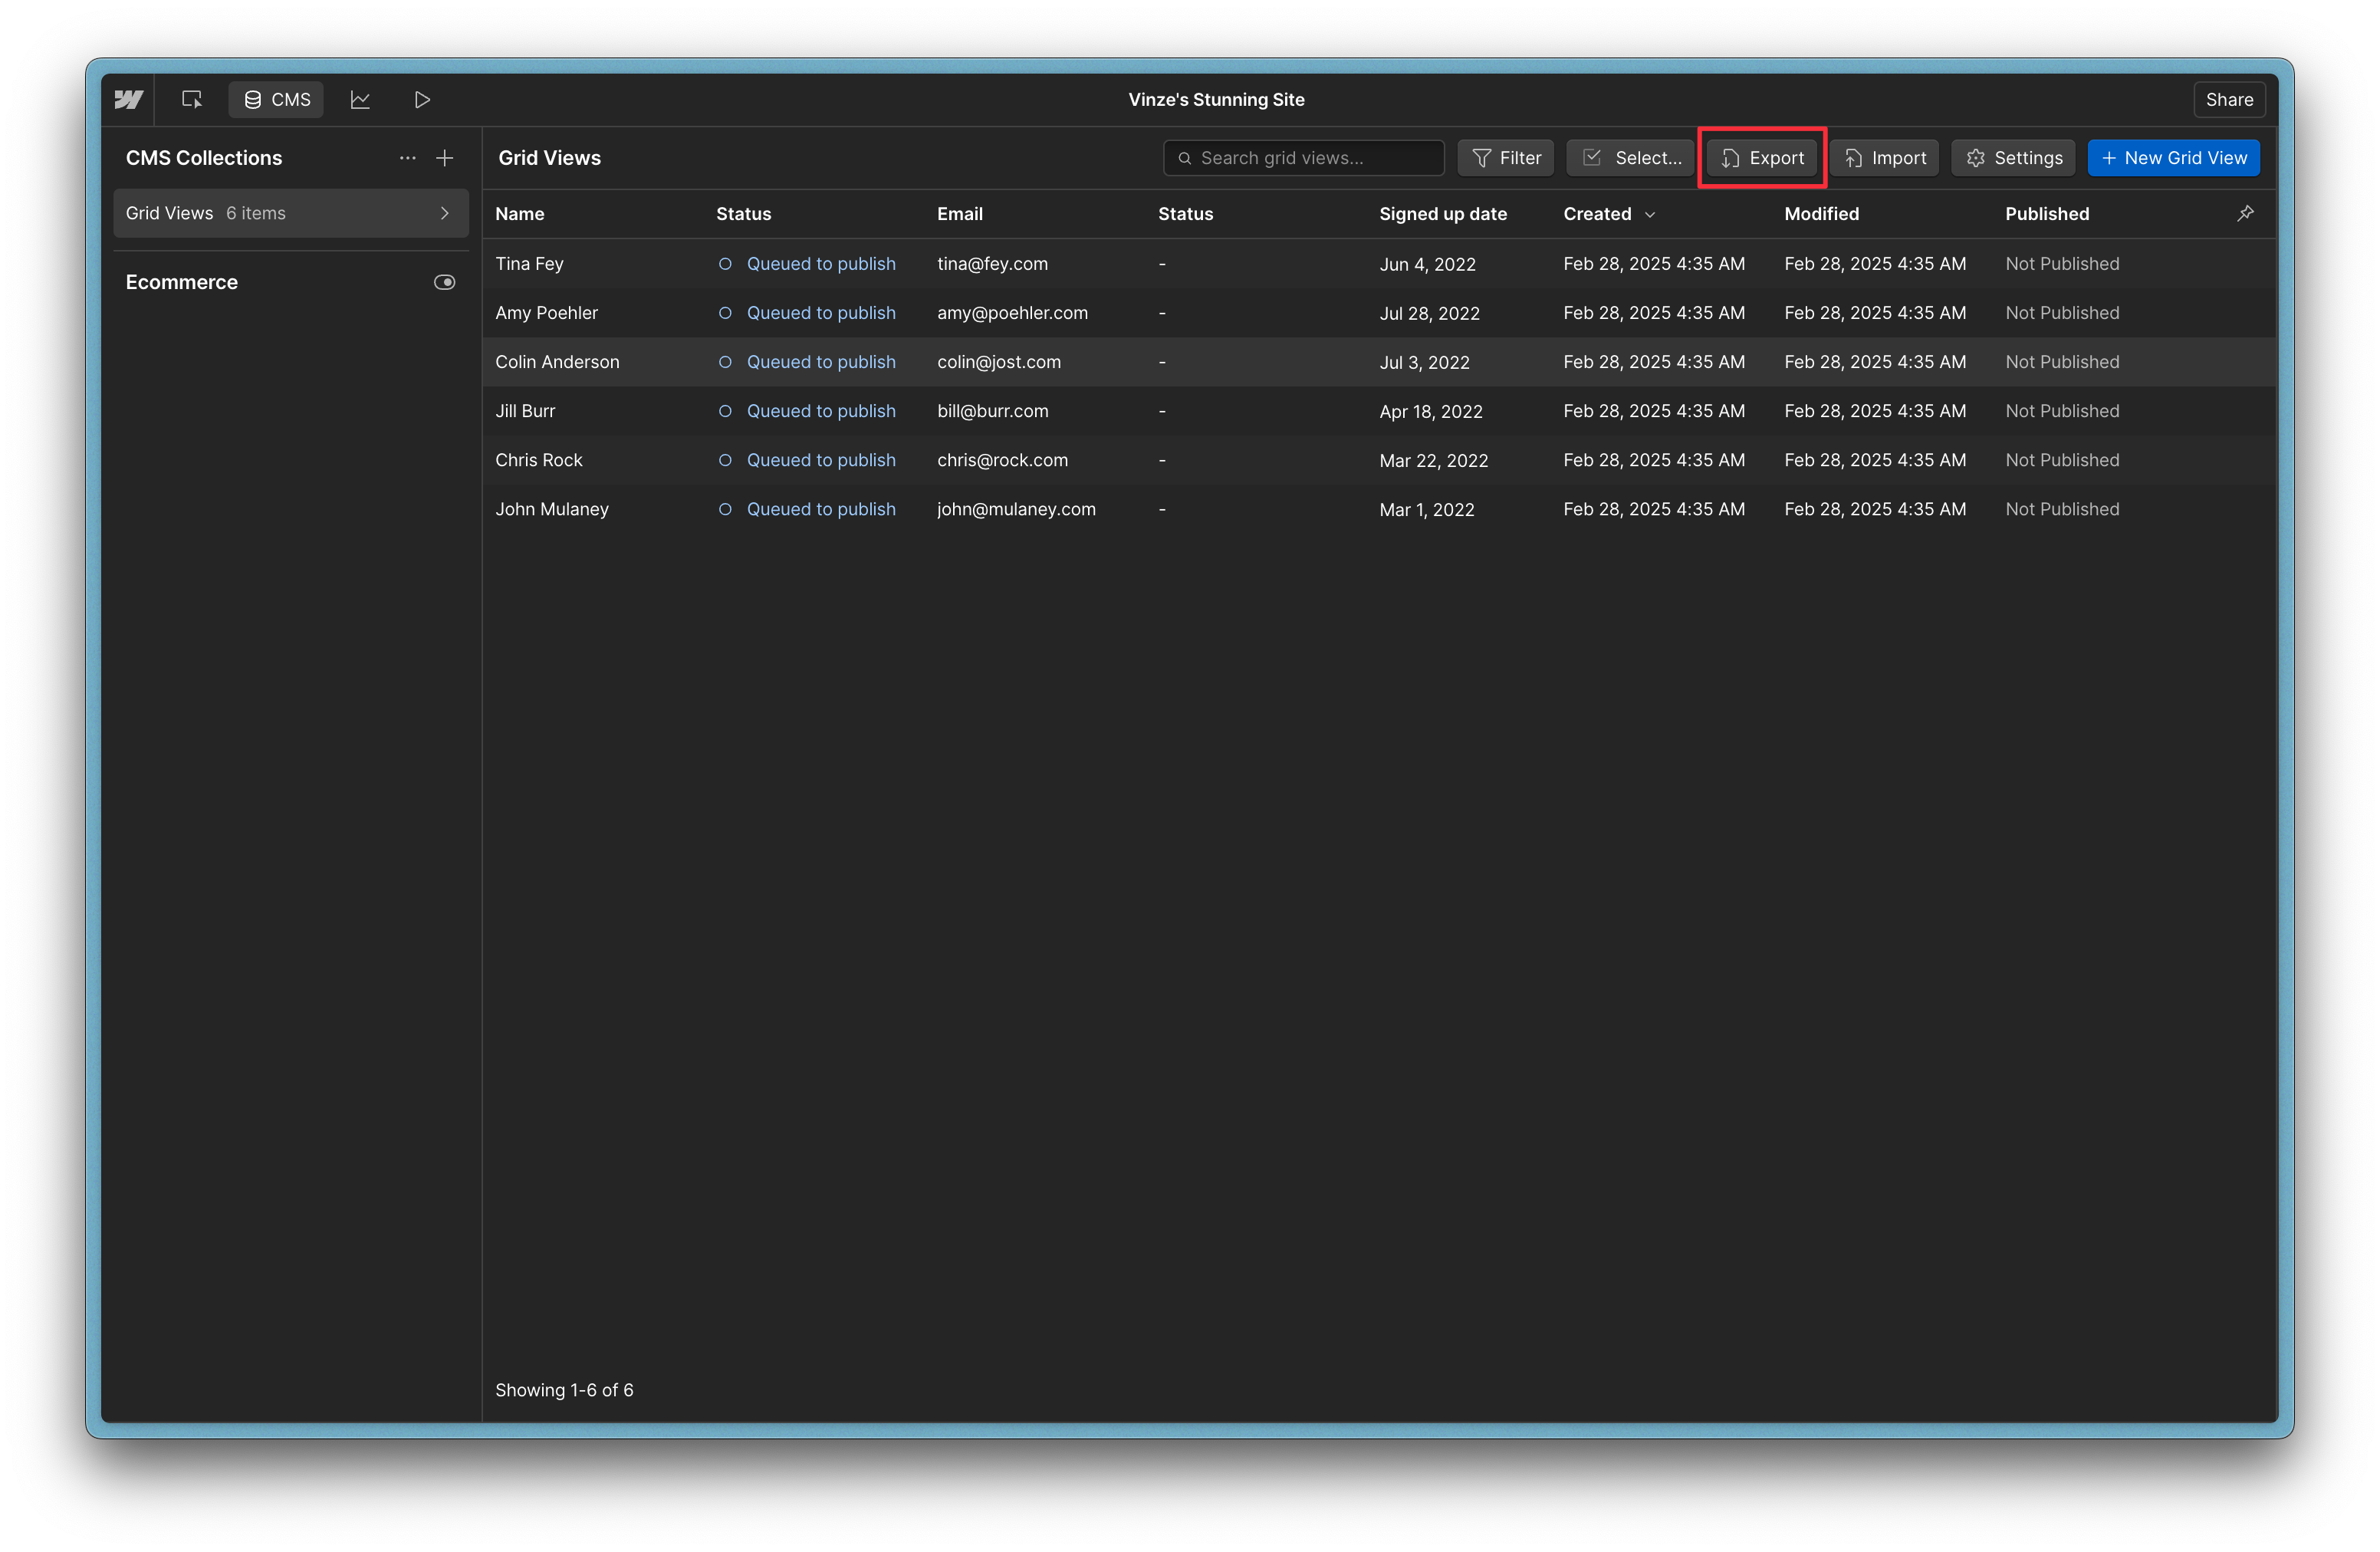
Go to your Webflow collection and hit ‘Export’
Switch to data syncing
Manually importing and exporting CSV files in Webflow works, but it’s not a sustainable solution. Instead of dealing with repeated uploads and downloads, automate the process with Whalesync.
Keep Webflow in sync with tools like Airtable and Notion in real time. Whether you’re building programmatic SEO pages or building a directory, Whalesync ensures your Webflow CMS stays up to date.
Subscribe for more
Stay up to date with the latest no-code data news, strategies, and insights sent straight to your inbox!