How to Connect Supabase and Notion

Learn how to integrate Supabase and Notion with two-way sync

How to connect Supabase and Notion
Managing data across different platforms is a constant challenge. Supabase gives you a solid, scalable database, and Notion is a great tool for team collaboration and project management.
In this tutorial, we’ll show you how to sync Supabase to Notion, making Notion into a powerful front-end workspace for your database.
Once you’ve set this up, you’ll be able to update and manage your Supabase data directly from Notion 🤯.
Why should you connect Supabase and Notion?
If you’re managing data in Supabase, chances are you’ve faced the challenge of keeping that data in sync with the tools your team actually uses. Supabase is great for storing and structuring backend data, but your team may prefer to work in Notion to track projects, manage tasks, and collaborate in a space that feels intuitive and flexible.
The problem? Manually exporting your Supabase database as a CSV and importing your CSV to Notion can become tedious, especially if your data is constantly changing.
You need real time data syncing between the two apps. When you connect Supabase and Notion, Supabase remains your source of truth for structured data, while Notion becomes the easy-to-use workspace where your team can view, edit, and collaborate.
Connecting Supabase and Notion
Here’s our step-by-step guide for integrating Supabase and Notion.
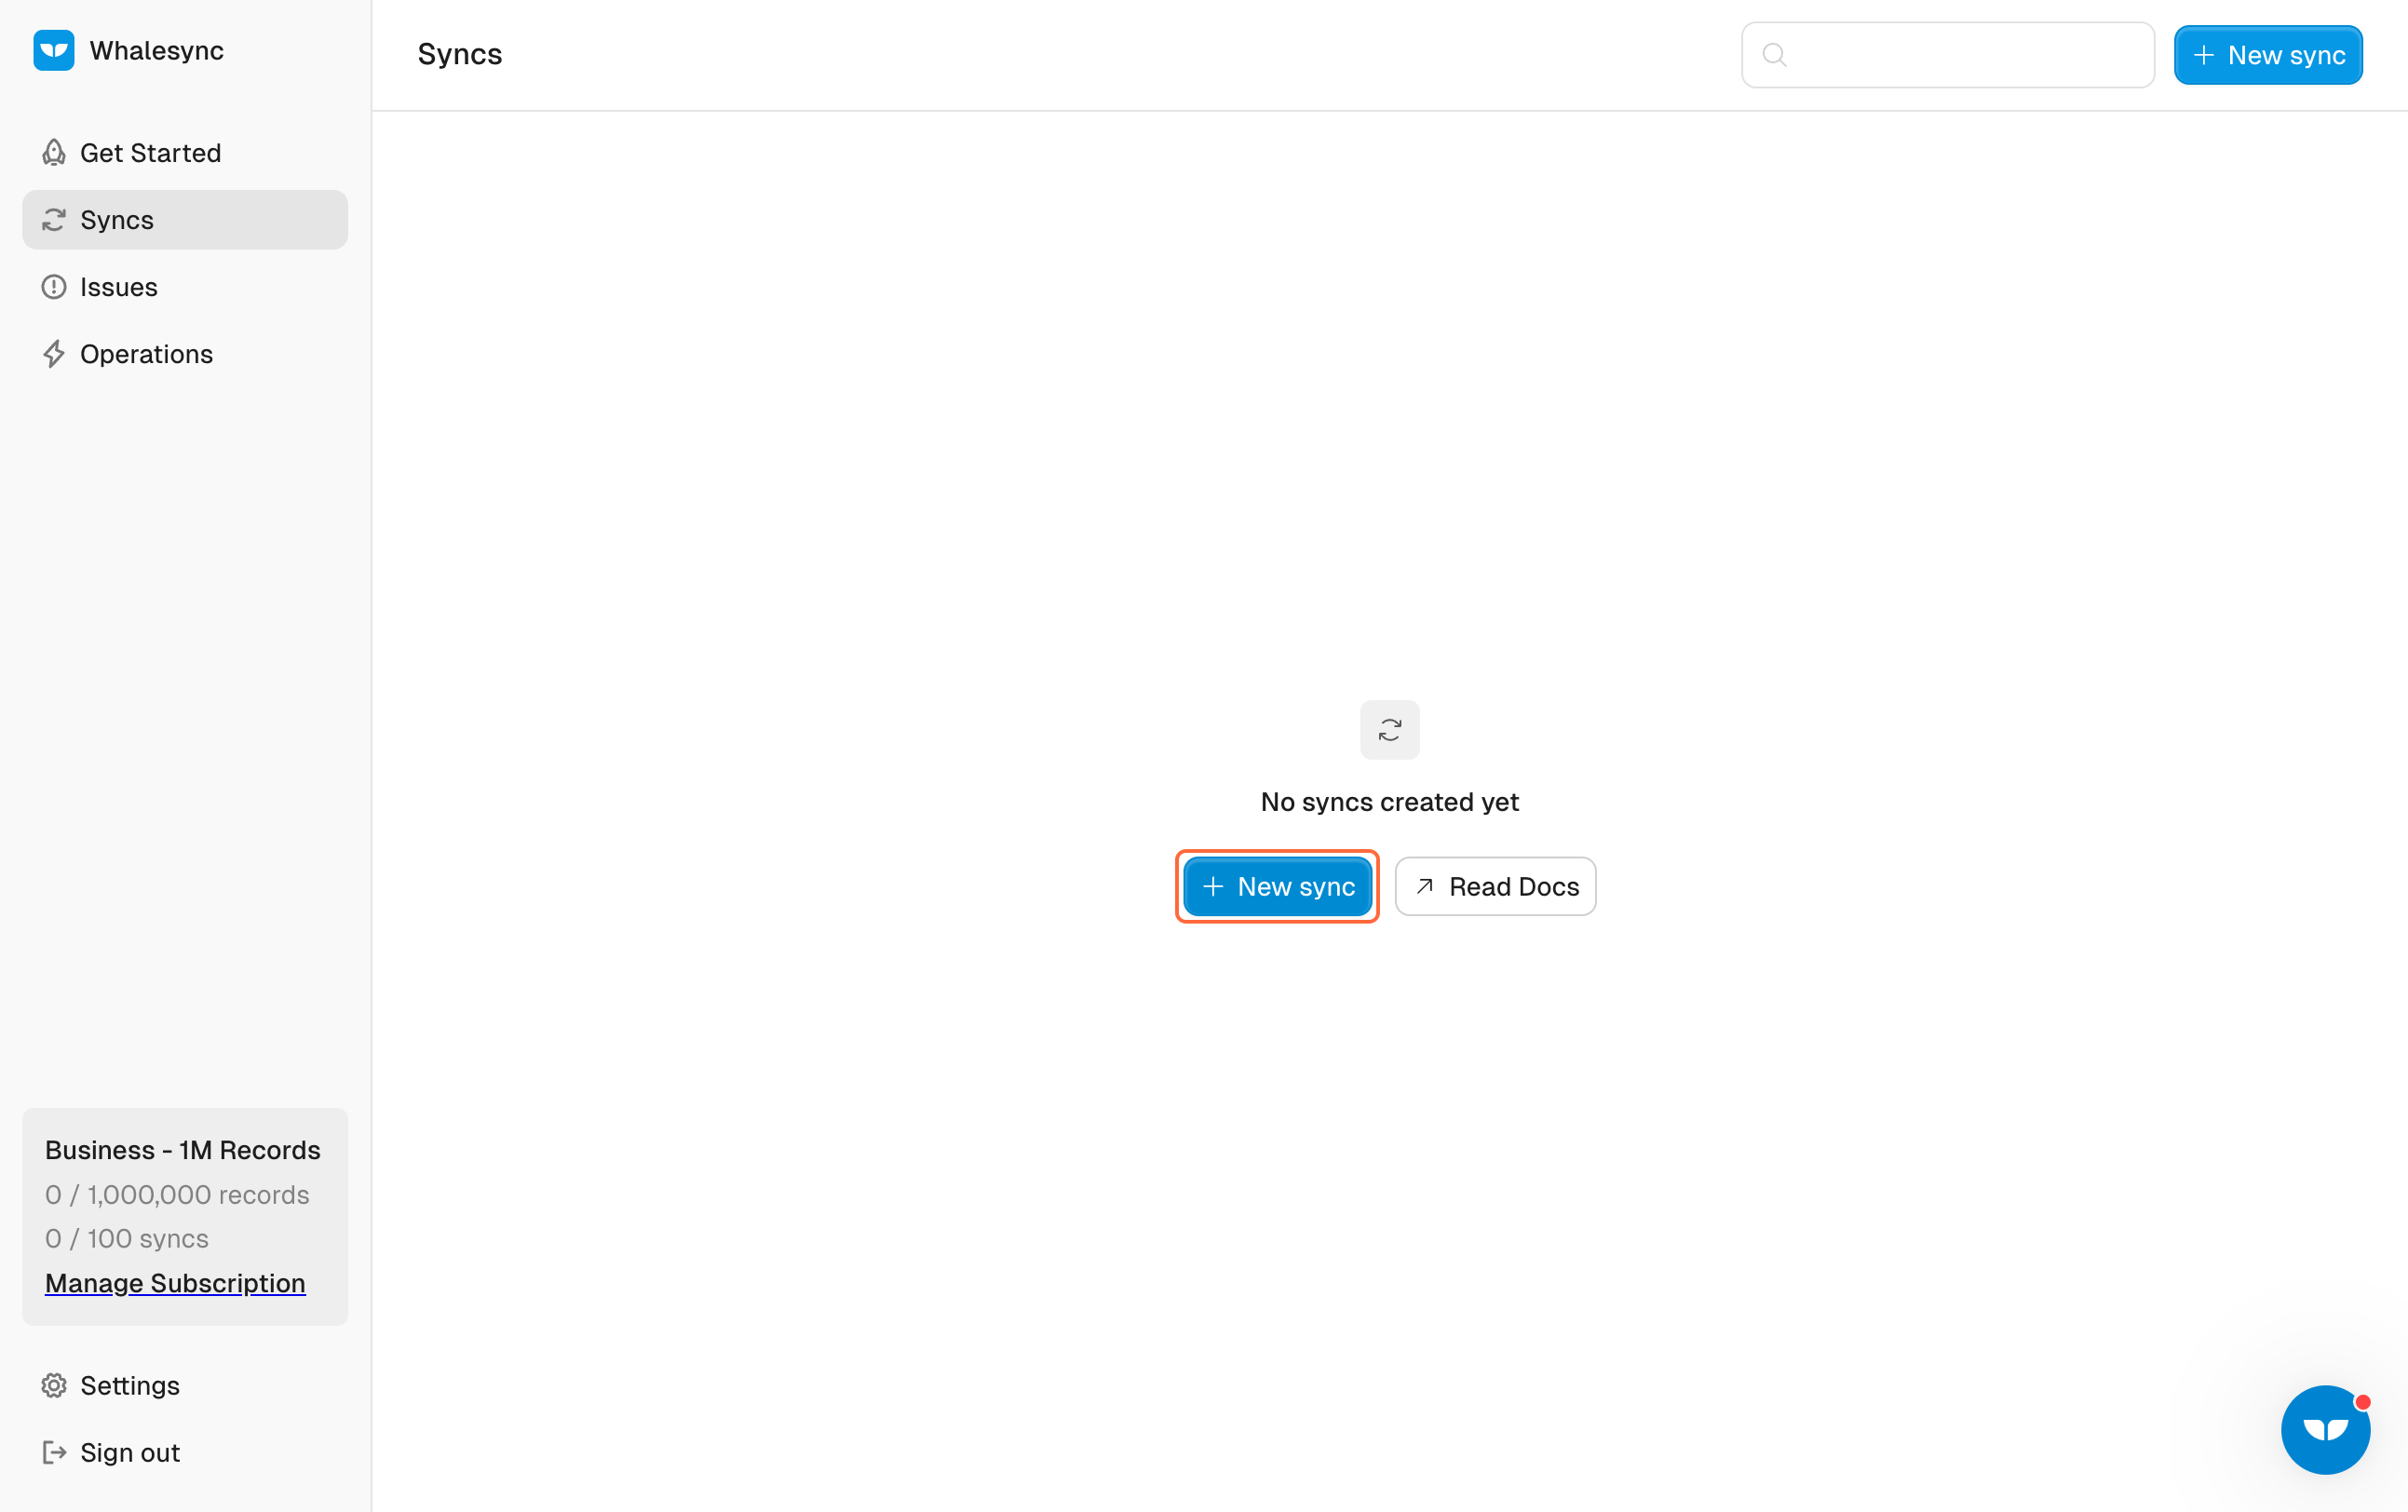
1. Go to the Whalesync dashboard and create a ‘New Sync’
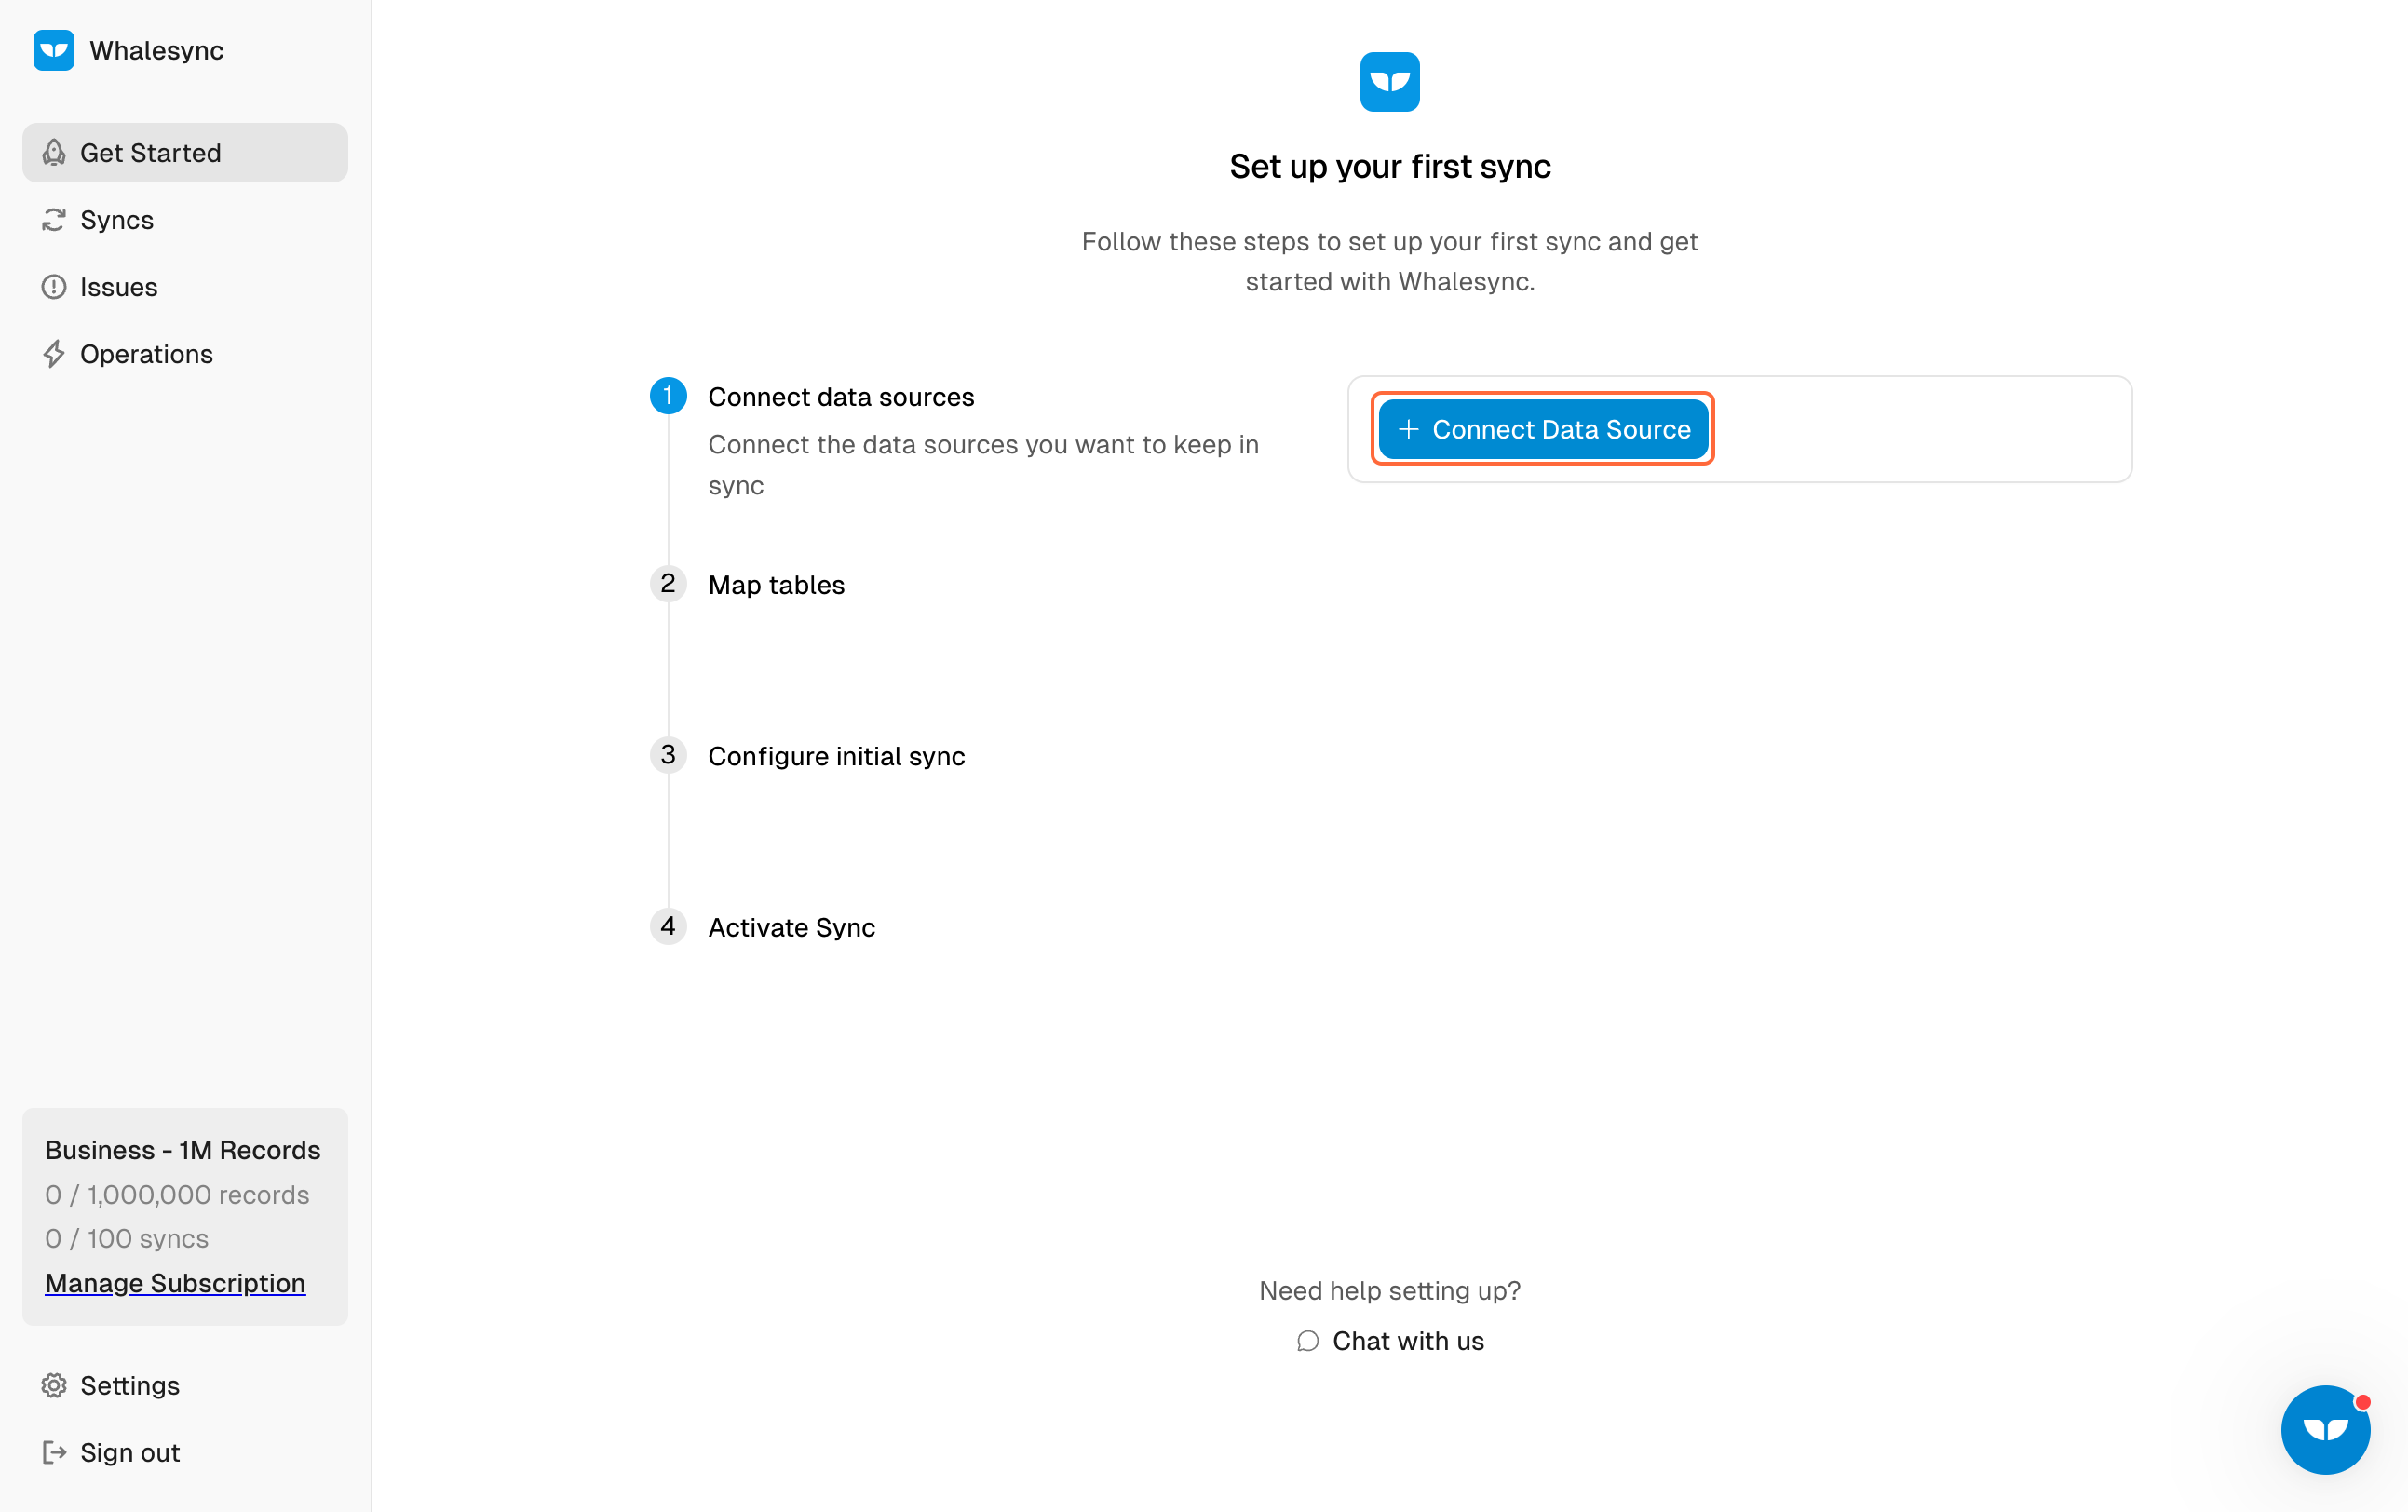
2. Connect your data sources
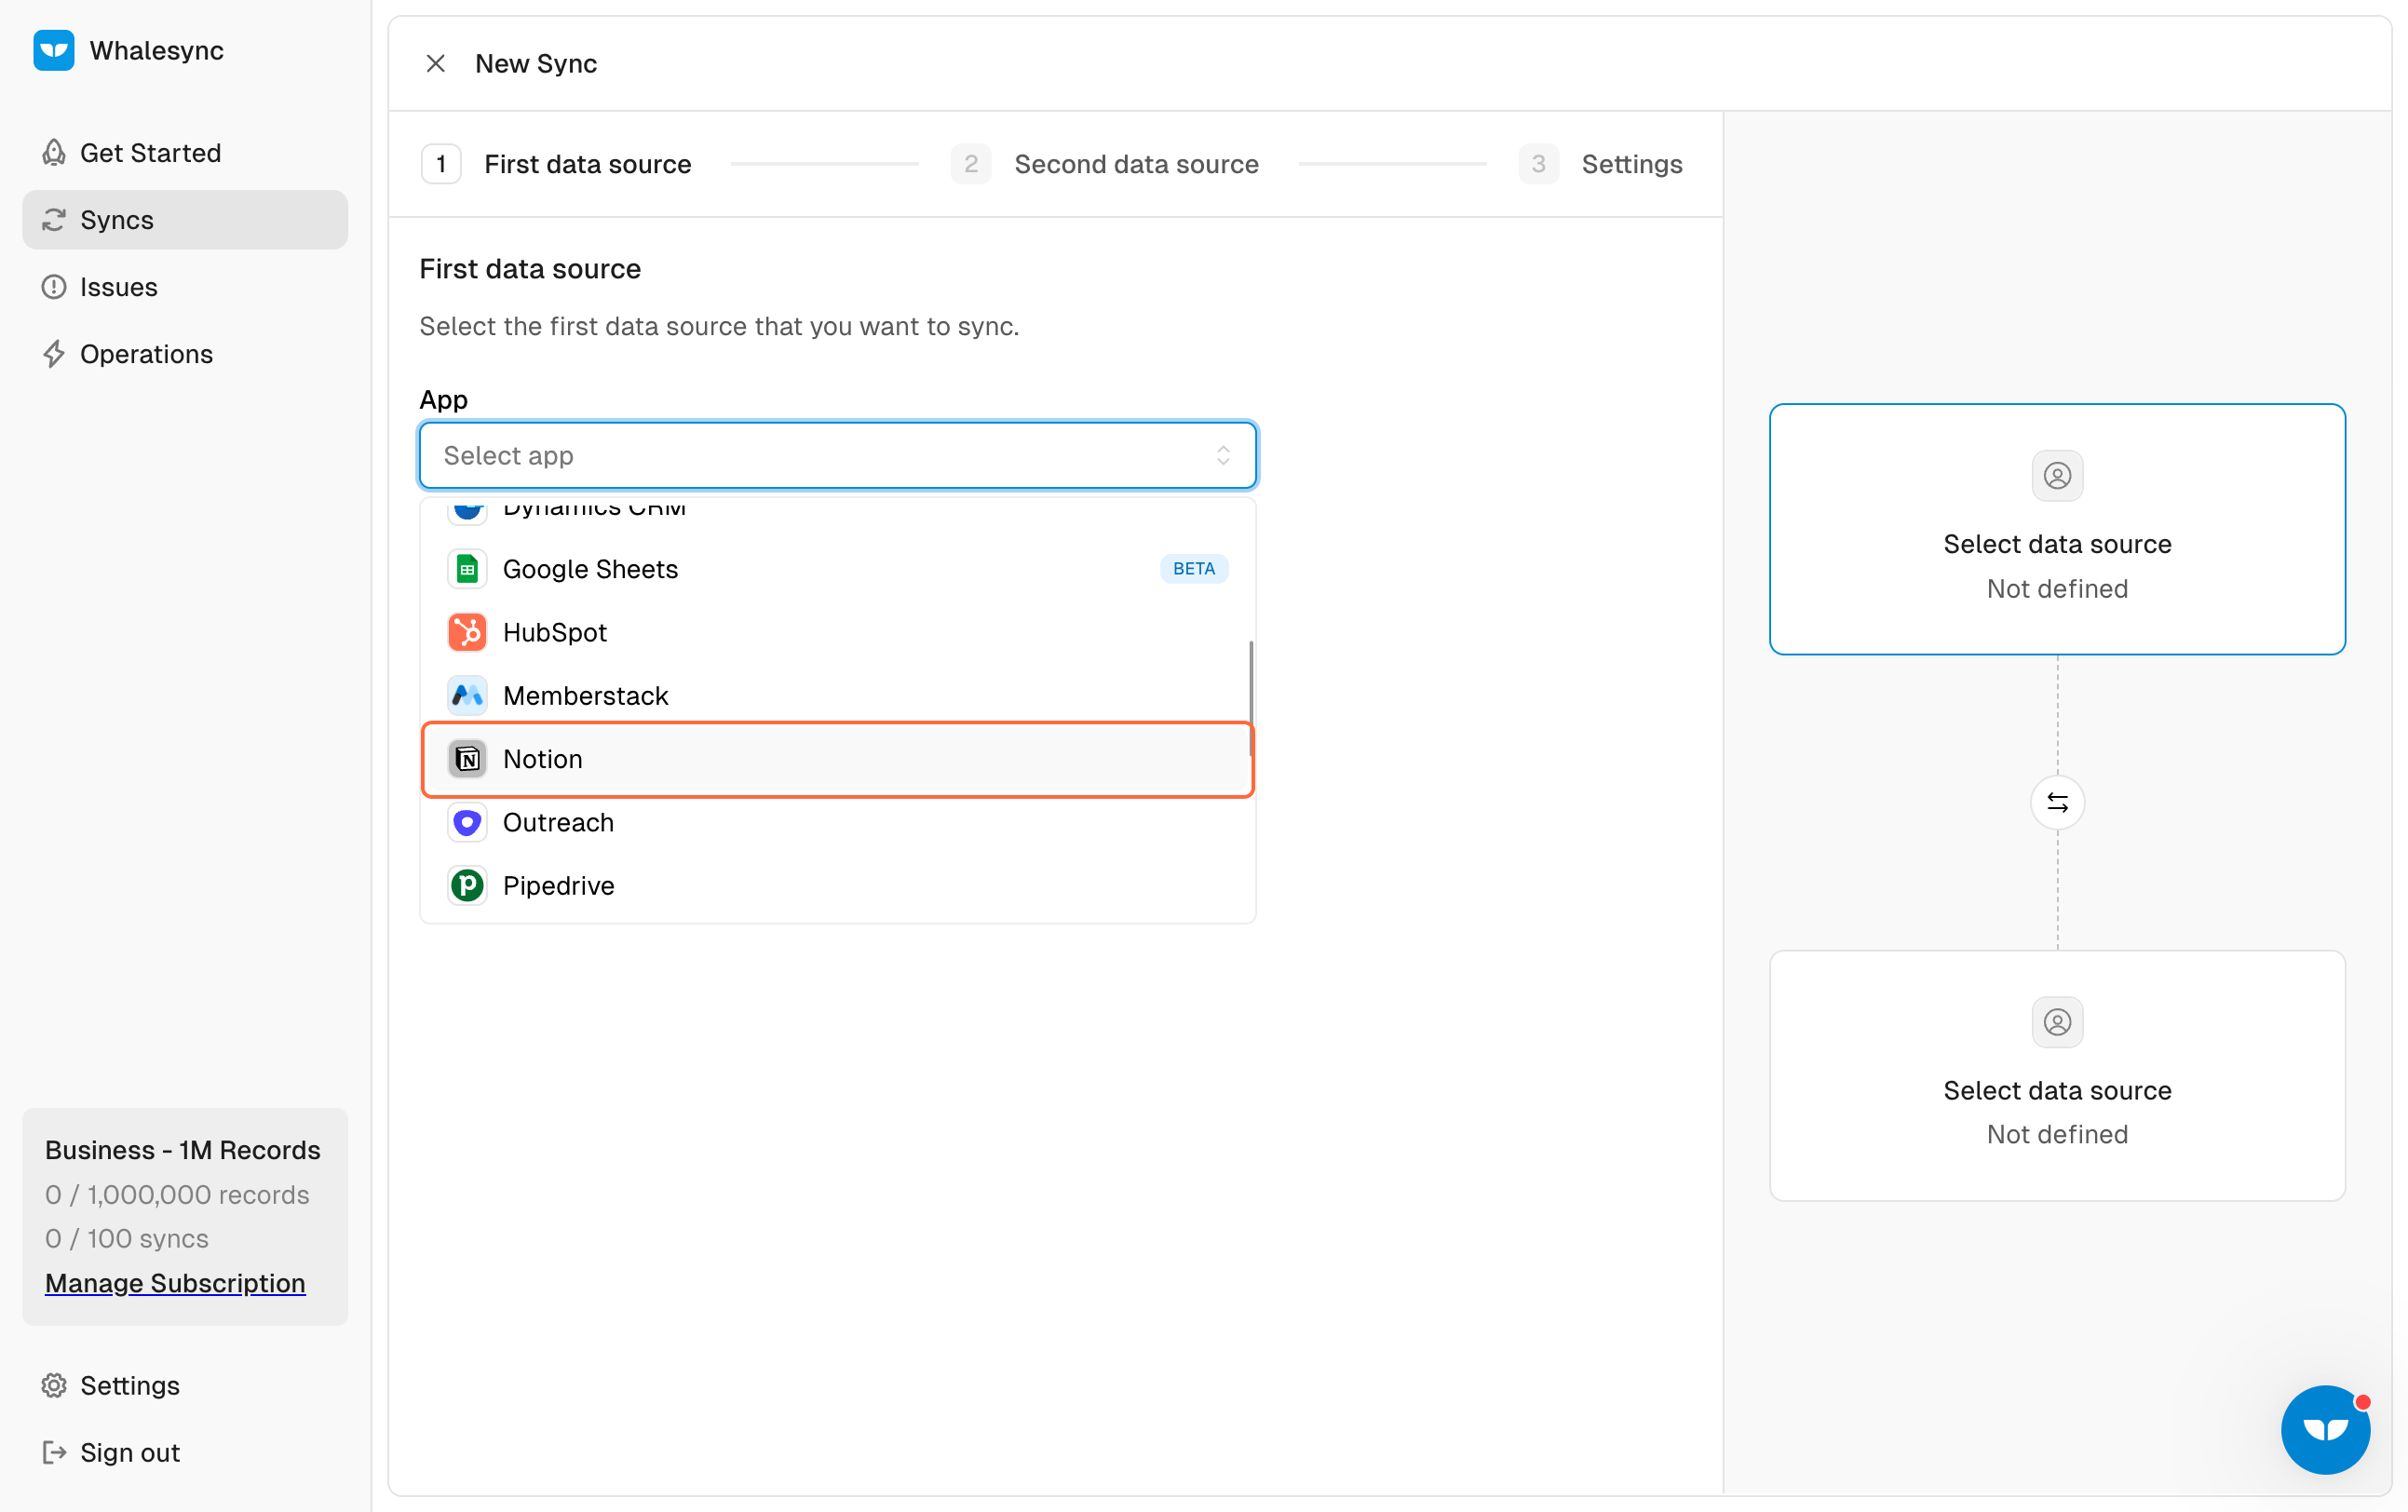
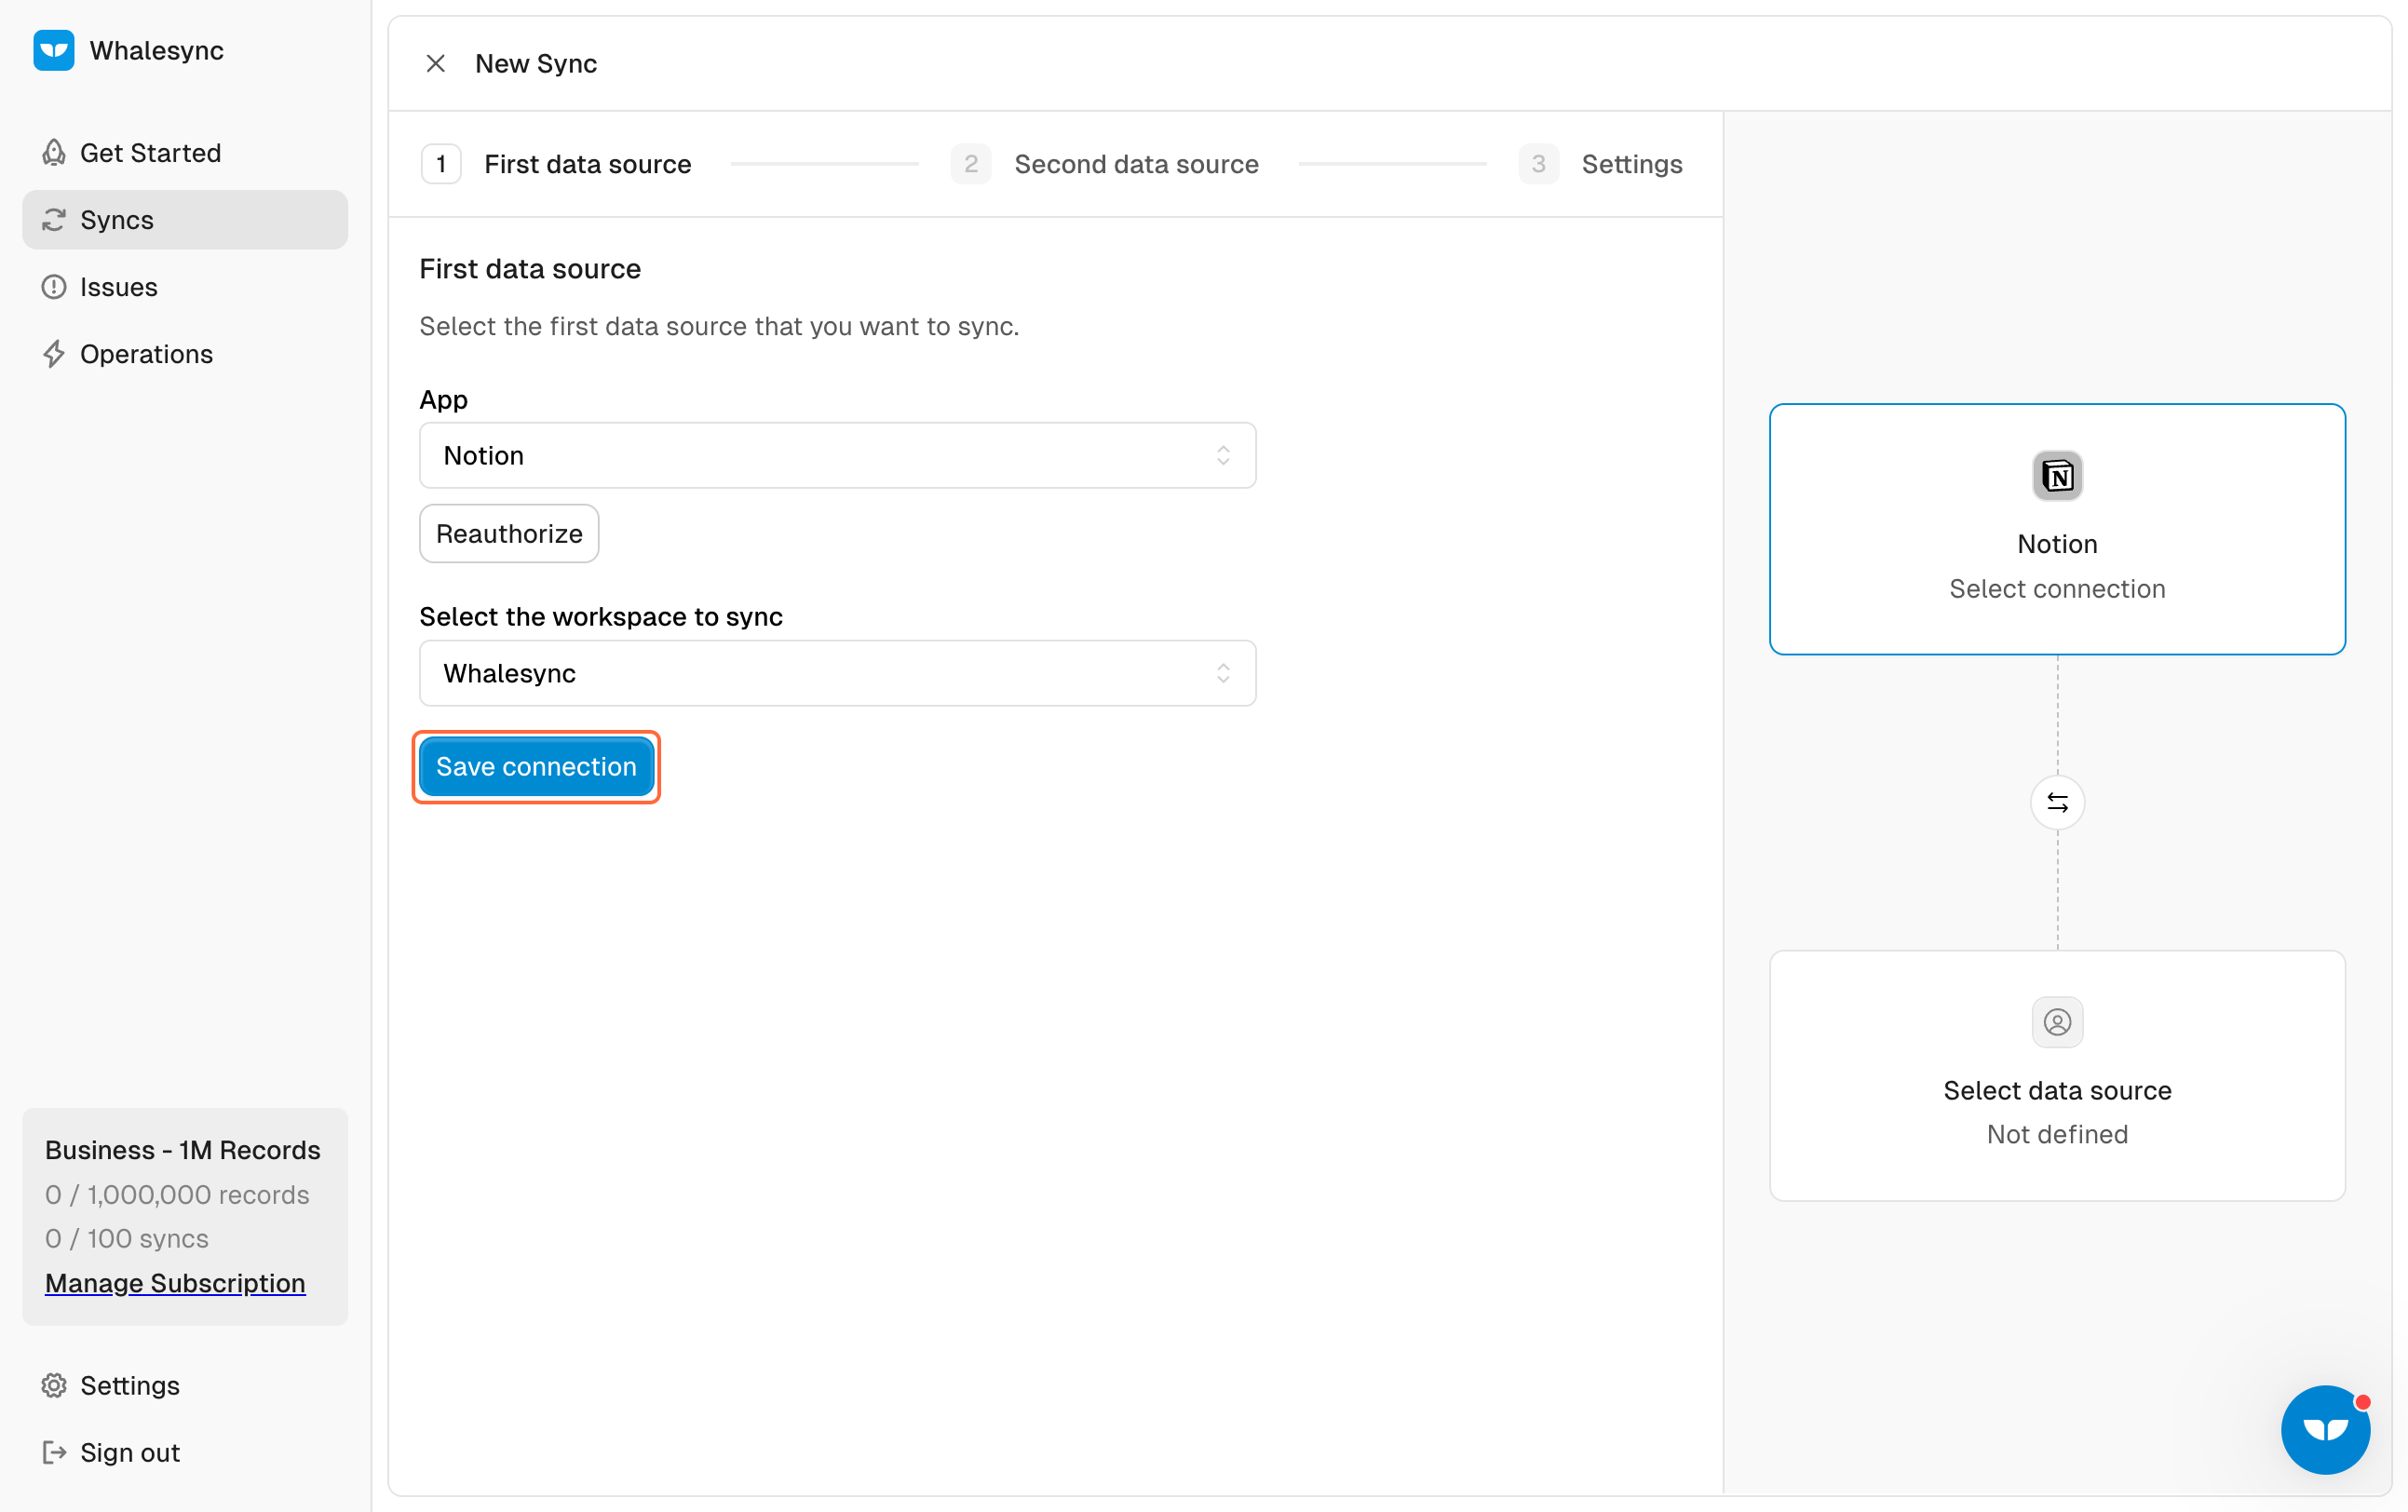
3. Select your first data source (Notion)
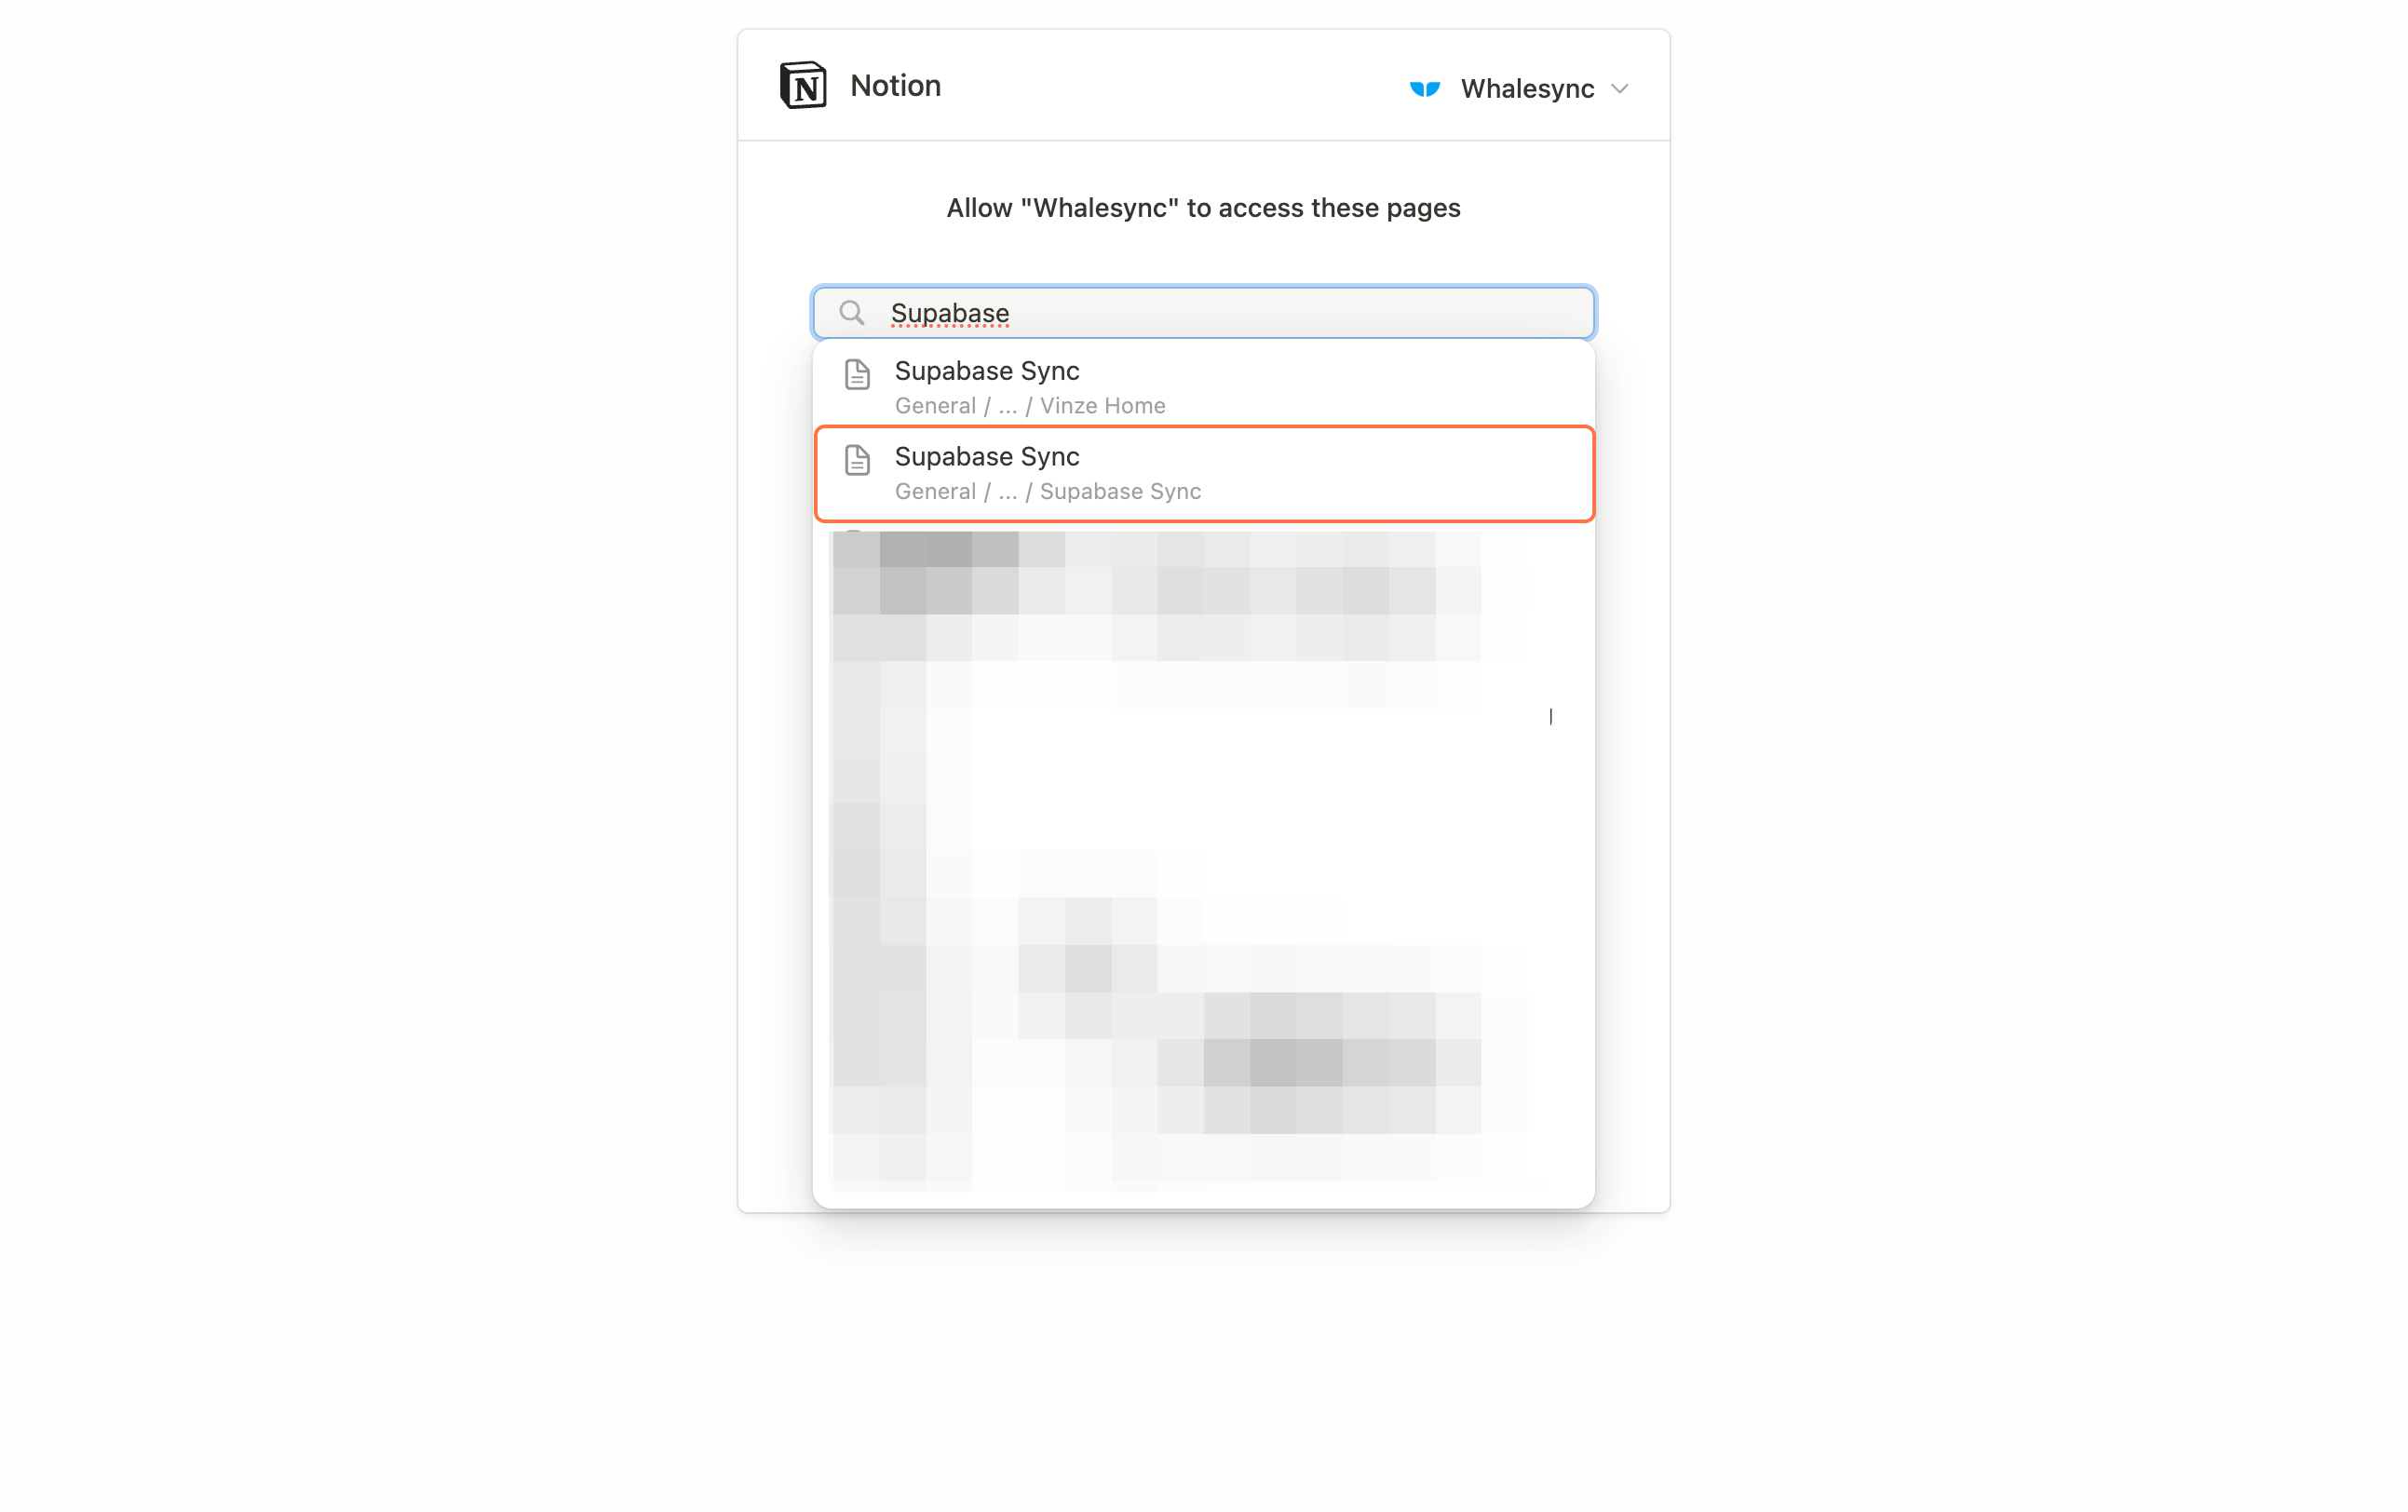
4. In the Authorization page, select the database you want to sync
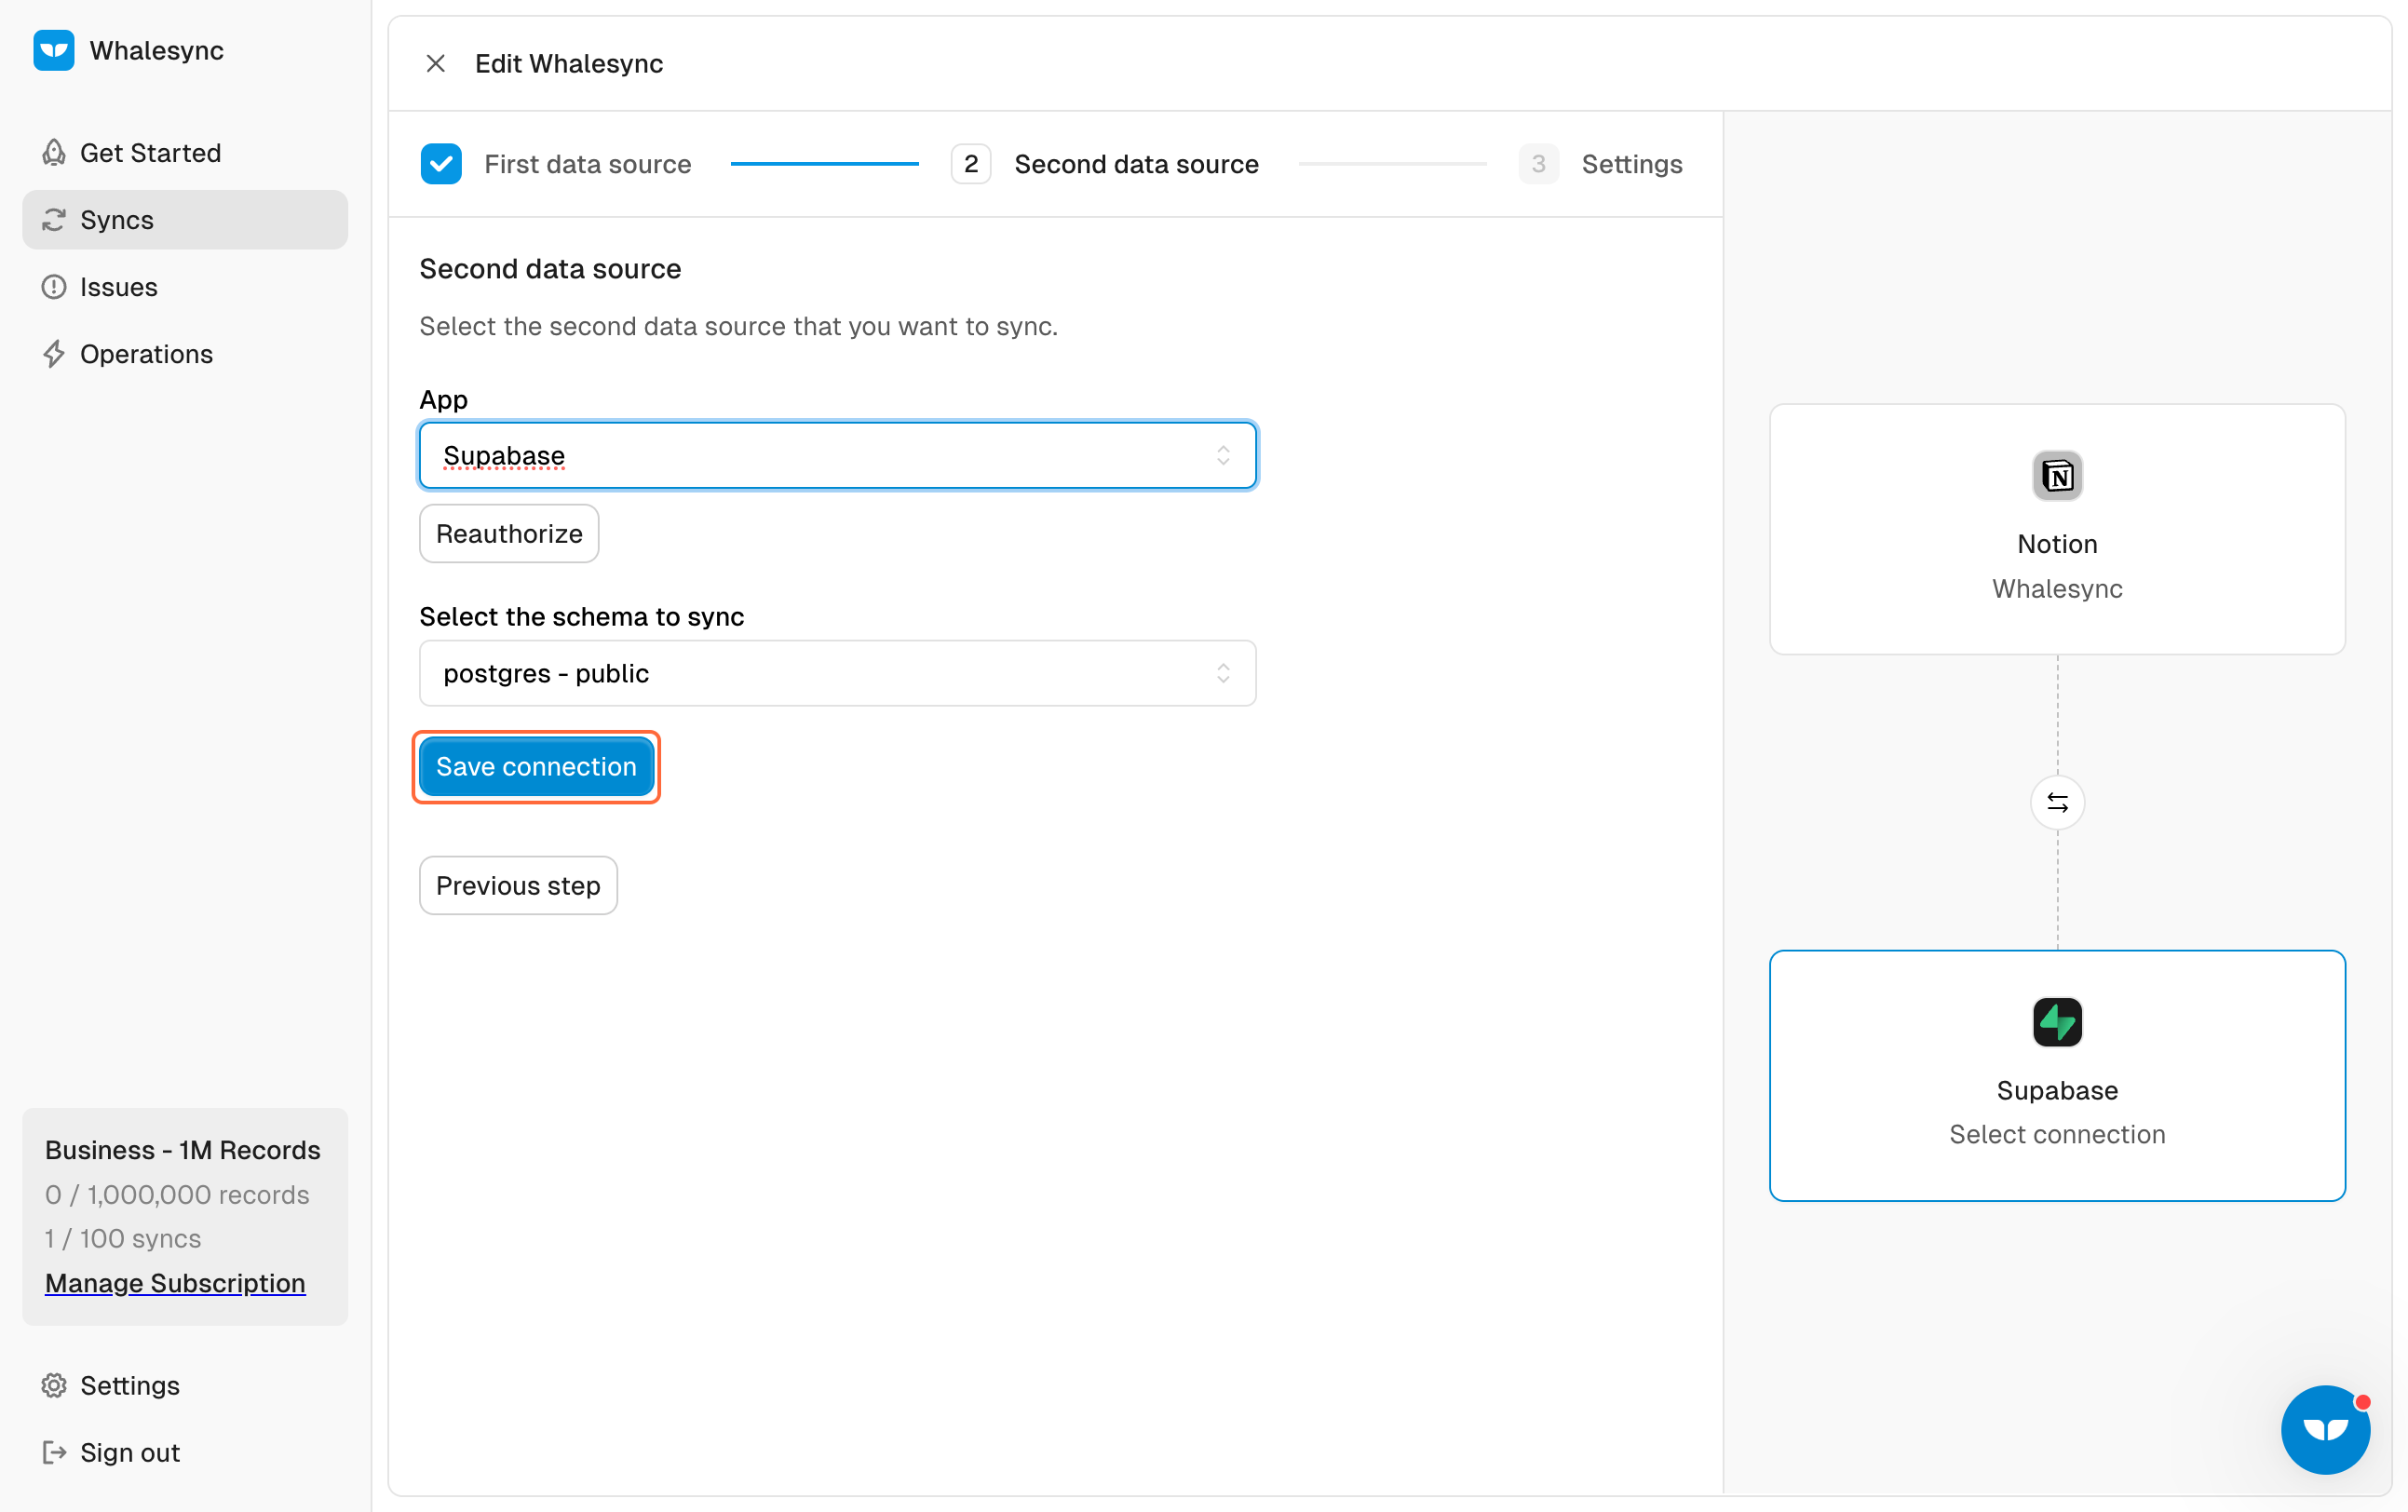
5. Save your connection
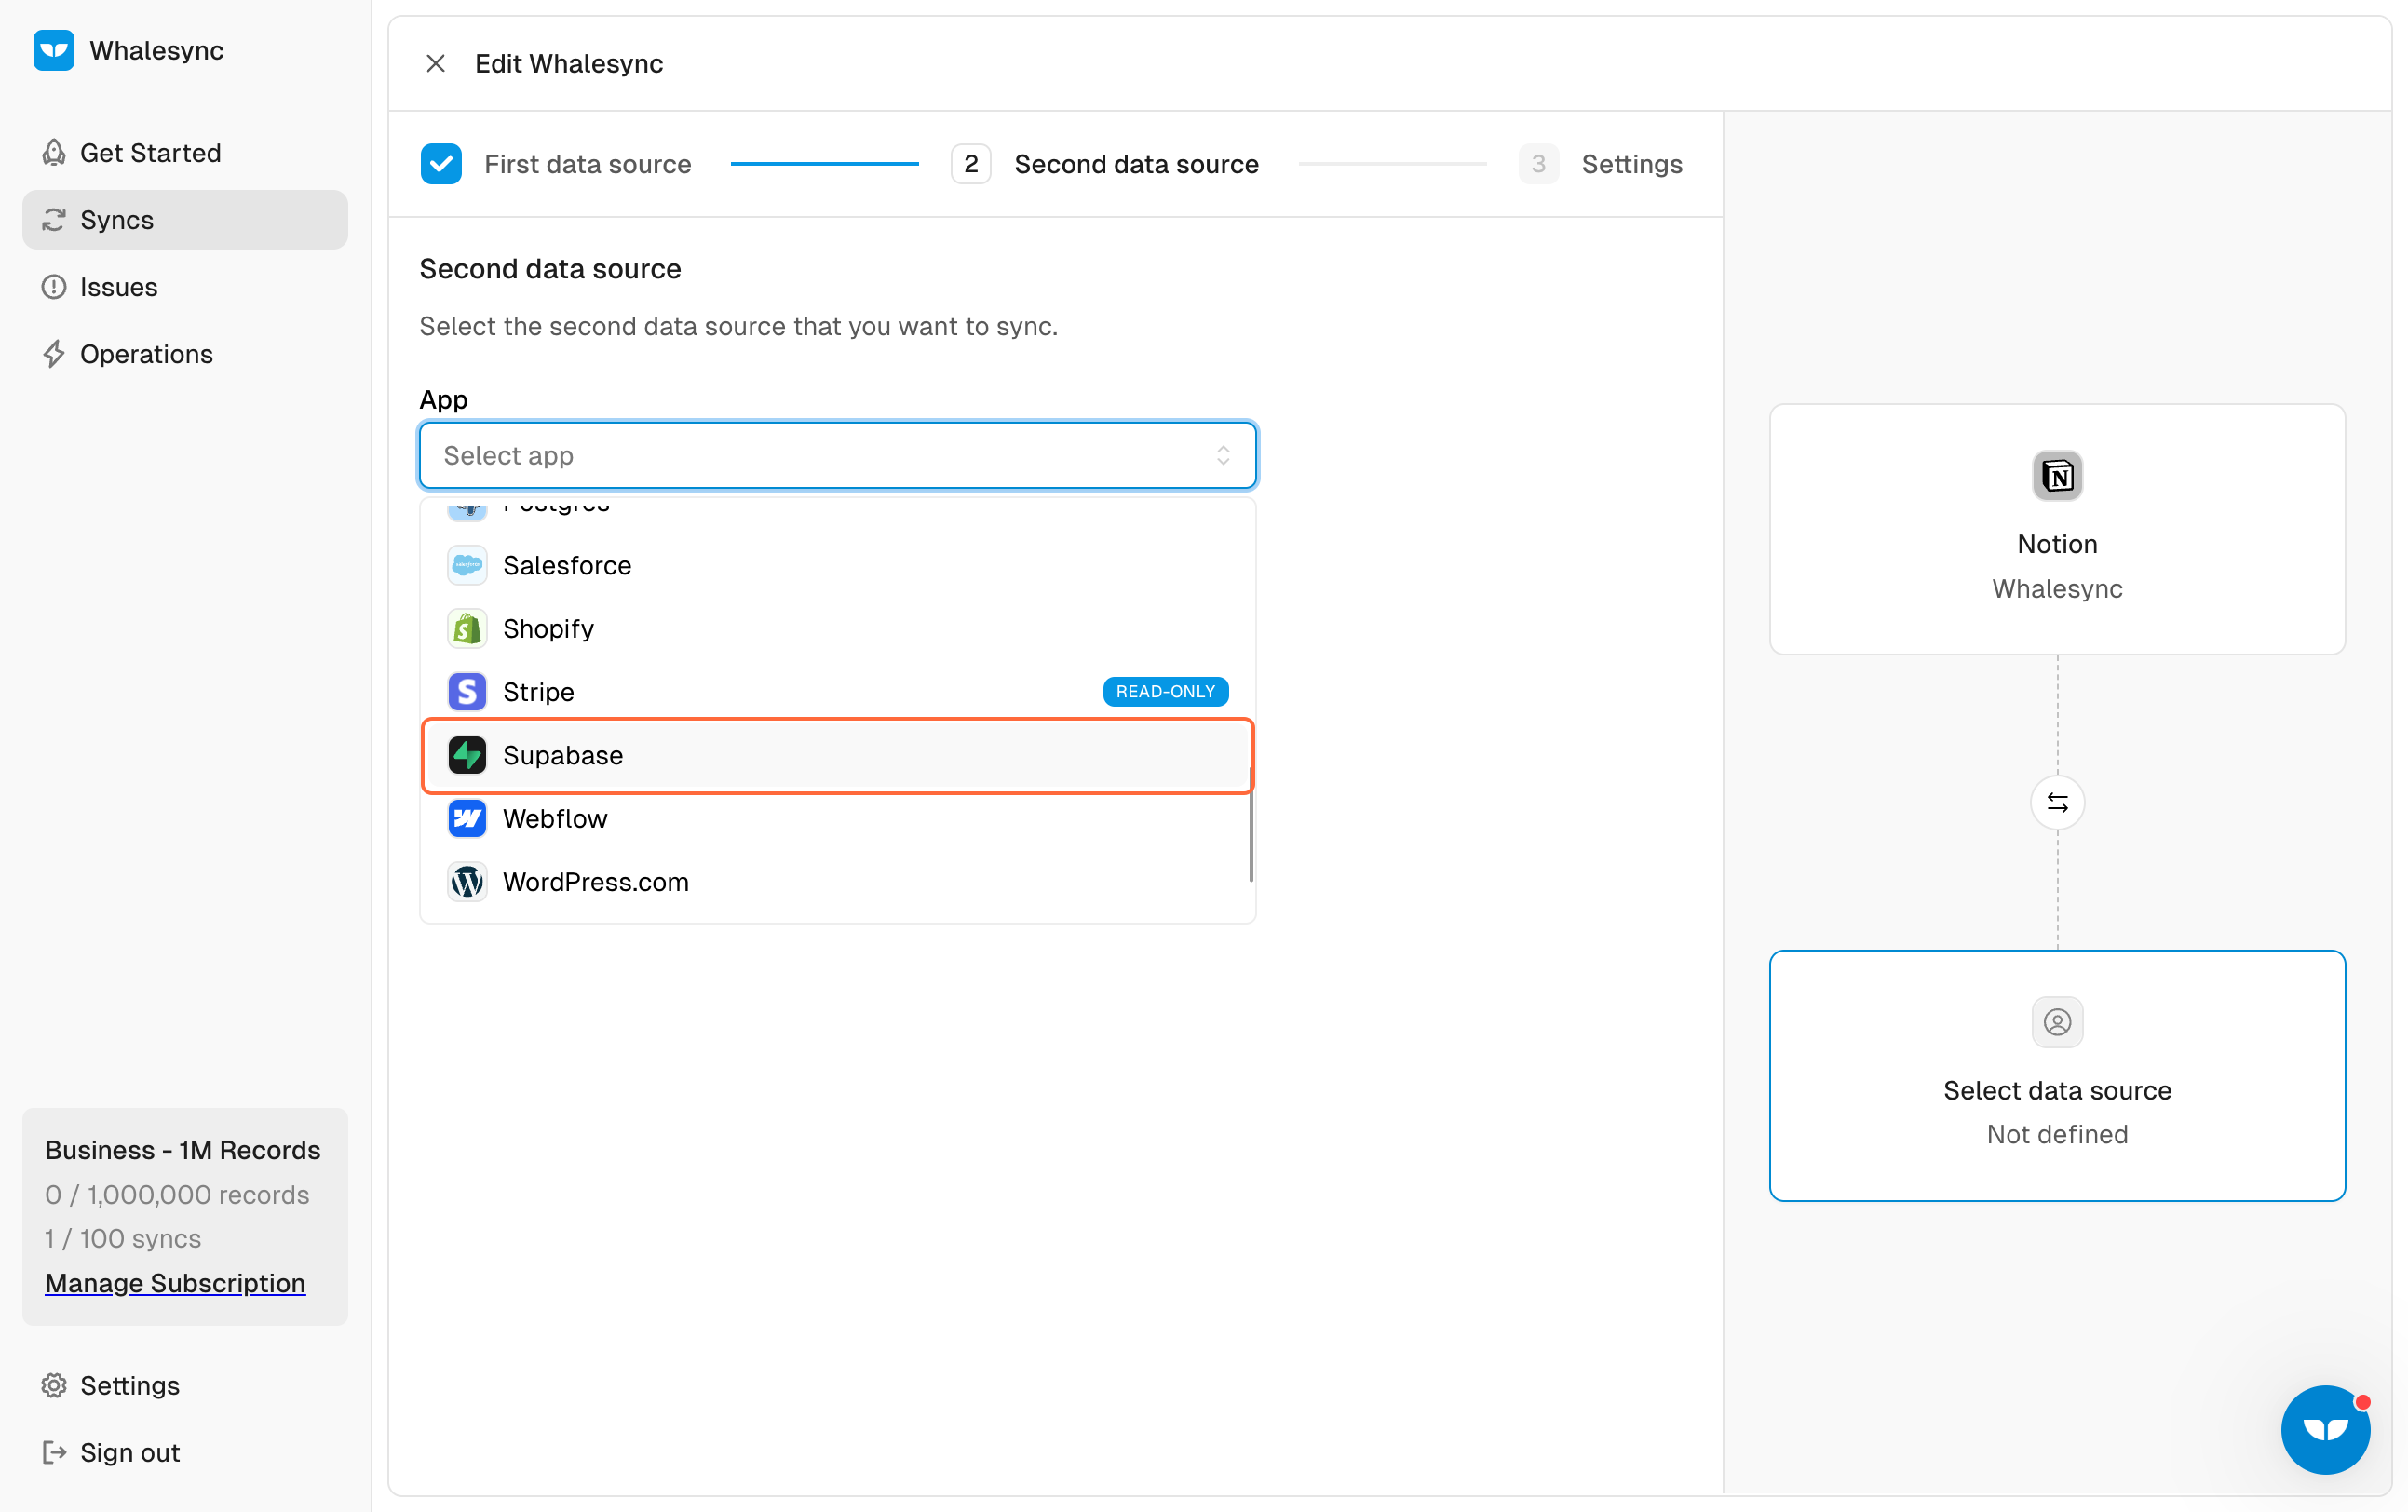
6. Pick your second data source (Supabase)
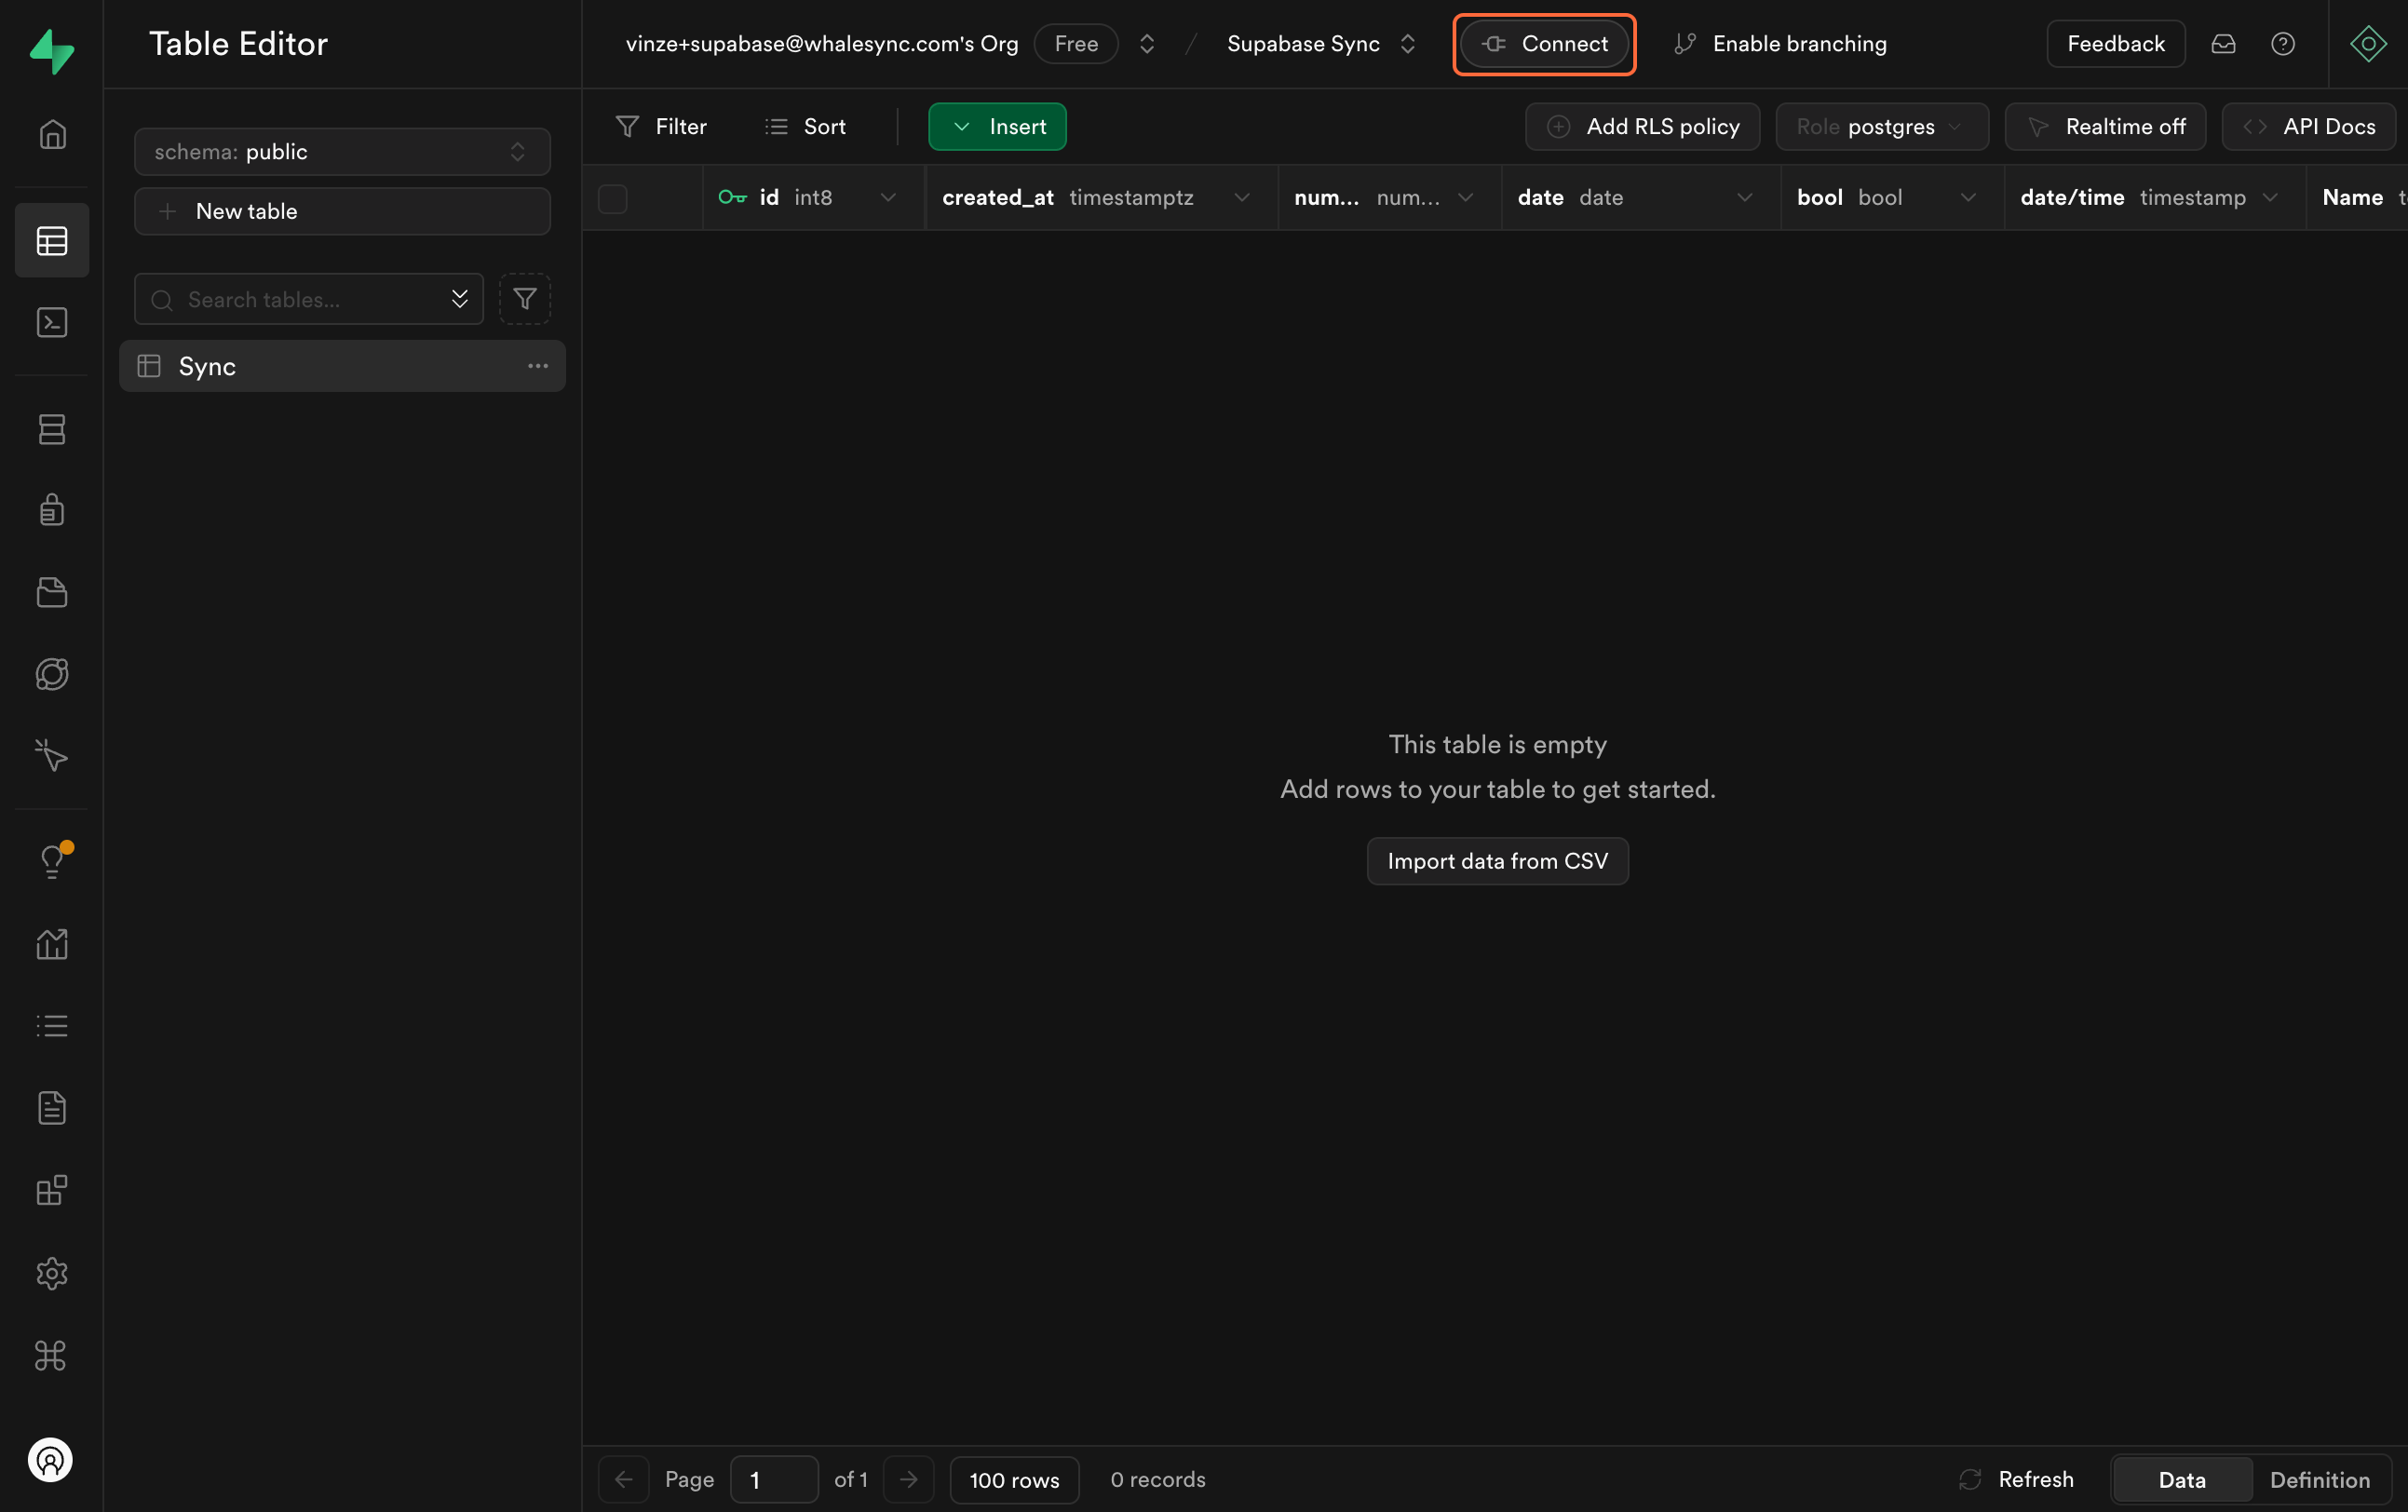
7. Go to Supabase and get your connection string.
8. In the Connection string page, select URI
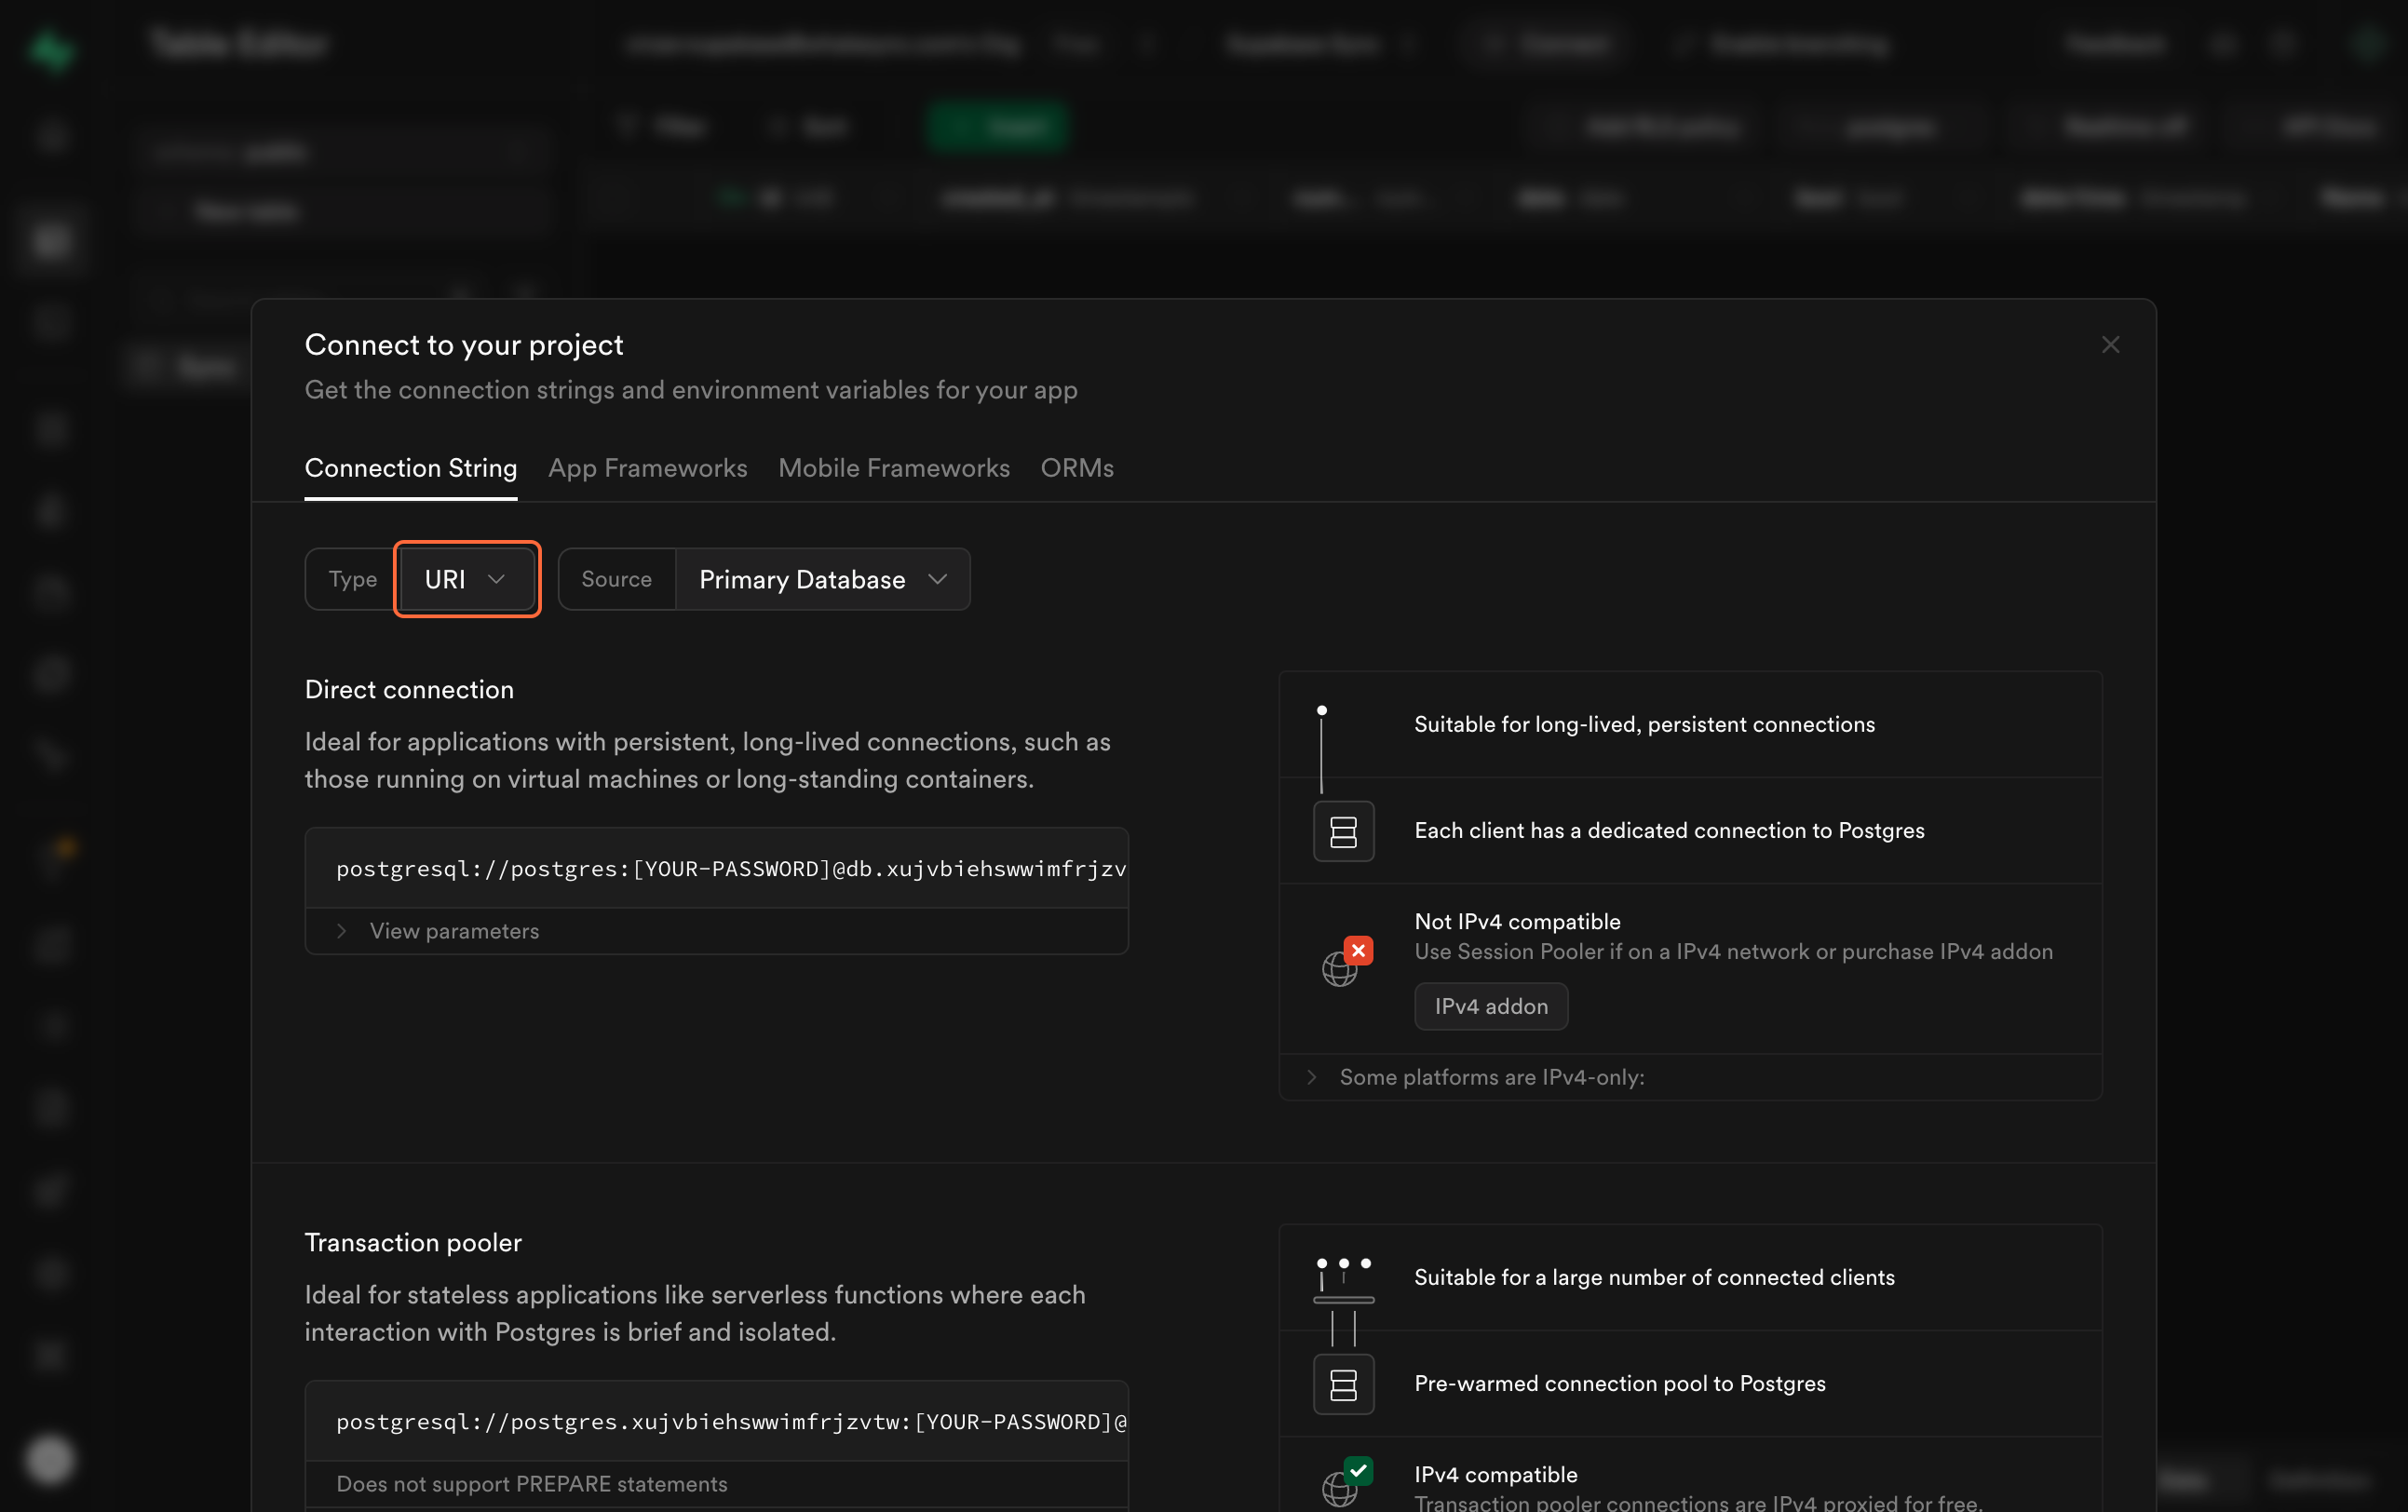
9. Copy your connection string
![When pasting your connection string to Whalesync change “[YOUR-PASSWORD] with your project password.](https://cdn.prod.website-files.com/669dbbbad2e7490566ff50e6/68e002e1f3d2162e4994842b_12.png)
10. Save your Supabase connection
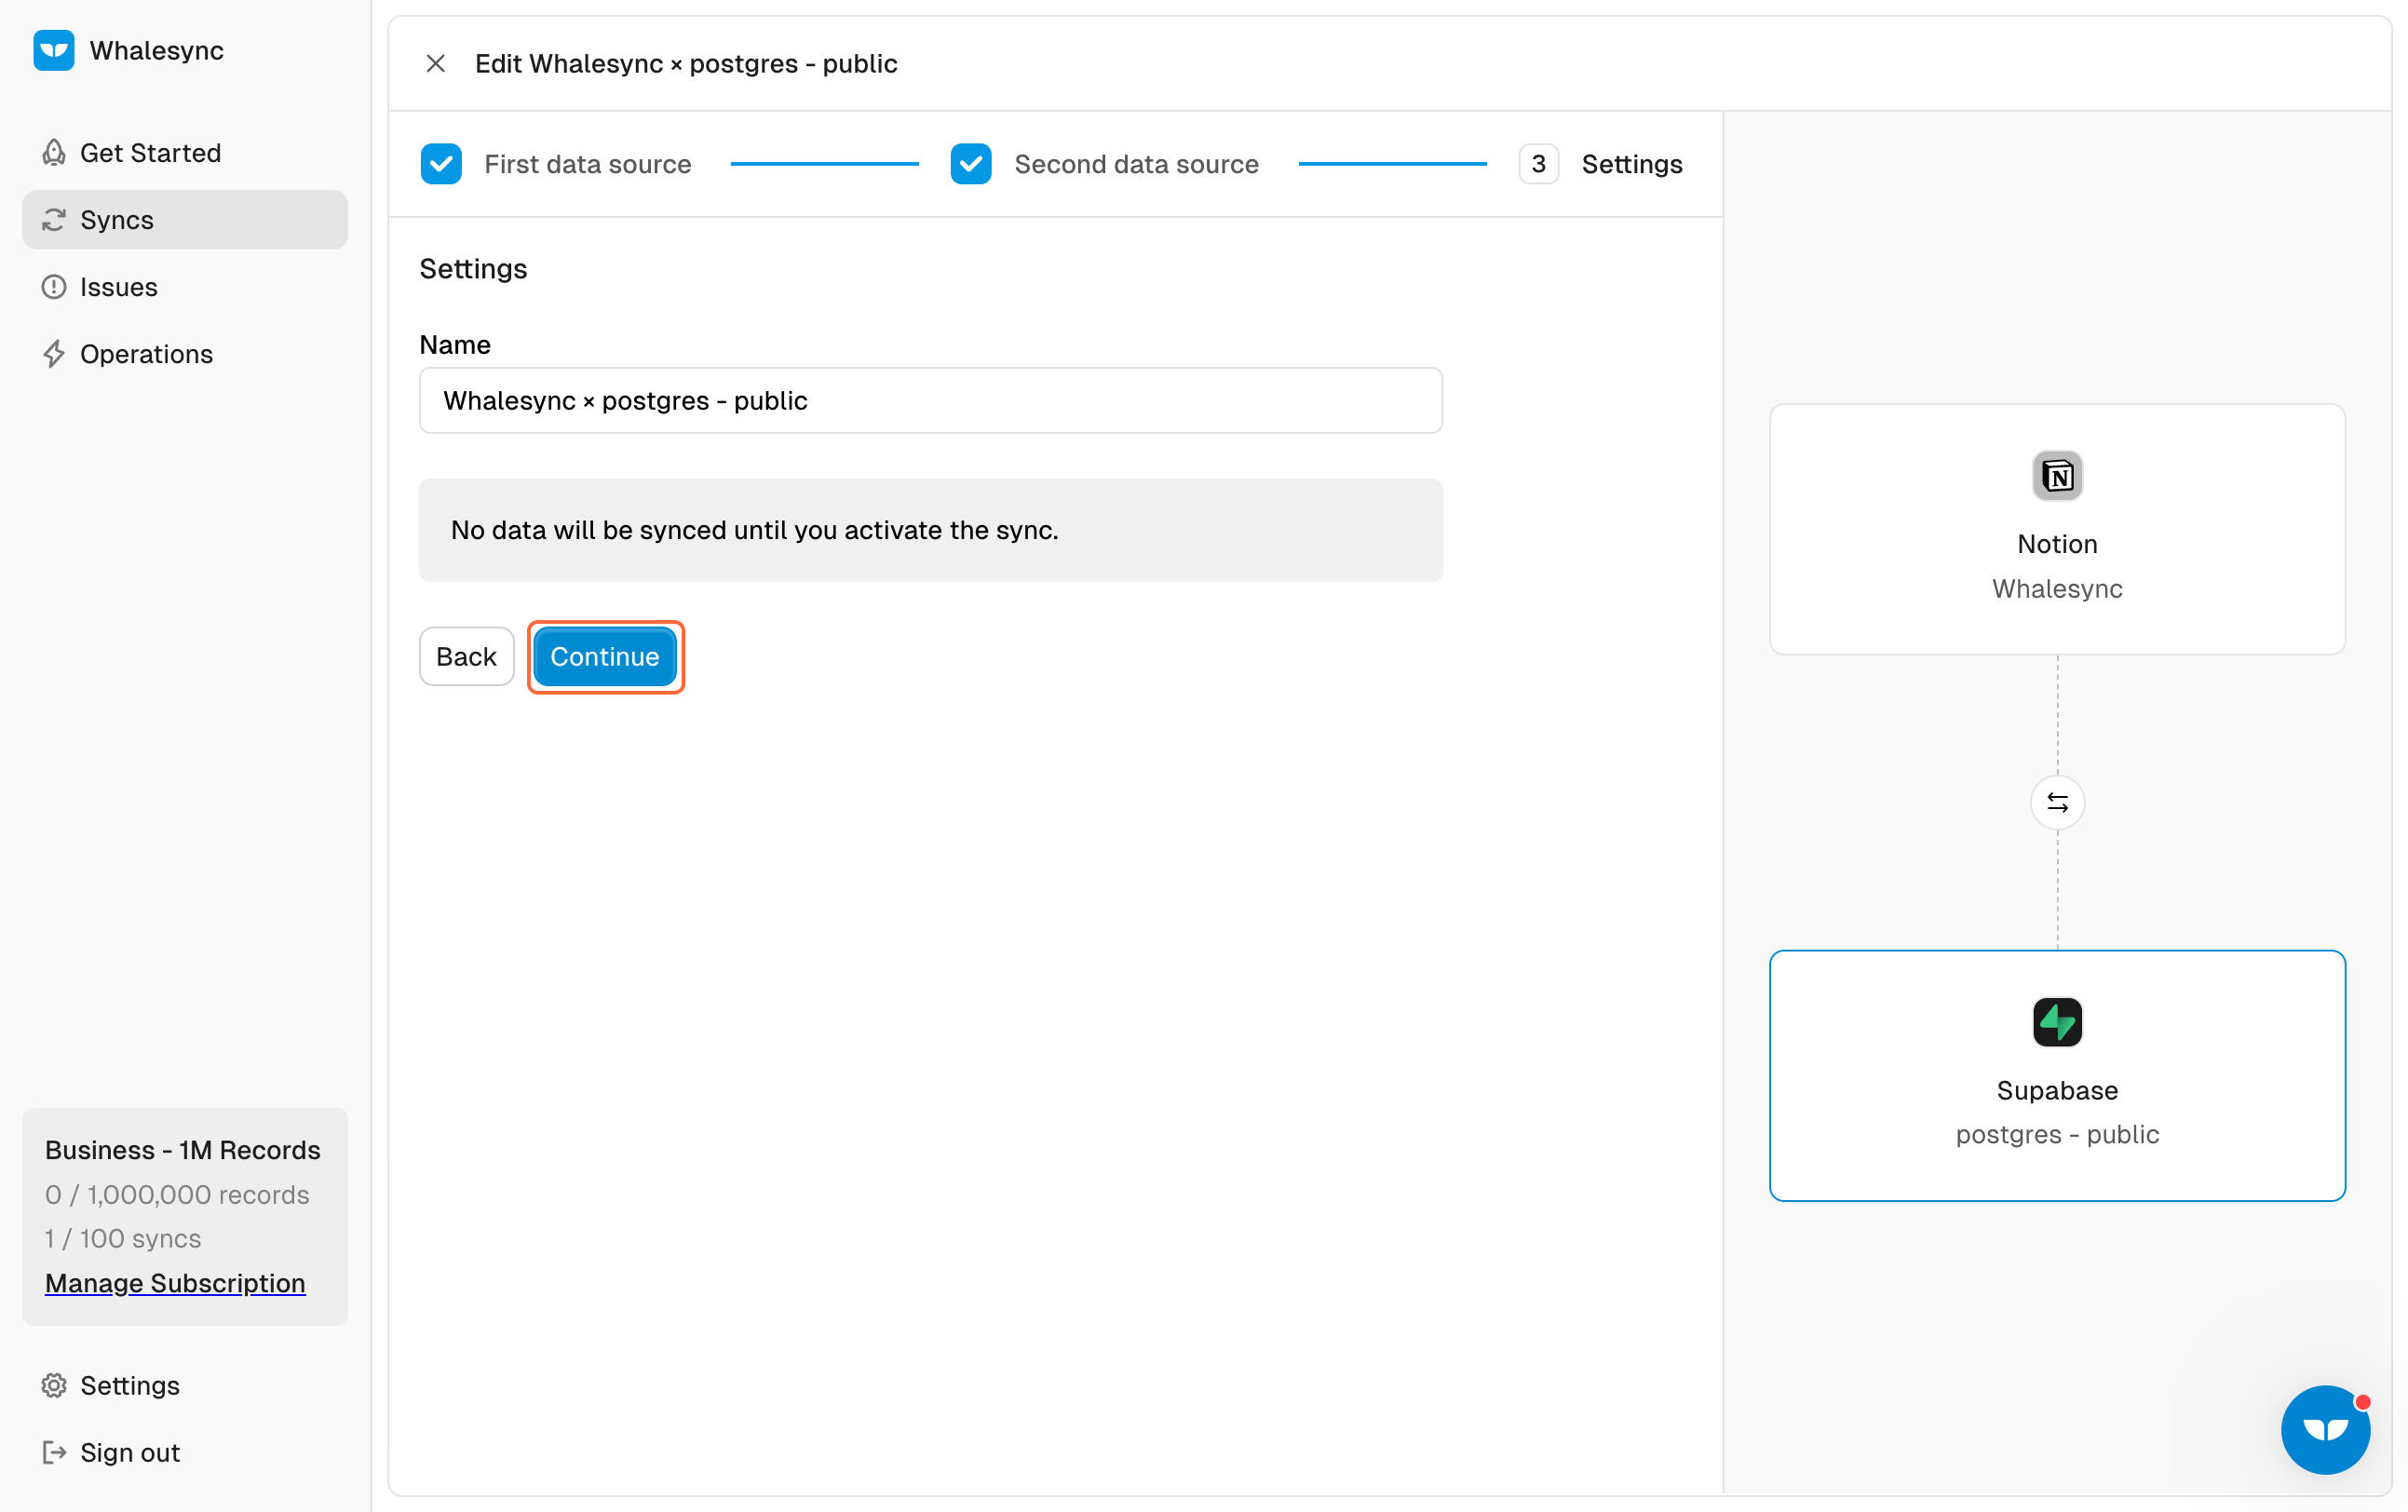
11. [Optional] Change the name of your sync
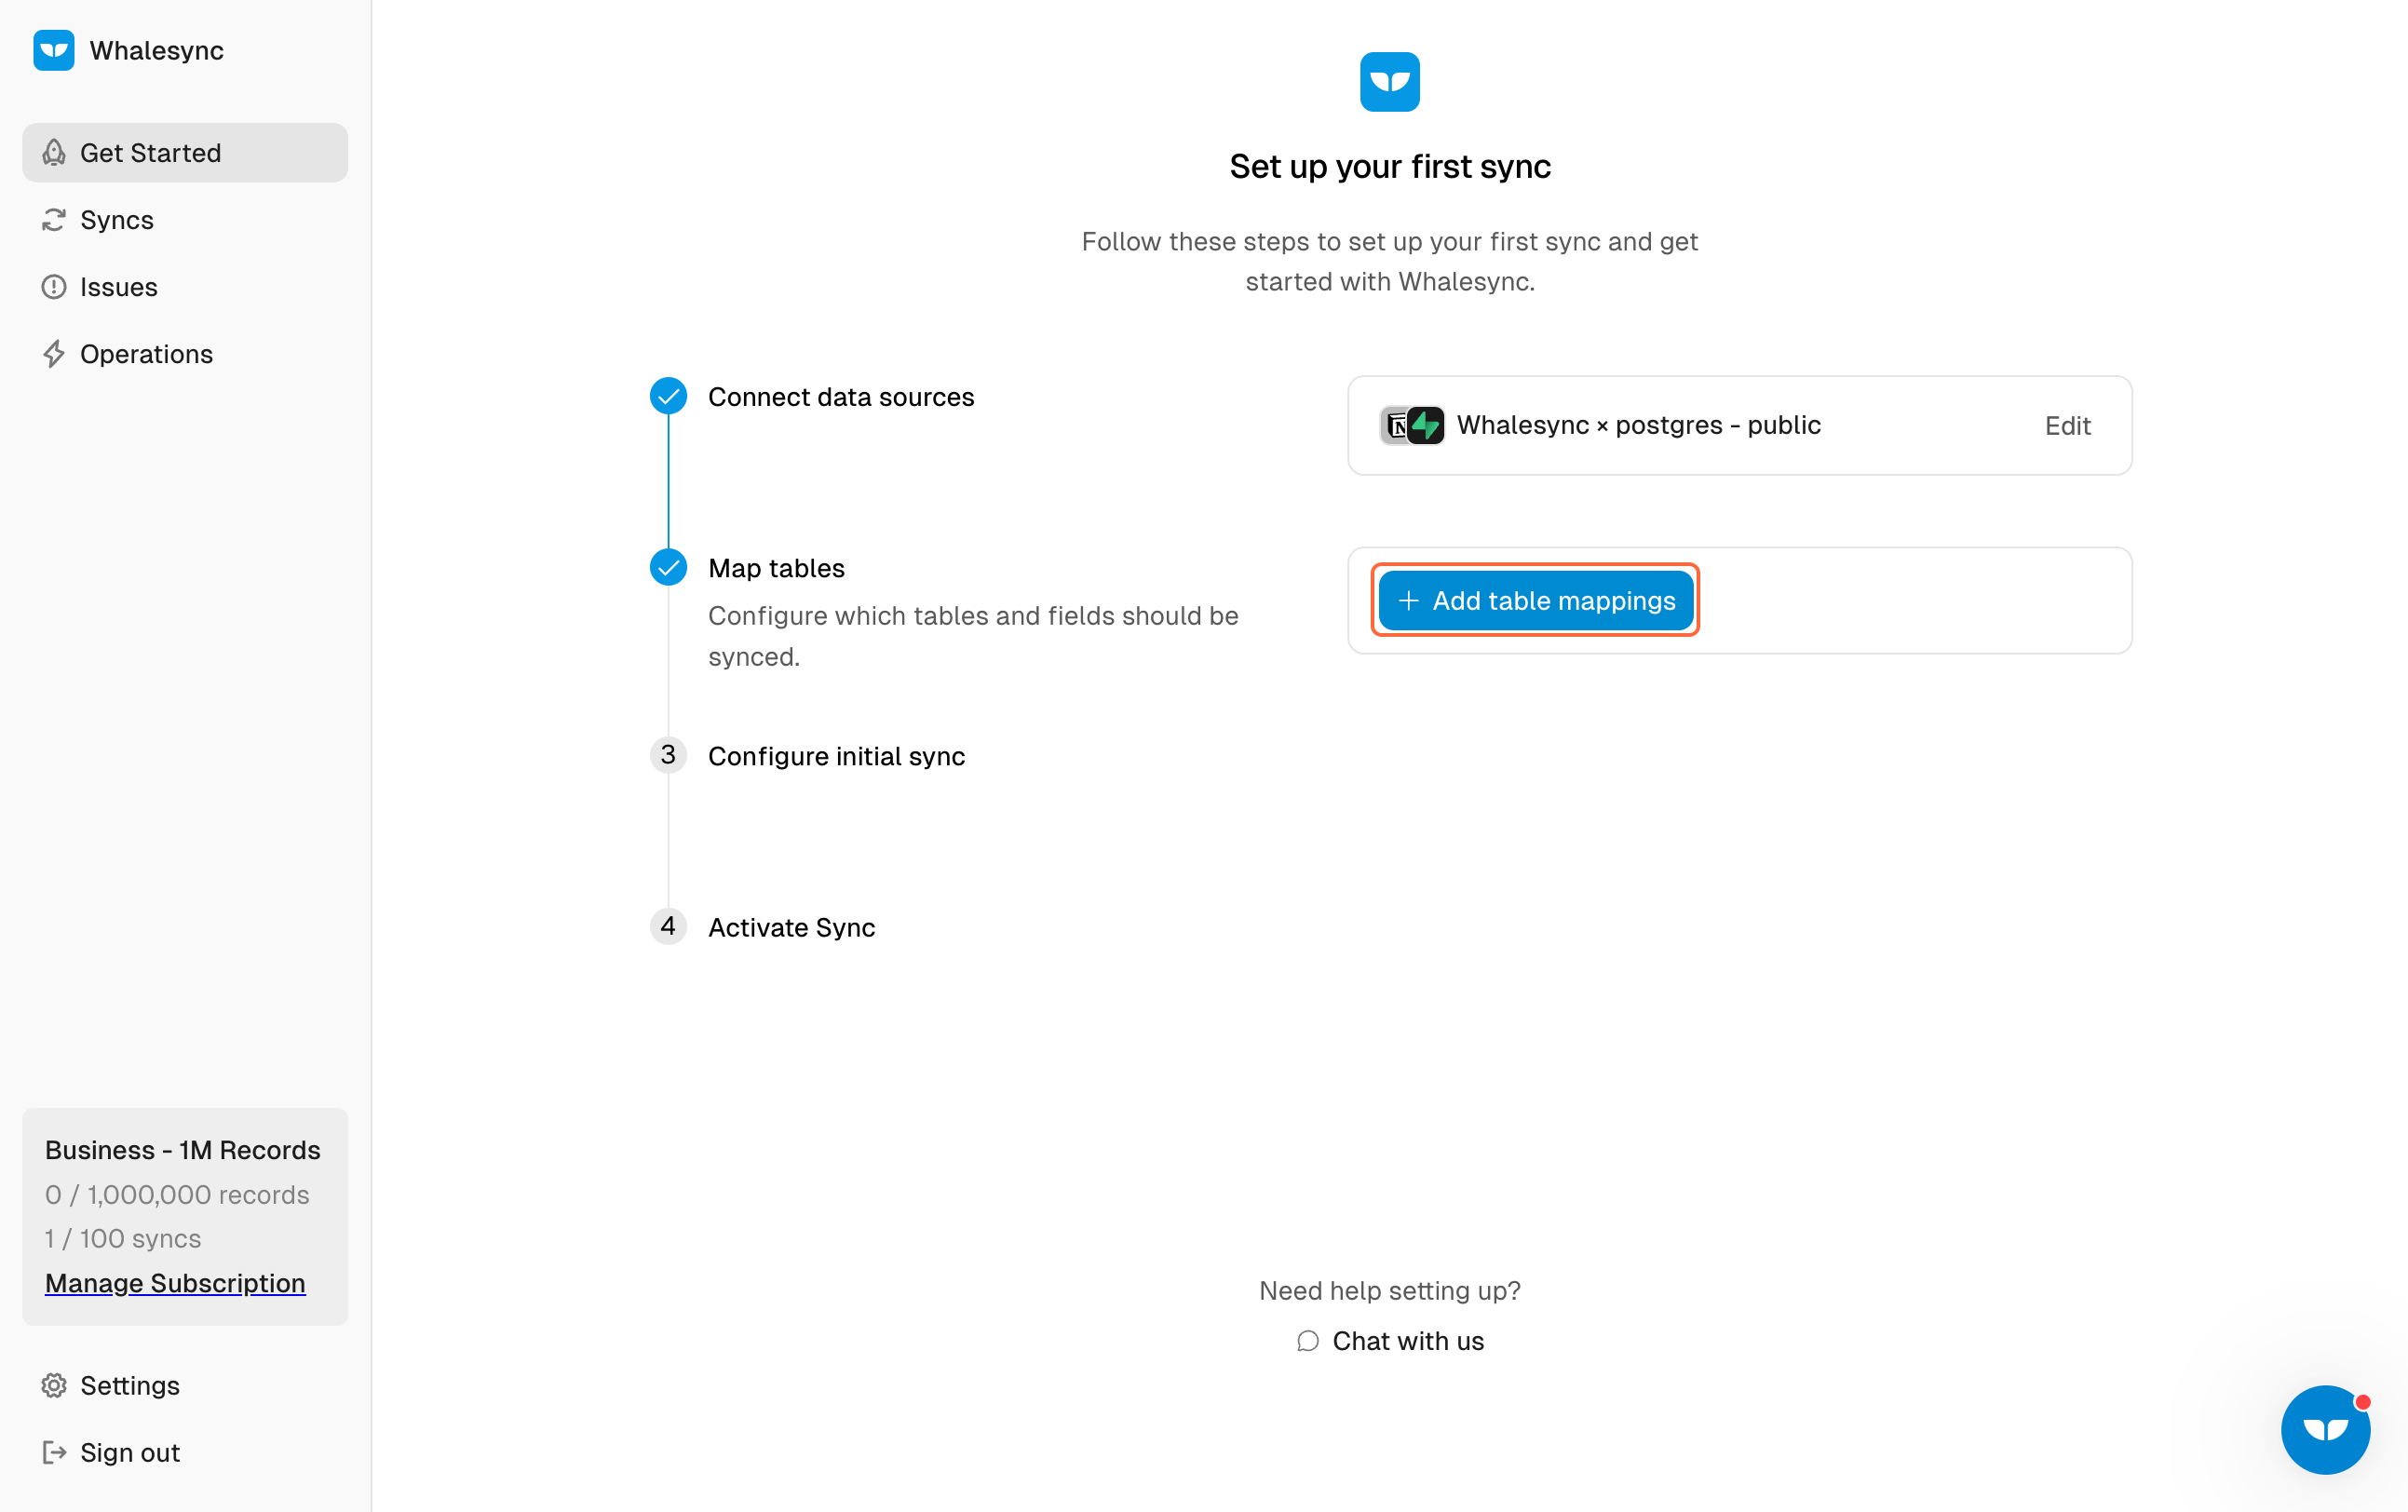
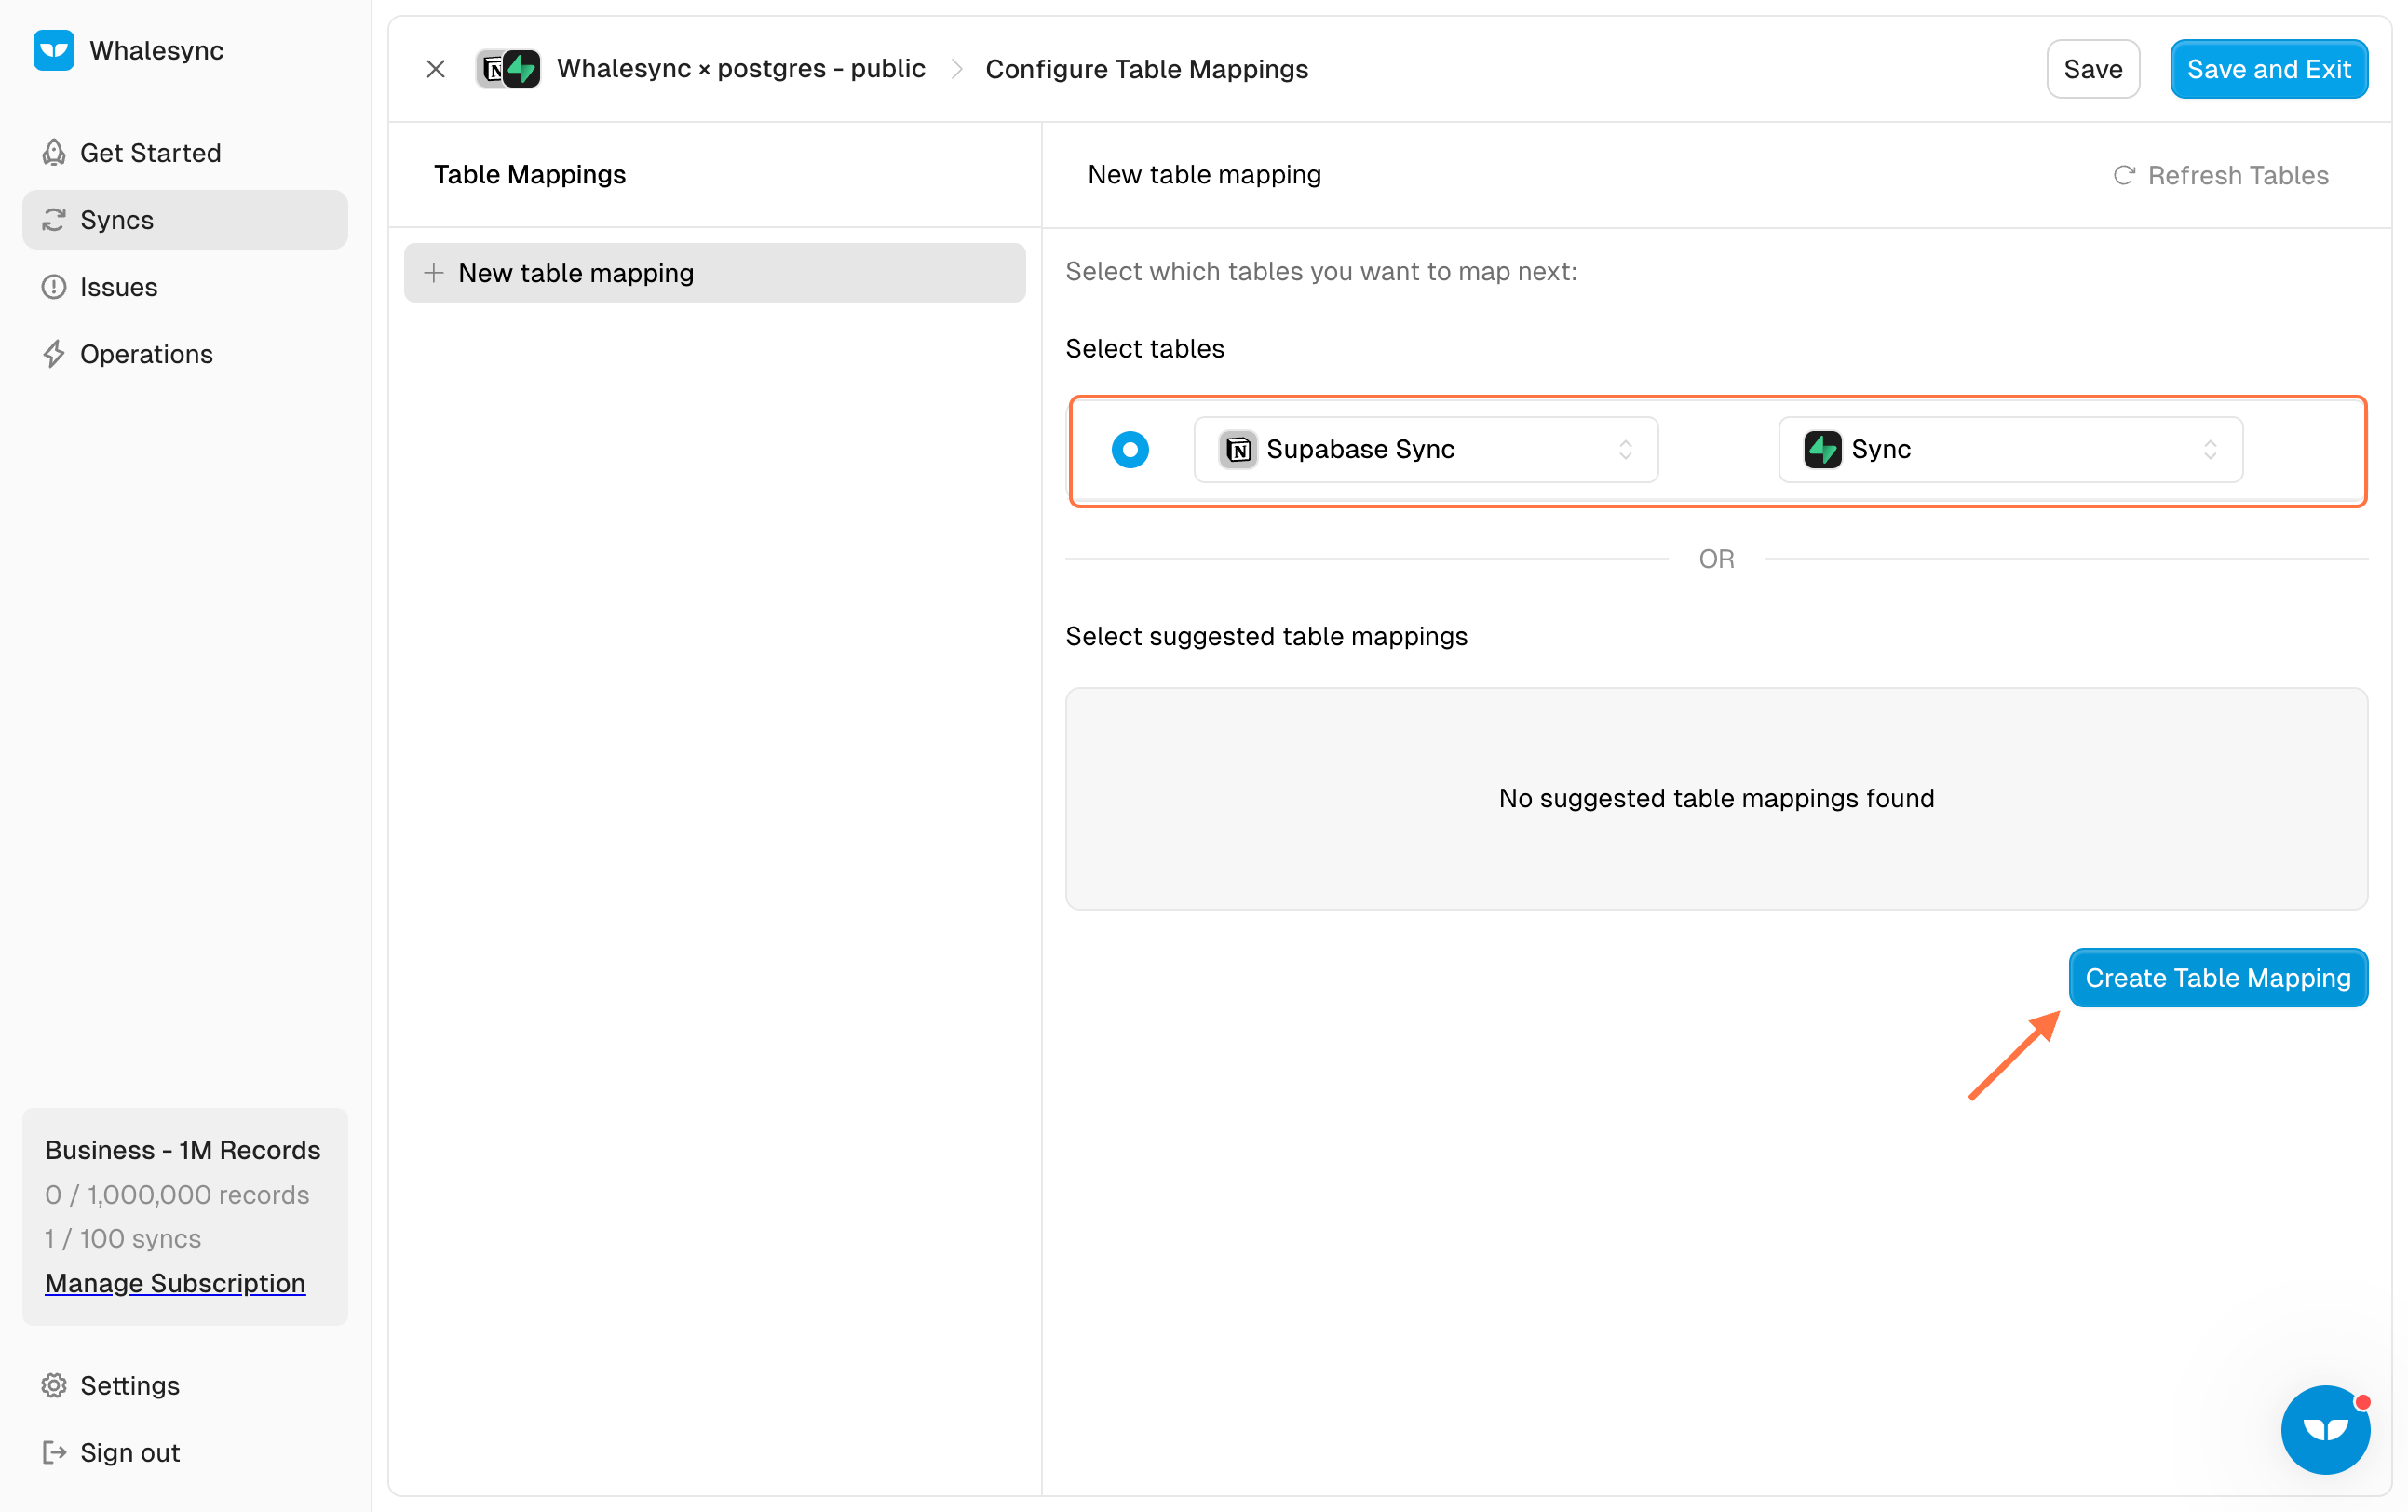
12. Add your table mappings!
13. Pick the table mapping you want to sync and click ‘Create table mapping’
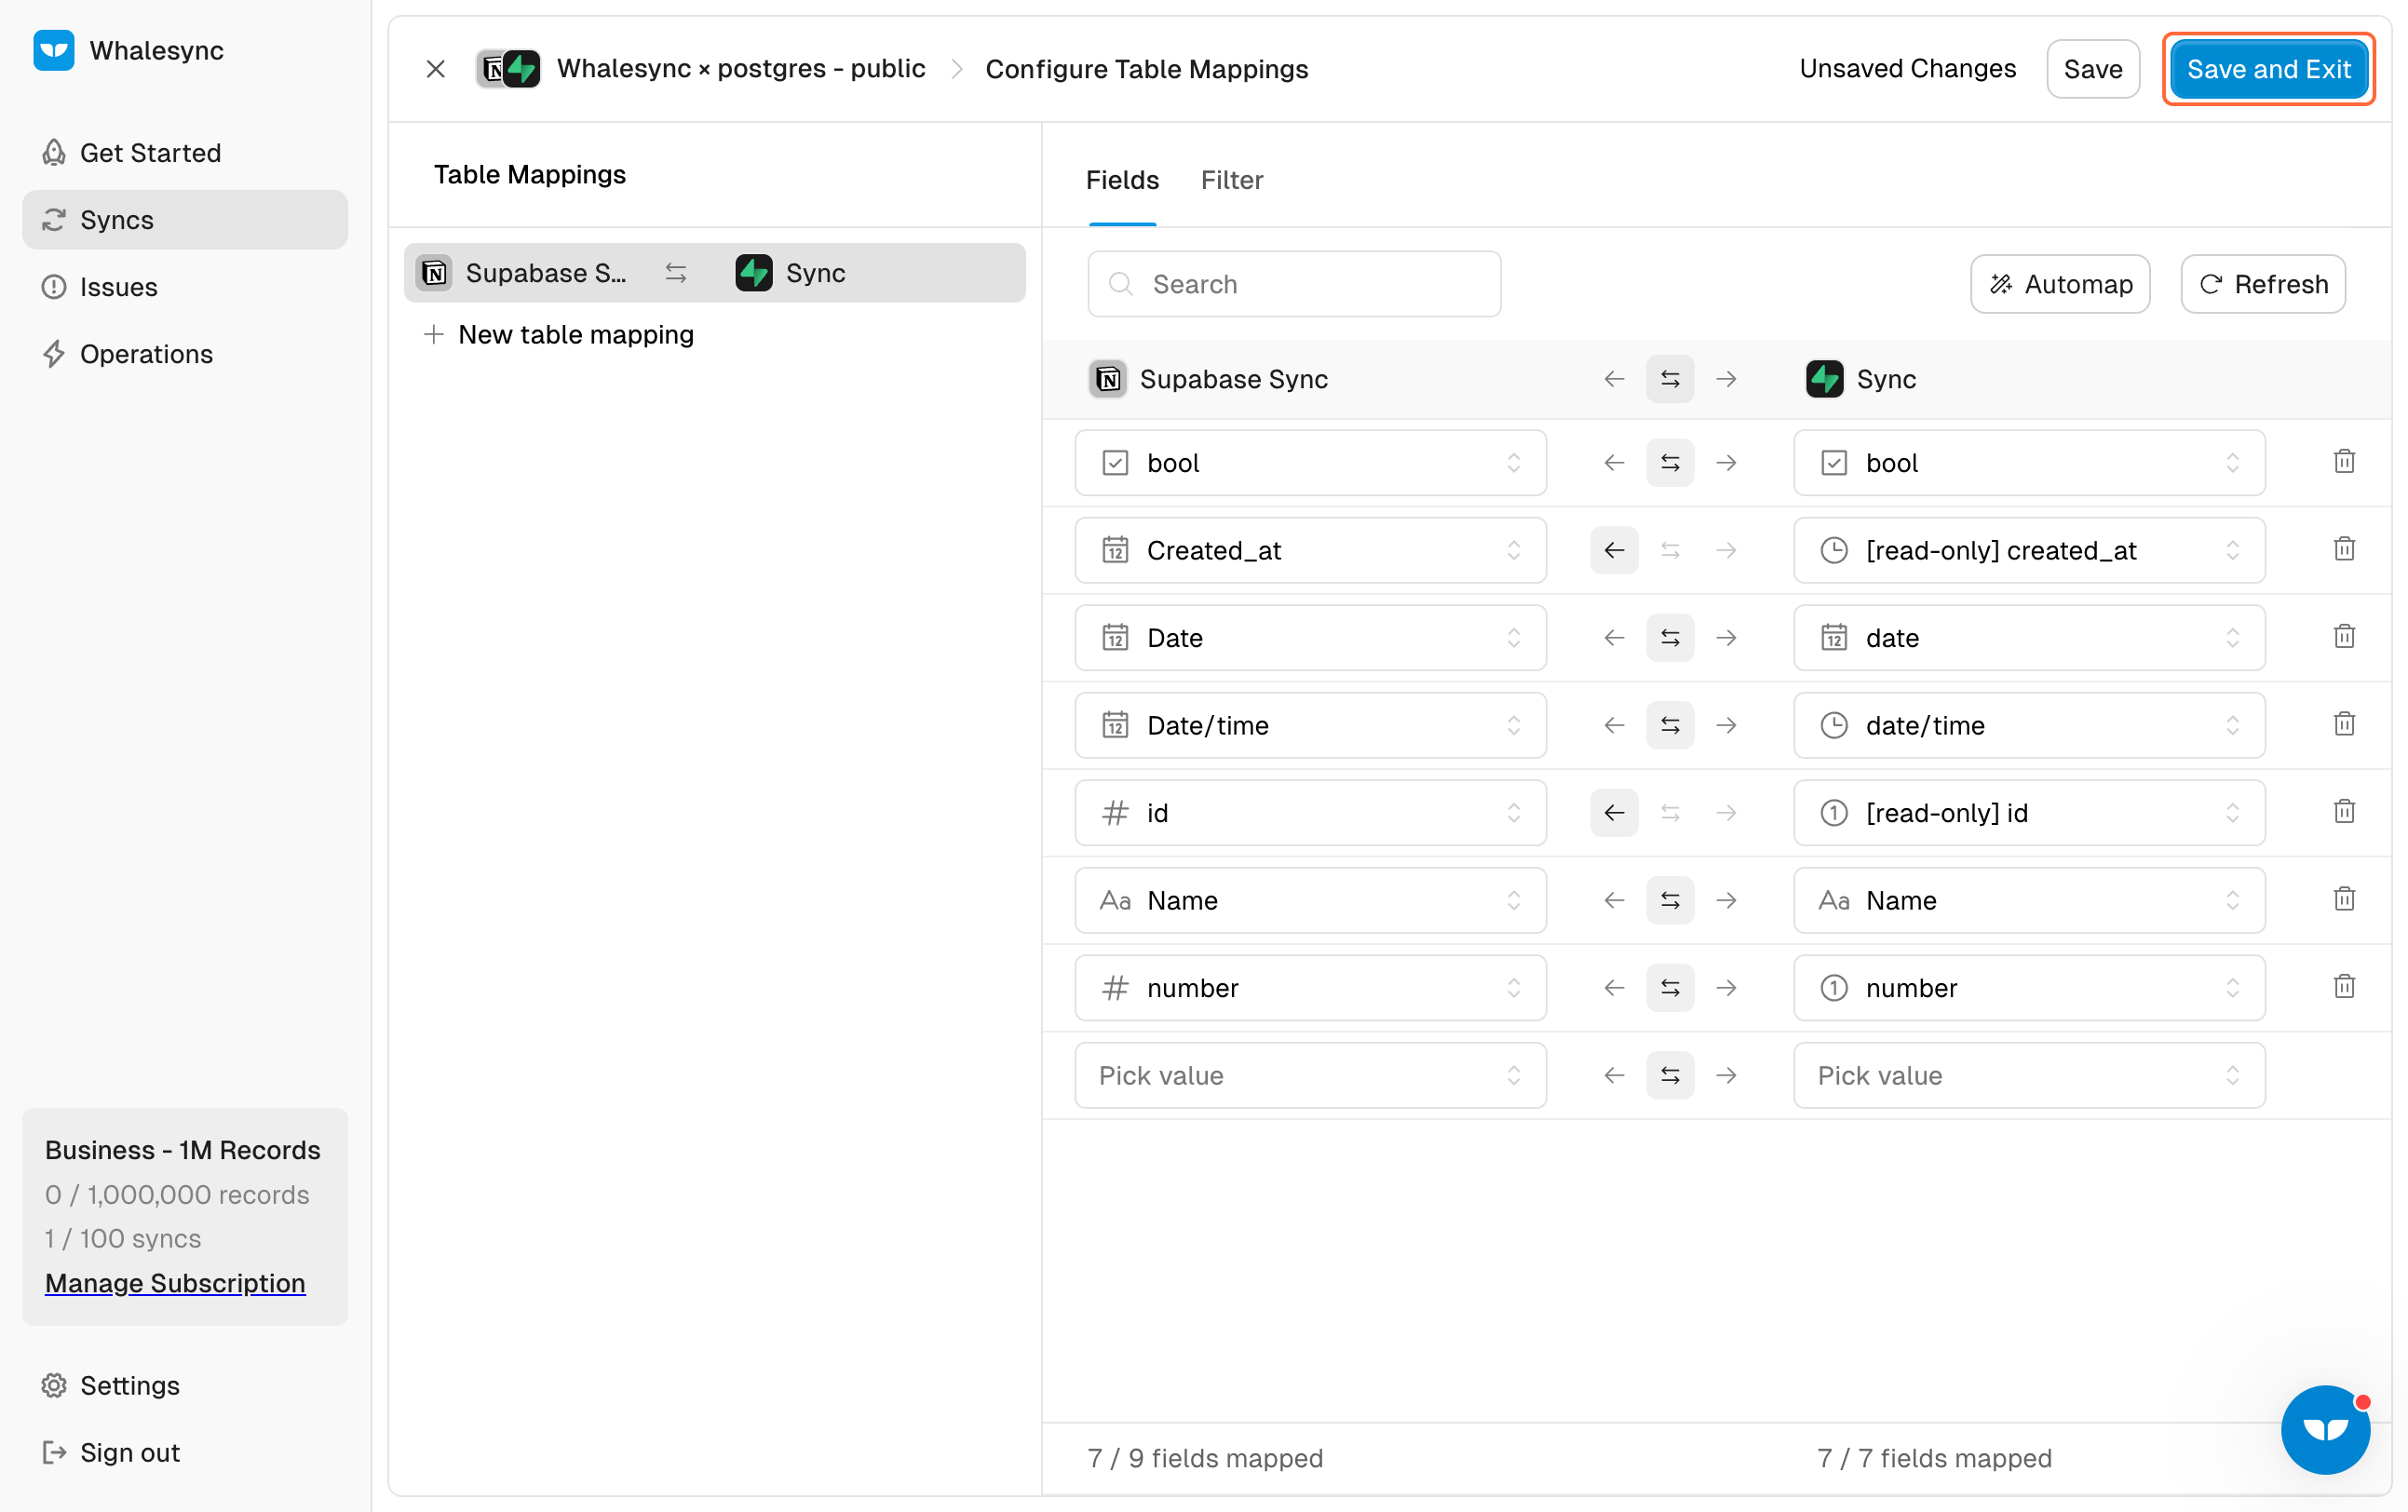
14. Map your fields
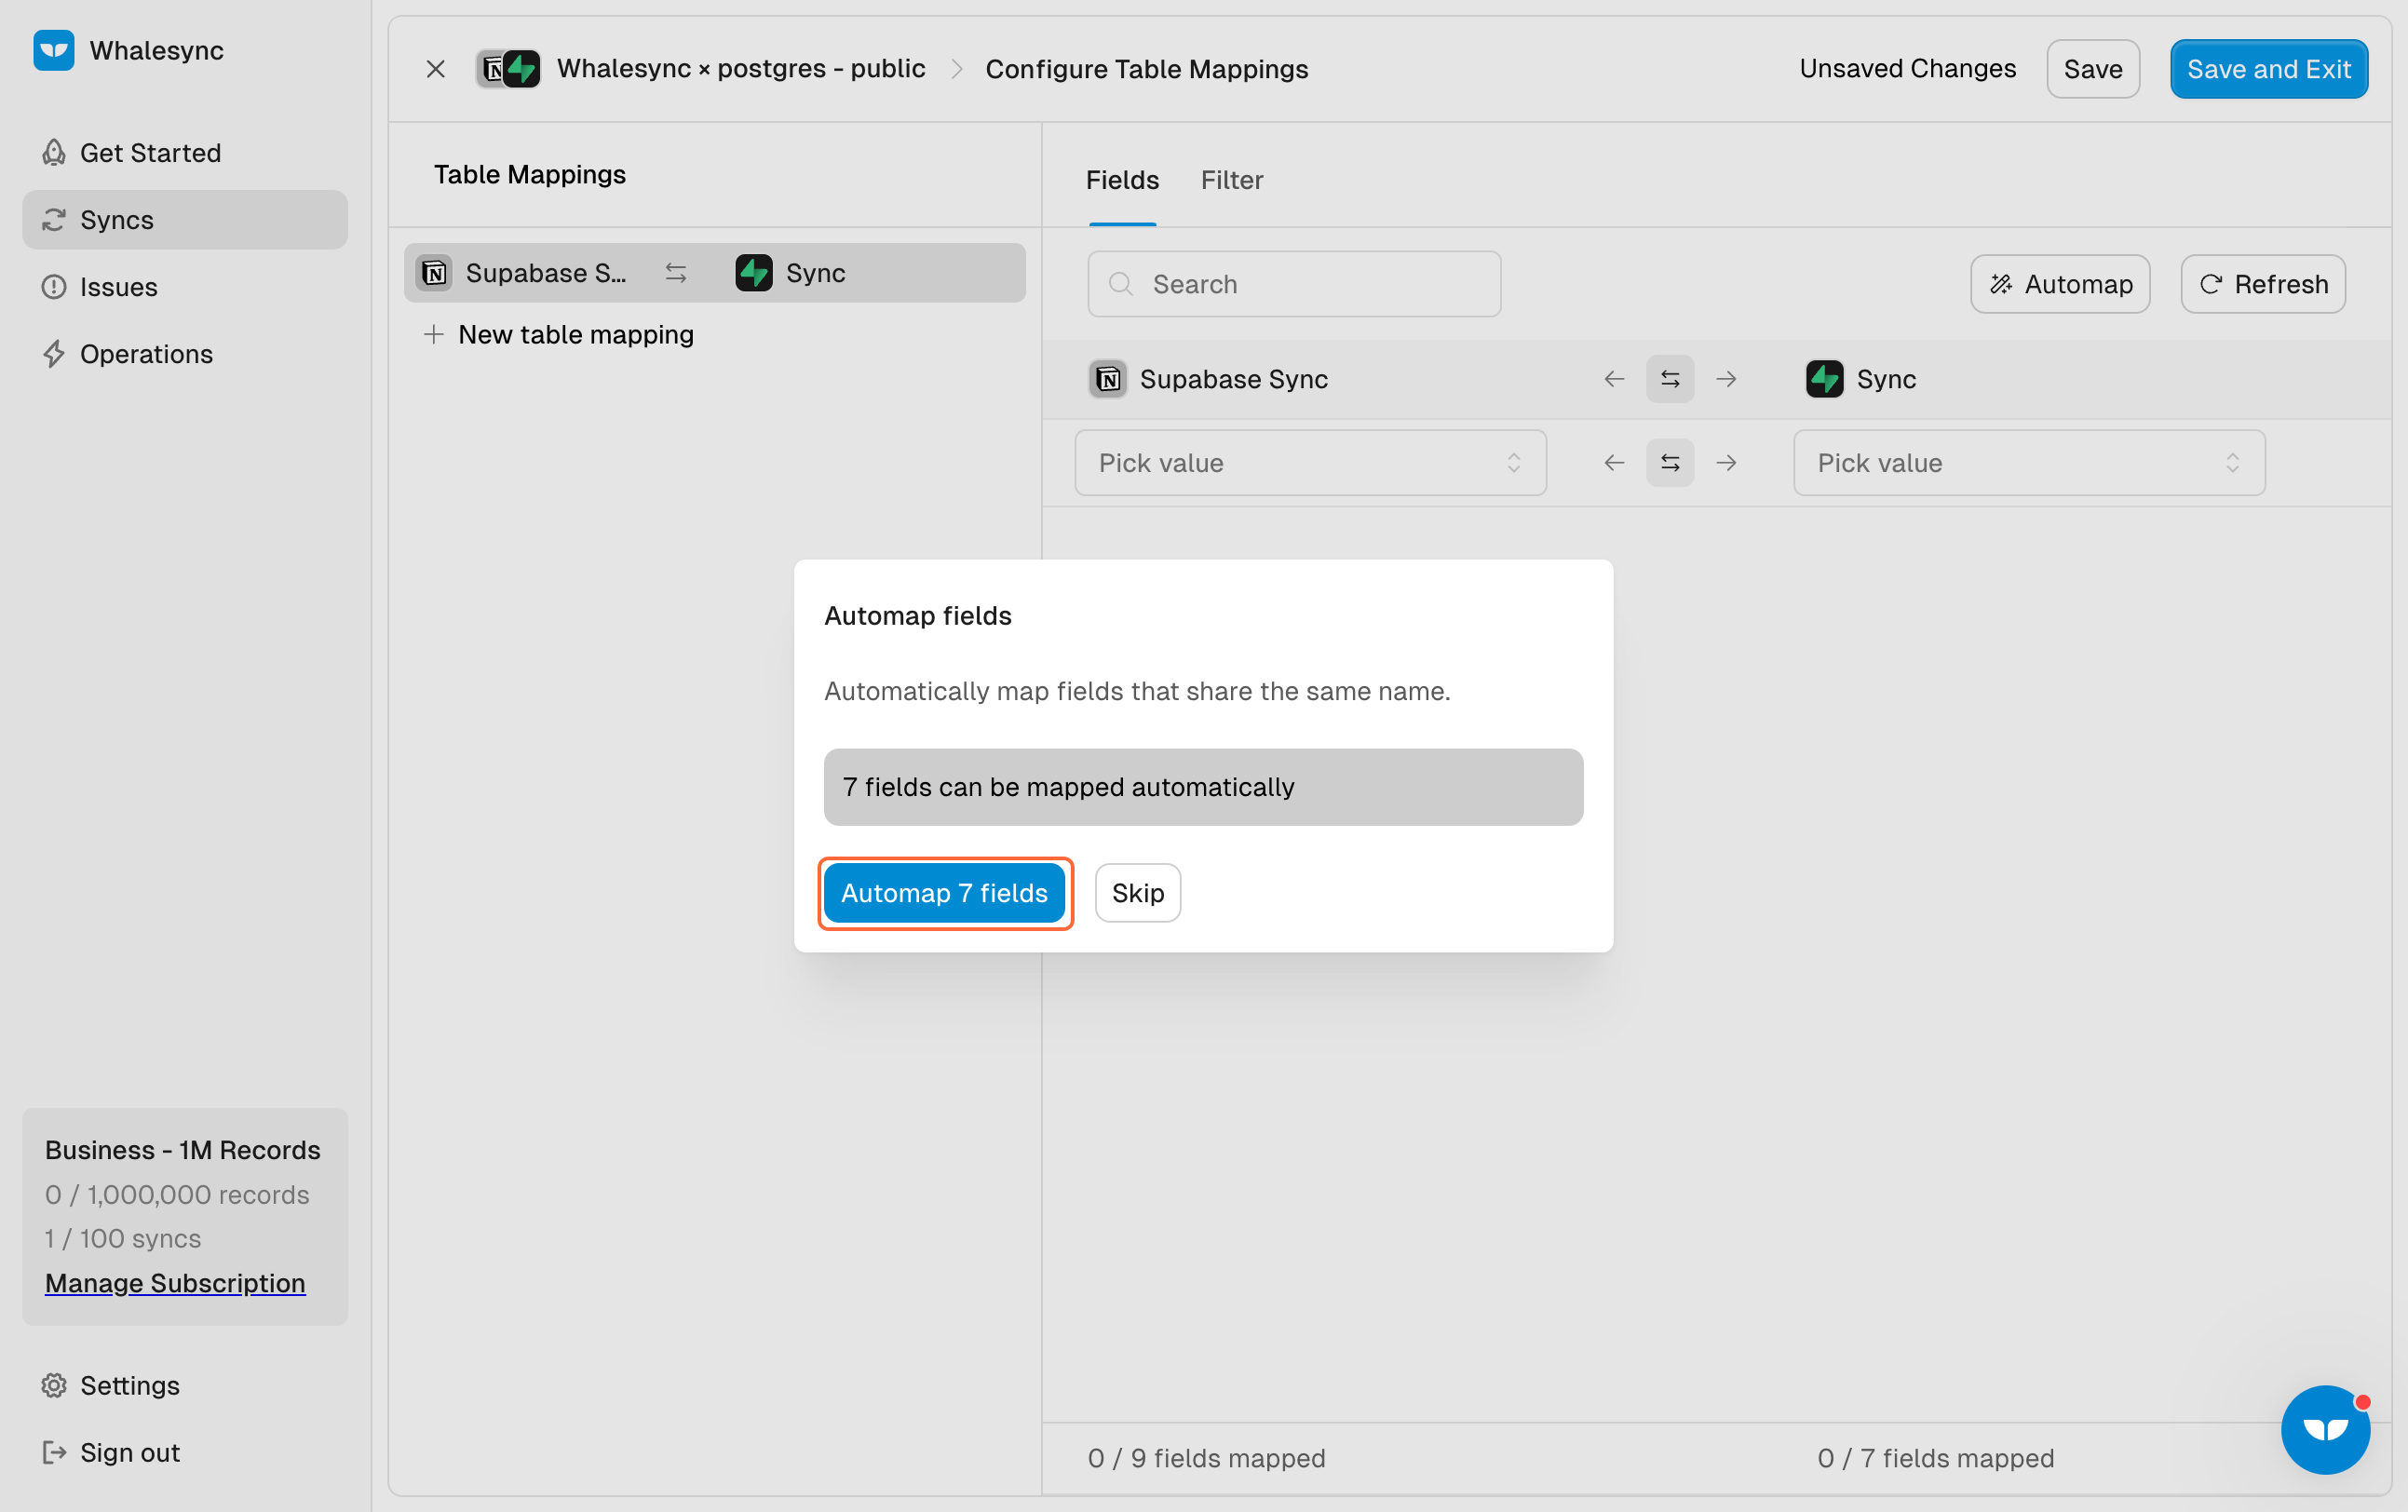
15. Save your table and field mappings
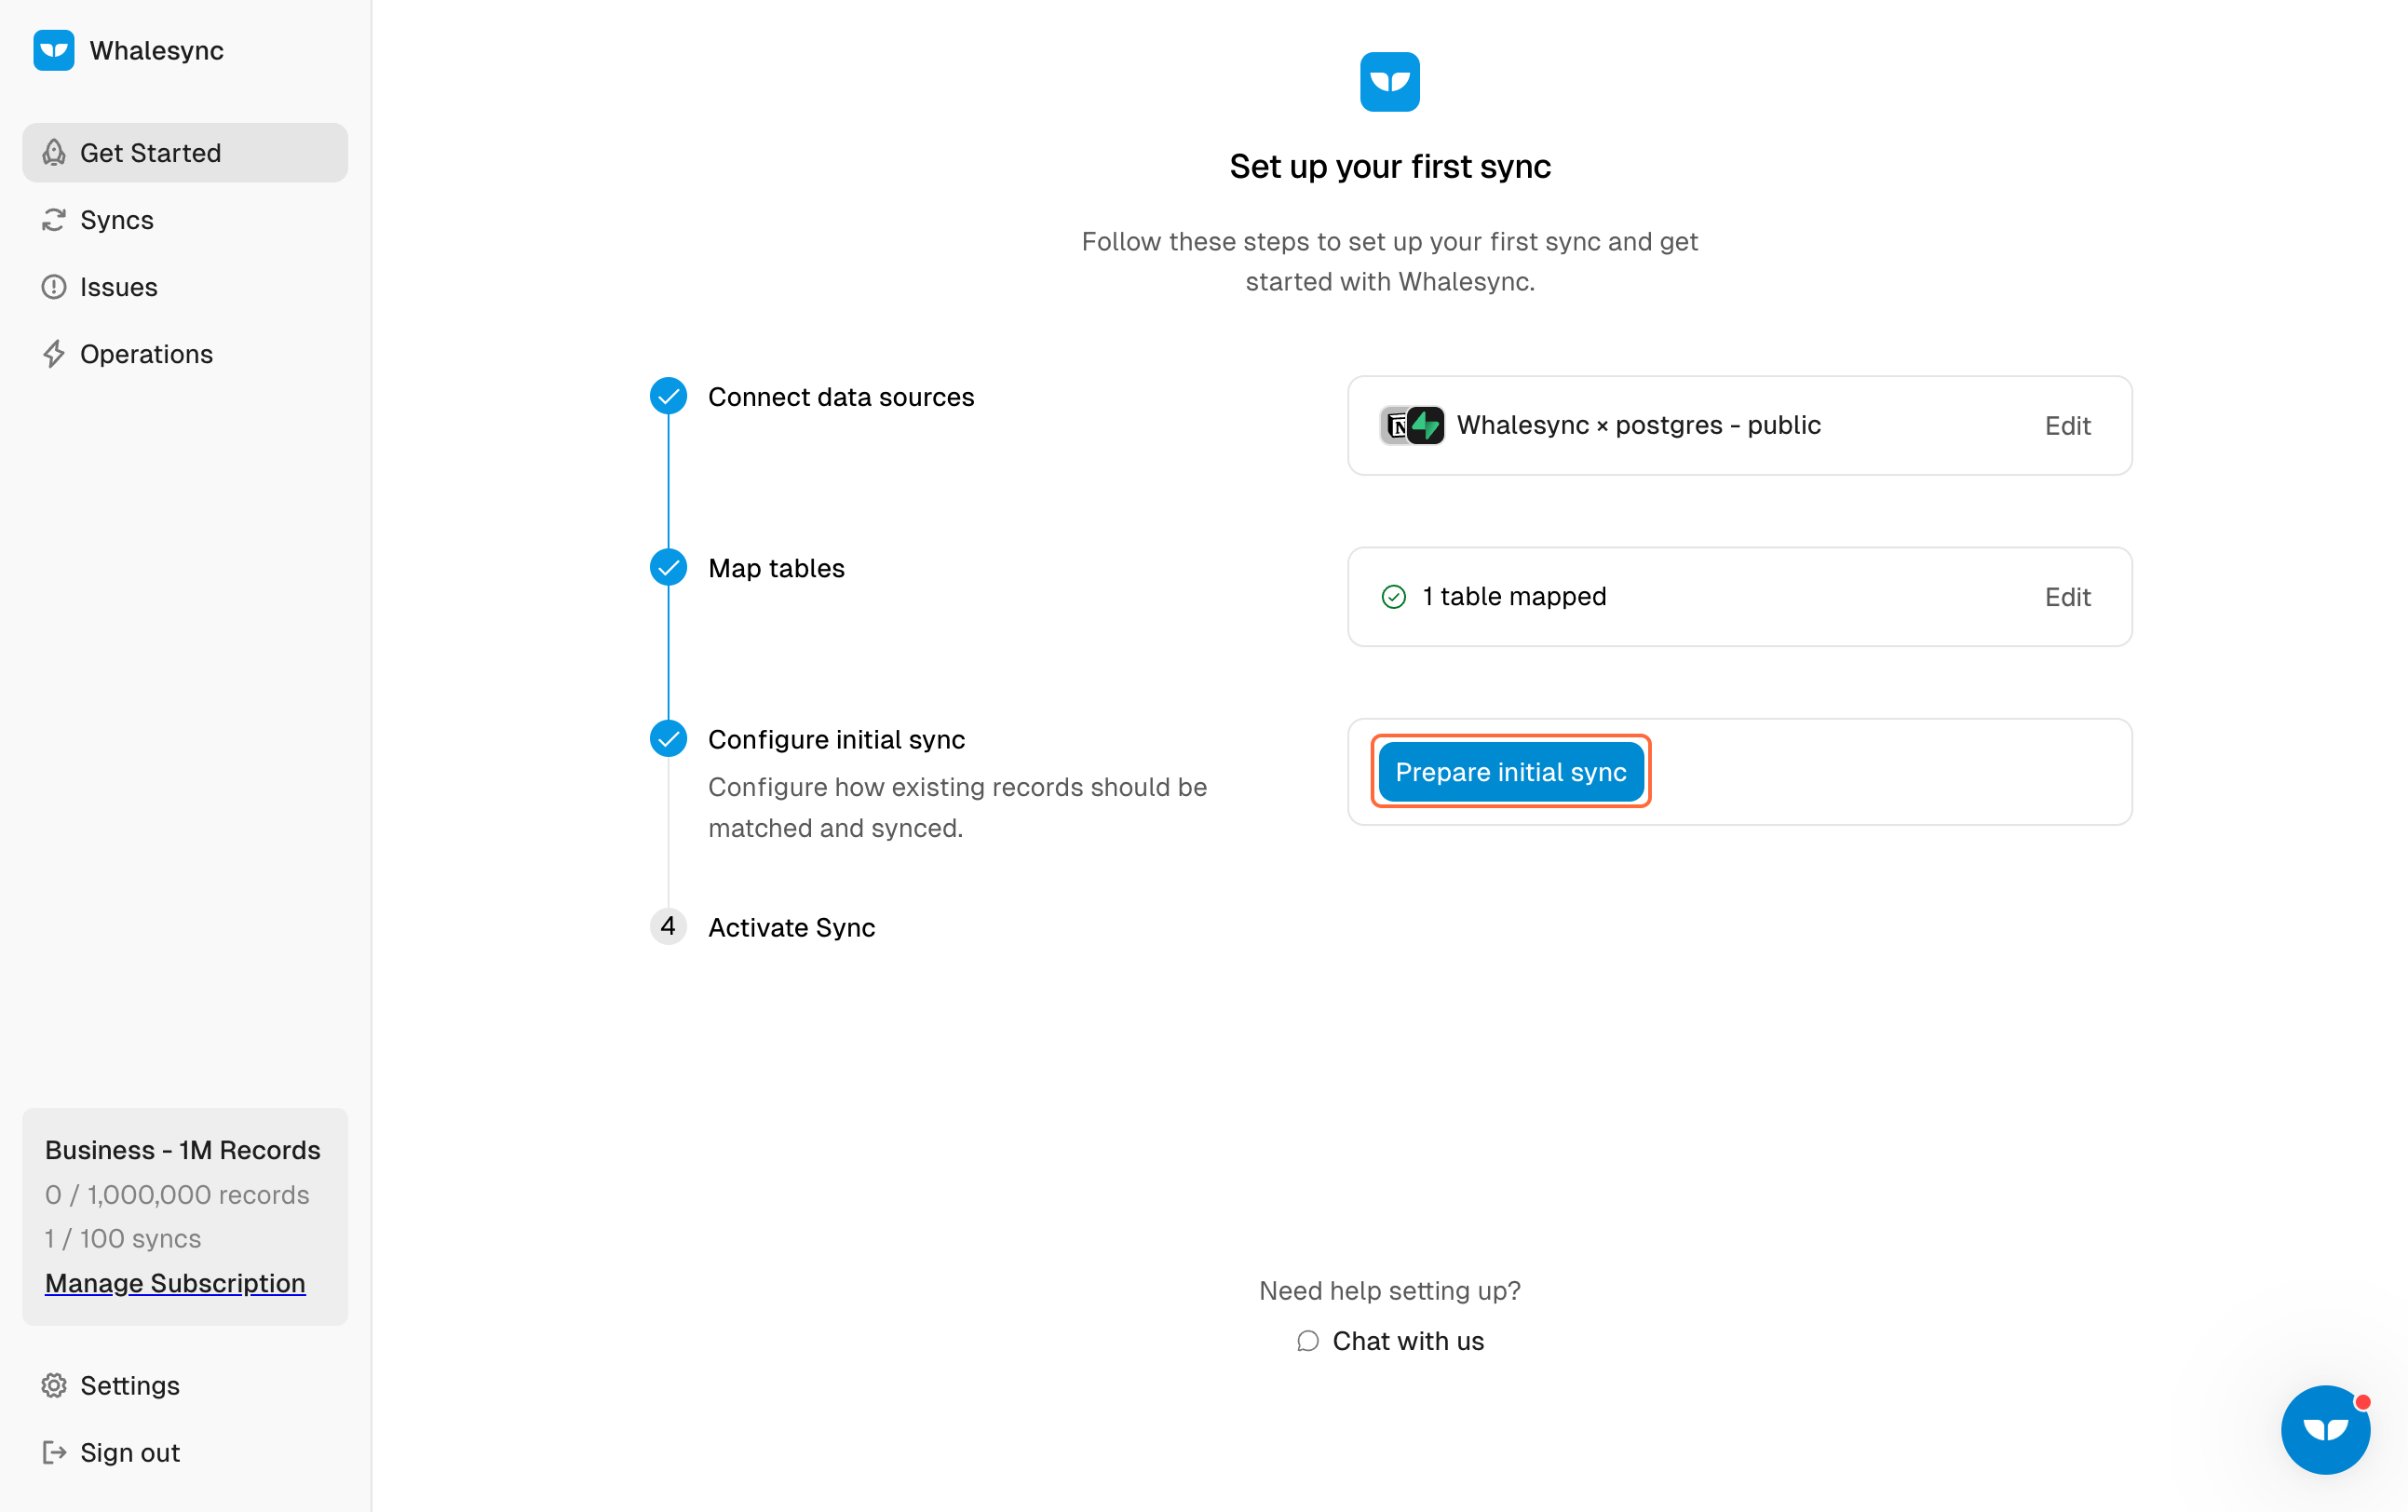
16. Go through the initial sync setup
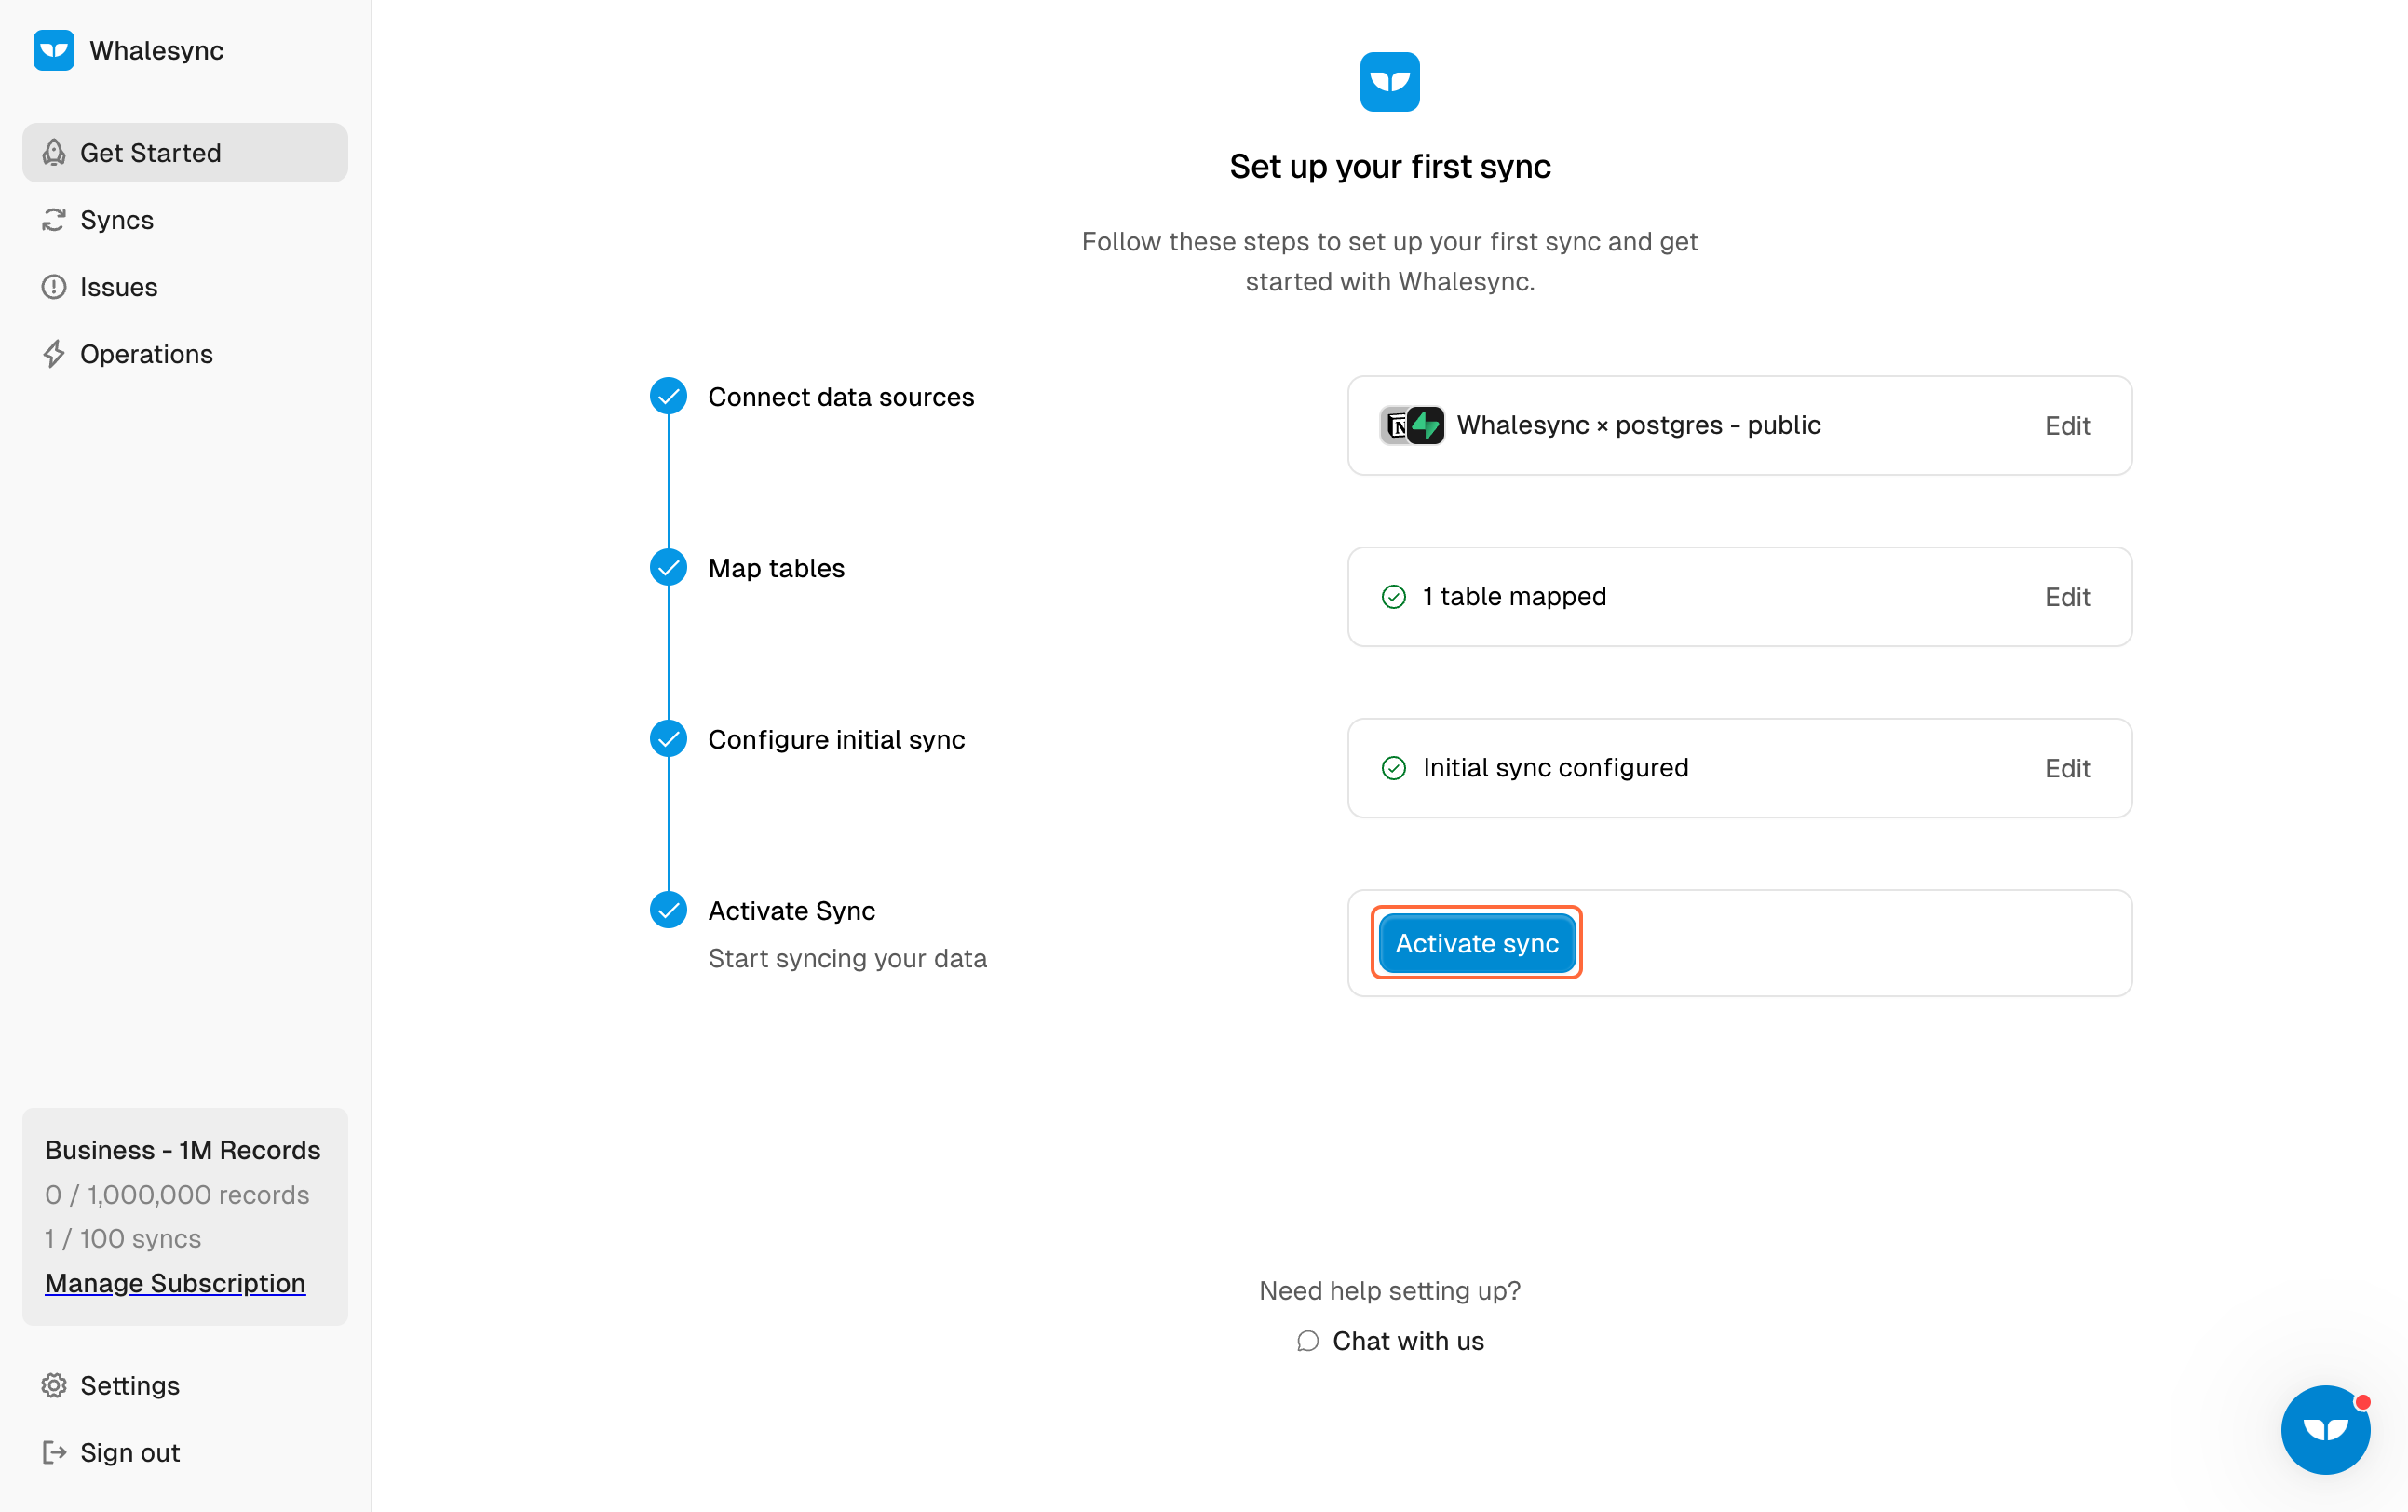
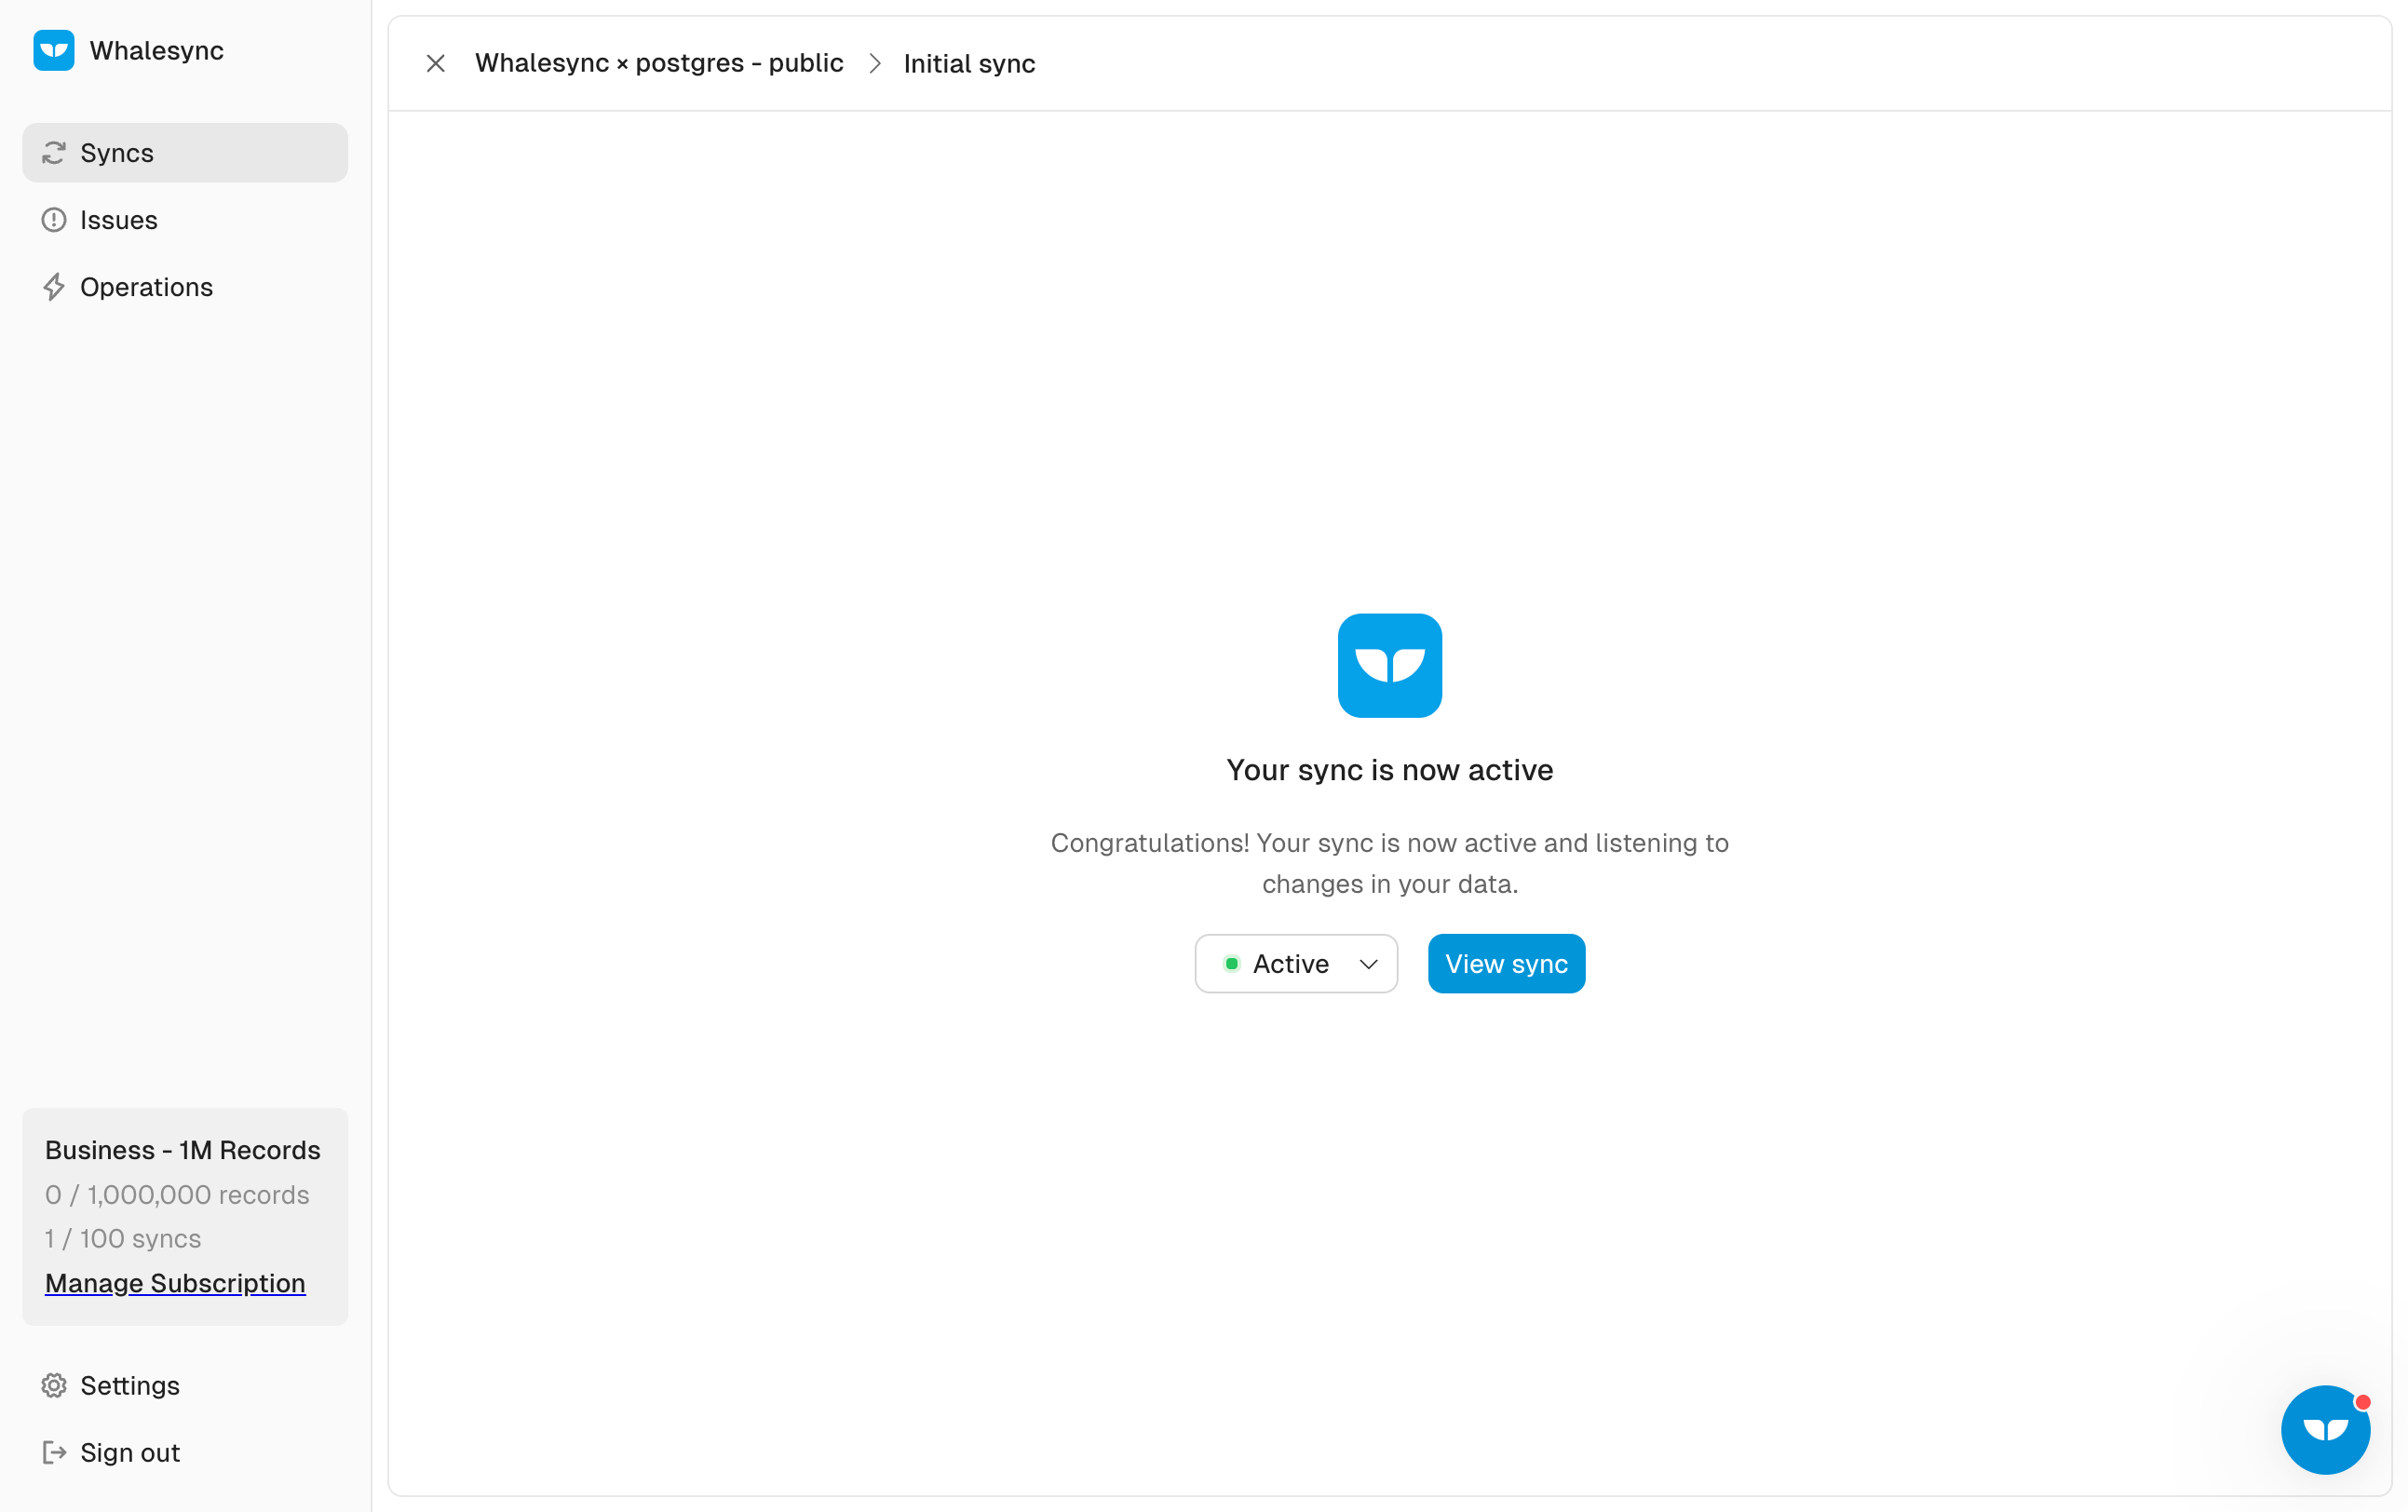
17. Activate your sync!
You are done! You now have a 2-way sync between Notion and Supabase
By following these steps, you’ve successfully connected Supabase to Notion, turning Notion into a dynamic front-end for your database. This integration streamlines data management, allowing you to update and organize your Supabase data effortlessly within Notion. Try it out!
Subscribe for more
Stay up to date with the latest no-code data news, strategies, and insights sent straight to your inbox!
.jpeg)


.svg)


.svg)

