How to Use Dynamic Data for pSEO

How to build 1000s of programmatic SEO pages with dynamic data using no-code

Dynamic programmatic SEO involves generating web pages on the fly using dynamic data. This allows you to build thousands of SEO-optimized pages with live data! For example, a financial website might use dynamic programmatic SEO to generate pages for each individual stock ticker symbol, with information such as stock price, volume, and historical data.
Below is a step-by-step guide to building thousands of dynamic programmatic SEO pages… all with no-code. What previously took engineers weeks or months is now possible in under an hour 🤯. We'll walk you through the process of setting up your data source, designing your page templates, and generating your pages dynamically. Whether you're a seasoned SEO pro or just getting started, this guide will give you the tools you need to take your site to the next level.
Step-by-Step Guide Overview
There are three main steps to building dynamic pSEO pages:
- Pull dynamic data into your database (Data Fetcher + Airtable)
- Design your page template (Webflow)
- Connect your page template to your database (Whalesync)
Below we’ll cover each step one at a time.
1) Pull dynamic data into your database
Tools Used:
- Airtable
- Data Fetcher
- Yelp API (or any API you want)
For this example, let’s pretend we’re making dynamic event pages. We want to show the latest events in our area so we can rank for things like “events in {city} this weekend”.
To do this, we’ll use Yelp’s API to pull in dynamic event data. The first thing we’ll need is a place to store all this dynamic data. We recommend Airtable as an easy-to-use database and data manager. Importantly, it integrates with Data Fetcher which enables us to pull in the dynamic data.
First, sign up for Airtable and create a new base:

Then click on ‘Extension’ and ‘Add an Extension’:

Search for and add Data Fetcher:

In a separate tab, let’s go get API keys we can use to connect to Data Fetcher
Since we’re using Yelp in this example, go to Yelp’s API Docs, then click on ‘Manage API Access’:

Create a Yelp app by filling in the form:

Finally, copy your Yelp API key:

With our API key in hand, return to Data Fetcher and choose ‘Custom Application’. *Note - Data Fetcher has plenty of integrations out of the box you can also use to dynamically pull in data:

Now click on the ‘Authorization’ tab, choose ‘Bearer Token’, and enter your API key:

Choose the API endpoint you’d like to use from the Yelp docs, then copy and paste it into the URL field in Data Fetcher. For this example, we’ll use the Events endpoint: https://api.yelp.com/v3/events
- Note - the Events endpoint requires that you’re in the Yelp Beta program which you can get access to by clicking a button on the bottom of the Manage app page.

https://api.yelp.com/v3/events
Choose the fields that you want to display on your programmatic pages and then click ‘Save & Run’:

Congrats! You’ve got your first dynamic data in your database:

Now, go back to Data Fetcher and add the parameters that are necessary for your pages. For example, we may just want to limit this to 50 events:

In order to make the data dynamic, we’ll need to schedule Data Fetcher to run this request repeatedly to refresh the data.
Under ‘Schedule’, choose ‘Authorize’ to give Data Fetcher access to your Airtable:

Finally, add a schedule for this to run at the frequency you need:

🎉 woo hoo! The hardest part is done. You now have a database that is updated dynamically every 15 minutes. That is pretty cool!
2) Design your page template in Webflow
Tools Used:
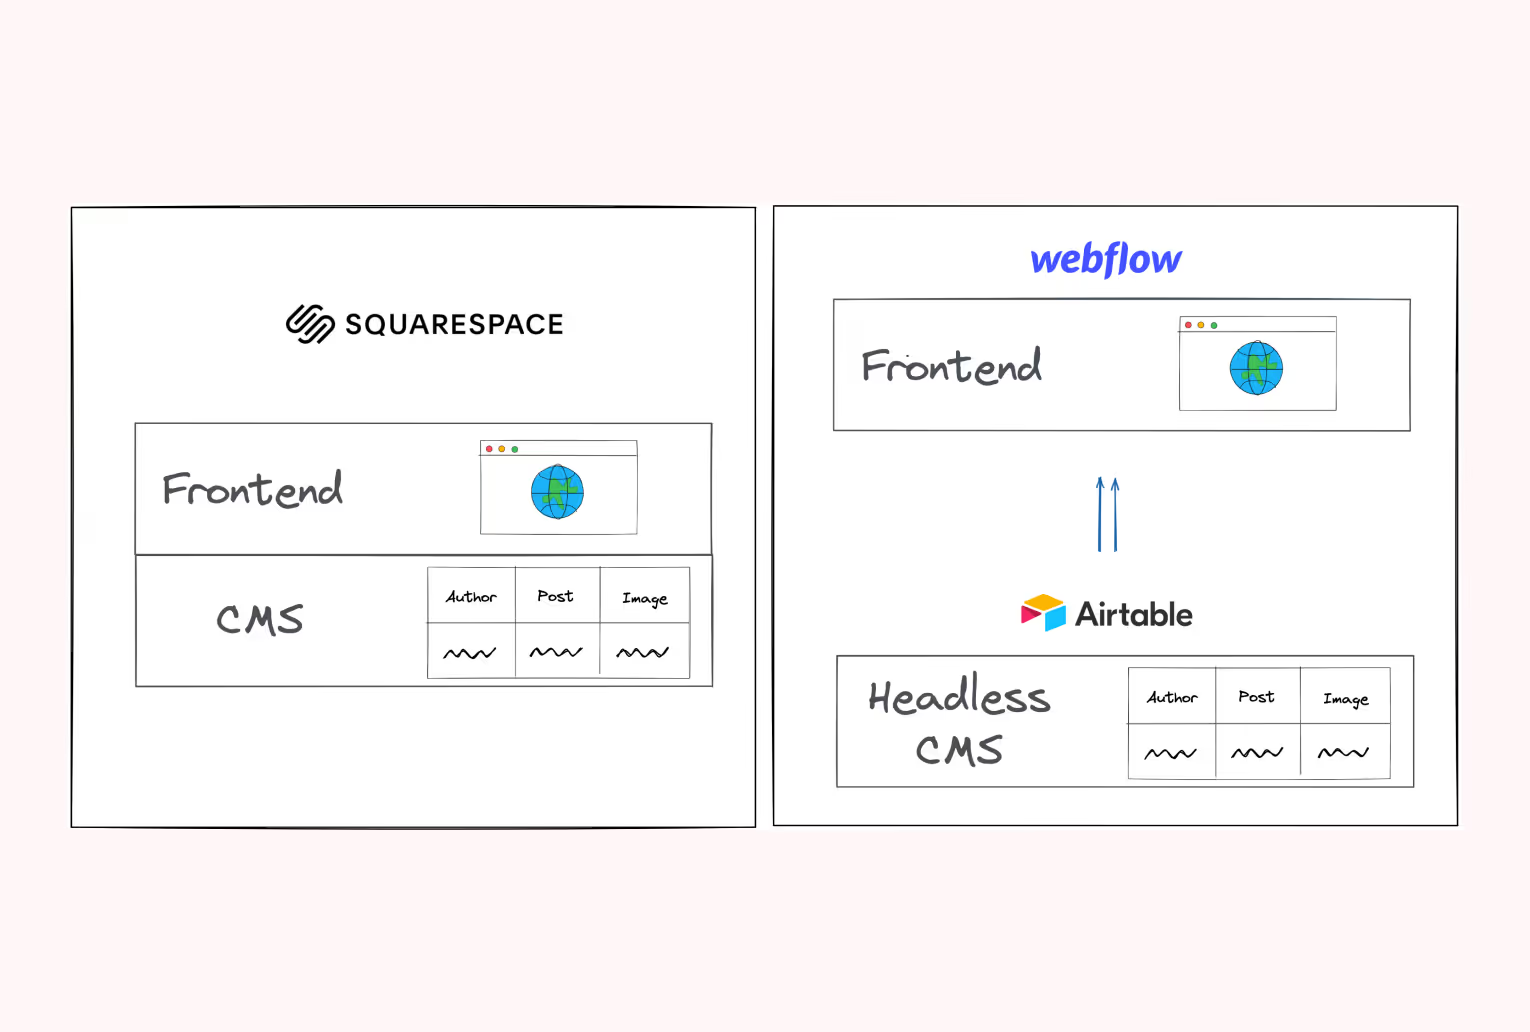
Now that our database is set up, let’s go set up our web pages. We recommend a tool called Webflow as the premier no-code website builder. It allows you to design beautiful websites with ease. More importantly, it has a CMS feature, so we can send dynamic data to Webflow and it will automatically generate SEO pages.
First, create an account with Webflow and then create a new site. You will likely want to use one of their free templates to speed up design. For this example, I’m going to take the HireUp template and tweak it a bit to fit our event pages.

https://webflow.com/templates/free-website-templates
Click on the ‘CMS’ tab and then create a new collection:

In your new collection, add a field for every field you have in Airtable:

Now that your collection is set up, click on the Pages tab and then CMS Collection page for your new collection. These CMS Collection pages are essentially template pages. You can design them once and insert dynamic data into them.

Design your page to look however you’d like. Then click on individual elements and choose “Get text from {your_collection}” to fill it in with dynamic data:

Alright! Our template page is all set up. Now it’s time for the final step.
3) Connect your page template to your database (Whalesync)
Tools Used:
We now have a database full of dynamic data (Airtable) and a template web page ready to be filled with data (Webflow). In this last step, we’re going to use Whalesync to continuously sync Airtable to Webflow.
Create an account with Whalesync and then create a new base. Connect to your Airtable and Webflow accounts:

Map the tables in Airtable to the collections in Webflow that you want to sync. Do the same for each of the fields.
Finally, turn sync on and all of your dynamic data in Airtable will continuously update in Webflow🎉. Whalesync syncs data instantly, so you will see updates every 15 minutes once Data Fetcher updates.
Bringing it all together
Dynamic programmatic SEO is an incredibly powerful tool. It’s one of the only ways to generate a large number of SEO-optimized pages. With no-code tools like Airtable, Webflow, Data Fetcher, and Whalesync, building thousands of these pages is now accessible to anyone! We encourage you to try it yourself - the results can be amazing.
Subscribe for more
Stay up to date with the latest no-code data news, strategies, and insights sent straight to your inbox!